If crochet looks like a tangle of yarn, hooks, and strange pattern words, you are not behind. Every experienced crocheter once struggled to control a loop. This guide breaks crochet into small steps so you can learn without buying too much or expecting perfection.
By the end, you will know what tools to use, how to hold the yarn hook, and how to make your first fabric. You will also understand basic crochet terms, simple patterns, and the best way to practice.
Why Crochet for Absolute Beginners Feels Intimidating
Online photos often show finished blankets and perfect rows. They rarely show the first attempts behind them. Early crochet can feel awkward because both hands must work together. One hand guides the hook, while the other hand controls yarn and tension.
You do not need natural talent. Crochet is a physical skill. Your hands learn through short, repeated practice. A crooked chain or uneven row is not proof that you cannot learn crochet. It is normal feedback.
Beginner rule: Focus on the next stitch, not the finished project. Give yourself permission to undo work and try again.
Start with one calm practice session
Set aside 10 to 20 minutes, gather one hook and one skein of yarn, and practice without trying to finish a project.
Basic Crochet Tools and Materials You Need
A small supply list is enough for your first lesson. More tools do not make the first crochet stitch easier. Too many choices can make the craft feel harder than it is.
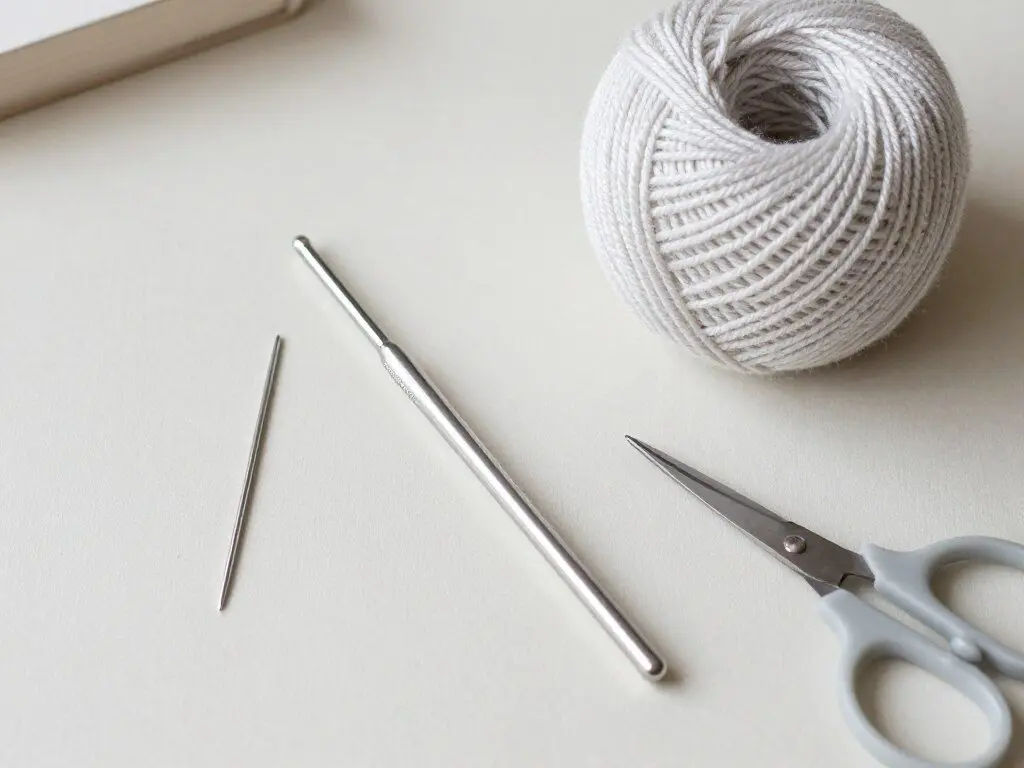
A simple starter kit has only a few useful tools.
Crochet hook
Choose one 5 mm hook, also called an H/8 hook. Aluminum or smooth plastic works well. The size is large enough for clear loops and comfortable practice.
Yarn
Pick smooth, medium-weight yarn labeled size 4 or worsted weight. Acrylic is affordable and easy to replace. Choose a light or medium color so you can see each stitch.
Small extras
Keep scissors and a blunt yarn needle nearby. Stitch markers can help later, but you do not need a large kit on day one.
Avoid fuzzy, very dark, slippery, or very thin yarn at first. It can hide the front and back of a stitch. Save luxury fibers and large hook sets for later, when you know what feels comfortable.
Choose supplies without guesswork
Use a beginner-focused yarn guide before you shop. The goal is a smooth yarn hook pairing that lets you see the loops hook clearly.
How to Hold the Hook and Yarn
There is no single correct grip. Most people use either a pencil grip or a knife grip. Try both for a few minutes. The best choice is the one that lets your hand stay relaxed.
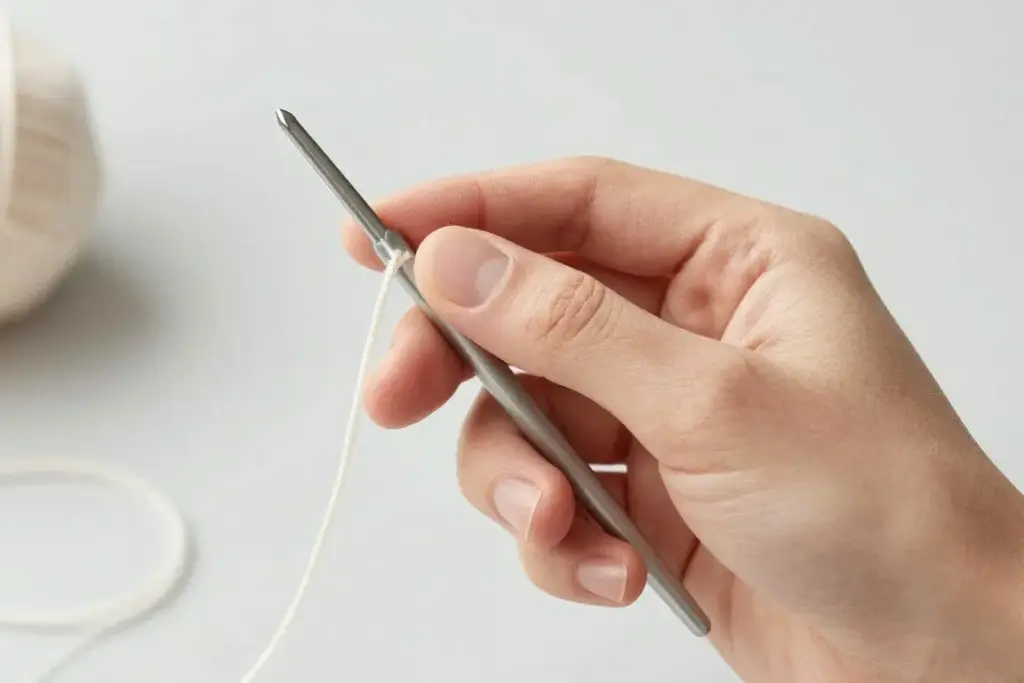
Pencil grip: hold the hook as if you were writing.
Pencil grip
Rest the hook between your thumb and index finger. Hold it close enough for control, but do not squeeze.
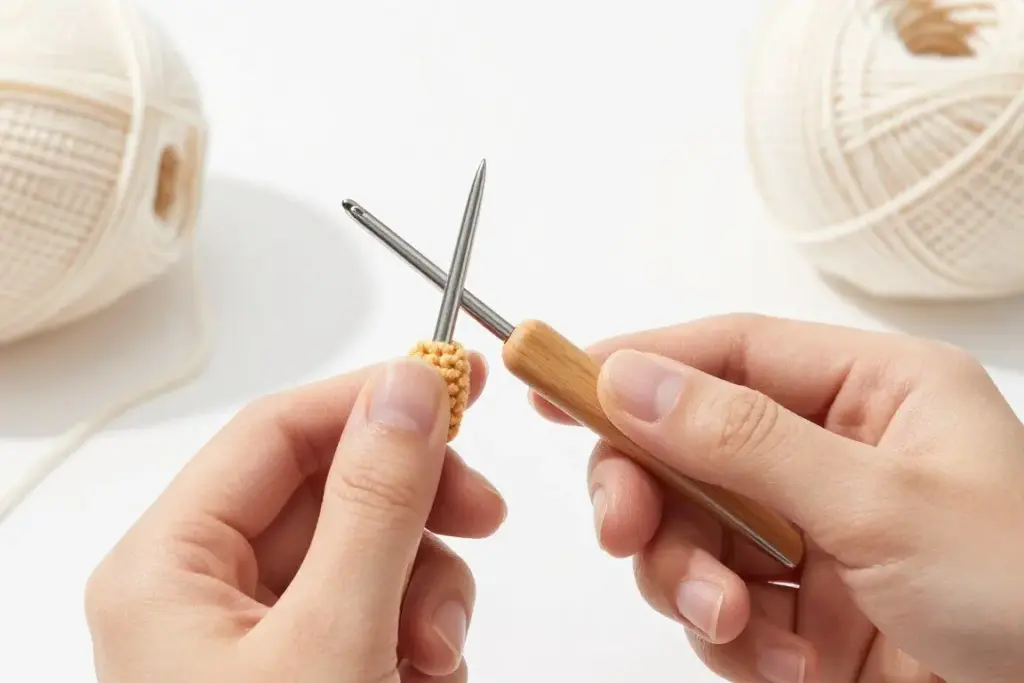
Knife grip: place your hand above the hook.
Knife grip
Place your hand over the hook as if holding a butter knife. This can feel easier for loose stitches.
Let the other hand support the growing chain and guide the yarn. The yarn should slide over your index finger. If it pulls tight, relax your fingers. If it slips too freely, add one gentle wrap around a finger.
Keep your shoulders down and your wrists comfortable. Change position when you need to. Comfort matters more than copying someone else’s hand.
How to Make a Slip Knot and Foundation Chain
The slip knot is the adjustable knot that begins many crochet projects. It should sit on the hook without clamping down. A working loop must move freely along the hook.
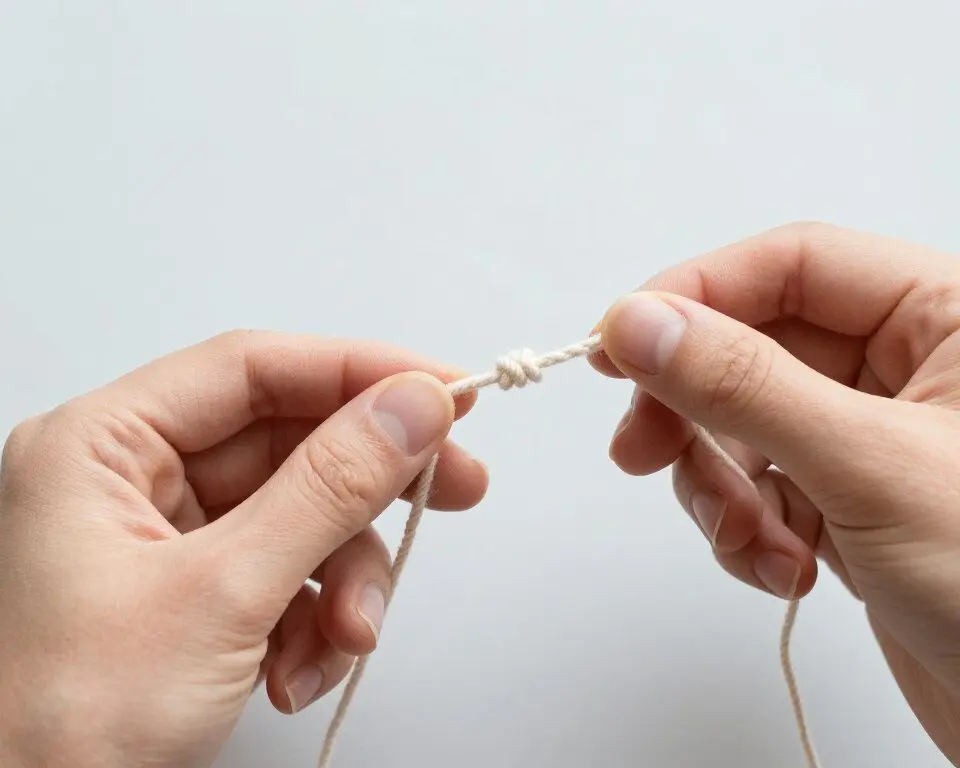
Make a loose slip knot before placing it on the hook.
Make the slip knot
- Make a loop with the yarn.
- Pull a short section of yarn through that loop.
- Place the new loop on the hook.
- Pull the tail gently to adjust the knot.
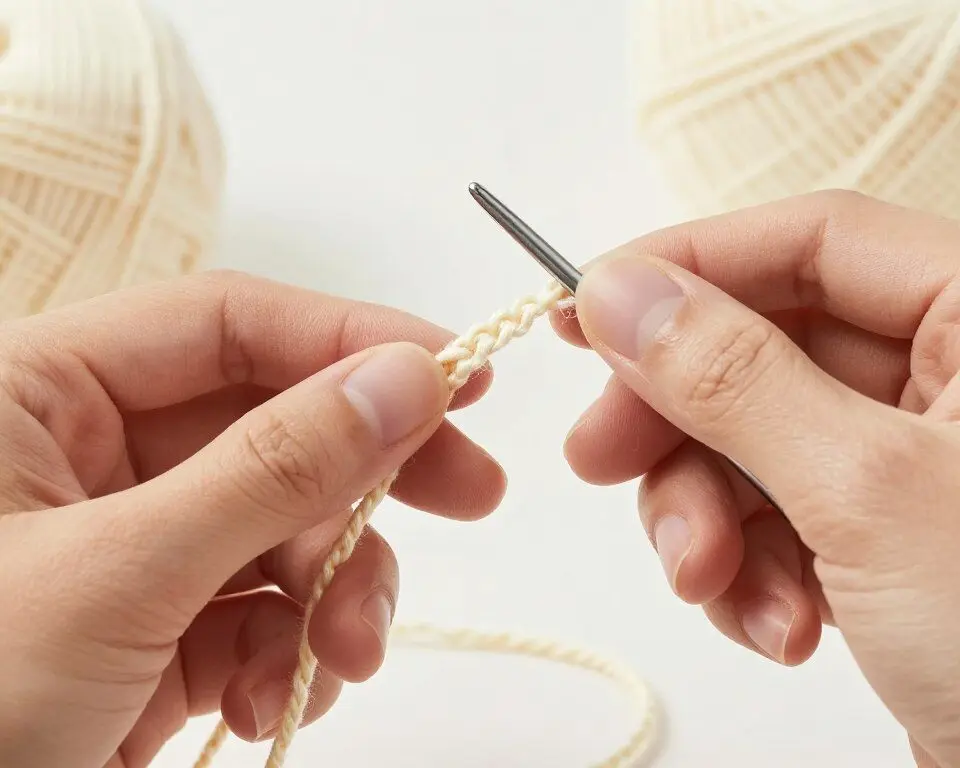
Each chain stitch is made by pulling yarn through the loop hook.
Create chain stitches
- Hold the slip knot with the hook hand.
- Wrap the working yarn over the hook.
- Pull the yarn through the loop on the hook.
- Repeat until the chain reaches the length you need.
Do not pull each chain tight. The hook should pass through the chain later. If the chain feels stiff, use a larger hook for the chain or loosen your hold on the yarn.
Four Beginner Crochet Stitches to Learn First
These stitches use the same basic motion: insert hook, yarn over, and pull through. The number of loops hook changes as you work. Practice each stitch slowly before trying to work quickly.
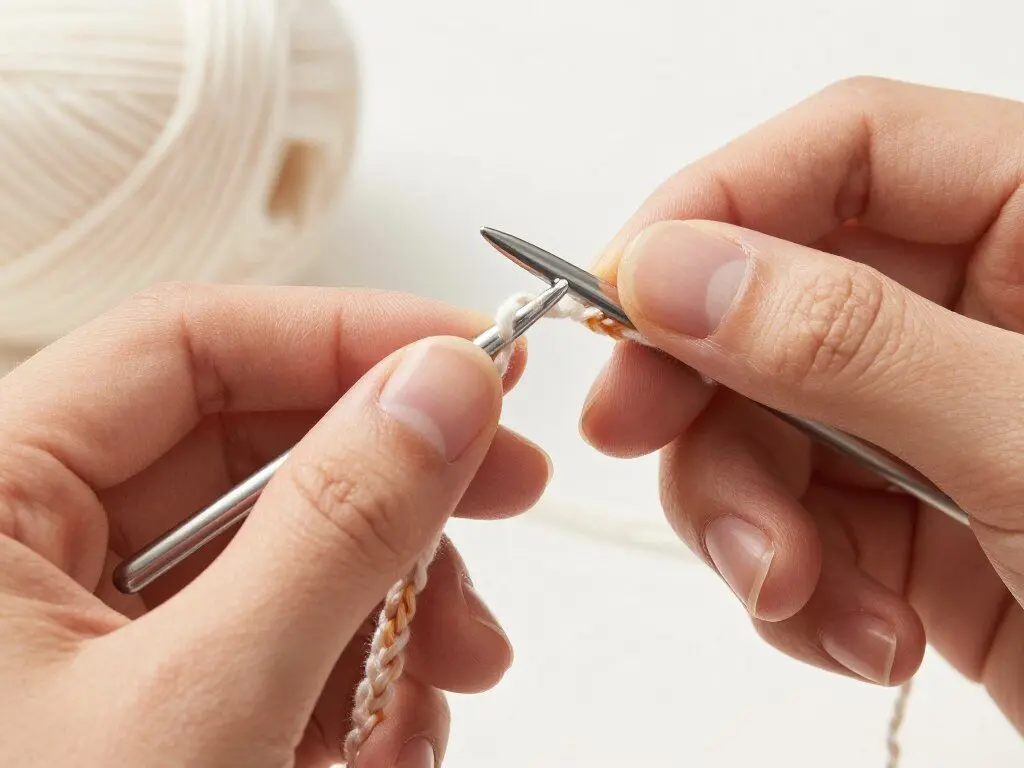
Single crochet creates firm, compact fabric.
Single crochet
Insert hook into the second chain from the hook. Yarn over and pull up a loop. You now have two loops hook. Yarn over again and pull through both loops. That is one single crochet stitch.
Half double crochet
Yarn over first. Insert hook into the next stitch and pull up a loop. You will have three loops on the hook. Yarn over and pull through all three loops.
Double crochet
Yarn over, insert hook into the stitch, and pull up a loop. You have three loops. Yarn over and pull through two loops. Yarn over once more and pull through the final two loops.
Slip stitch
Insert hook into the stitch. Yarn over and pull through the stitch and the loop already on the hook in one motion. A slip stitch is short and useful for joining, moving across a row, or finishing an edge.
For a first practice piece, repeat the single crochet stitch across a short chain. This lets you focus on the movement without switching between stitch types.
How to Keep Even Tension and Count Rows
Tension means how tightly you hold the yarn. Tight tension can make it hard to insert hook into a stitch. Loose tension can create large, uneven loops. Aim for relaxed control rather than perfect uniformity.
Let the yarn travel over your index finger. Do not lock your fingers around it. Pause often and check whether your hand feels tired. A relaxed hand usually creates a smoother crochet stitch.
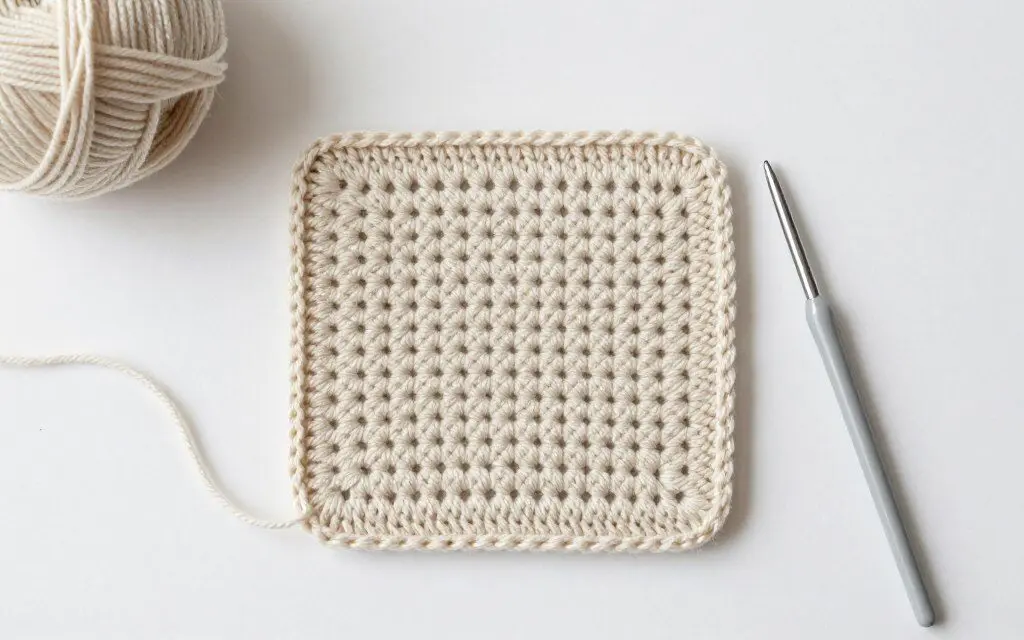
Count the top V shapes to check each row.
At the end of a row, count the stitches before turning. Find the first stitch and the last stitch carefully. Missing either one can make the project shrink or grow.
- Use a stitch marker in the first or last stitch if you lose track.
- Count the V-shaped tops rather than counting the spaces.
- Compare each row with the row before it.
- Undo a few stitches when the count is wrong.
How to Read a Crochet Pattern
Patterns are instructions, not tests. Start by checking the skill level, yarn weight, hook size, gauge notes, and abbreviation list. US patterns usually use “sc” for single crochet, “hdc” for half double crochet, “dc” for double crochet, “sl st” for slip stitch, and “ch” for chain.
Read punctuation carefully. A number before an instruction tells you how many times to repeat it. Parentheses may show a group of stitches. An asterisk often marks a repeated section.
| Term | Meaning | Beginner action |
| ch | Chain | Make a chain stitch |
| sc | Single crochet | Work a single crochet |
| hdc | Half double crochet | Work a half double crochet |
| dc | Double crochet | Work a double crochet |
| sl st | Slip stitch | Join or move with a slip stitch |
US terminology note: This tutorial uses US crochet terms. Some patterns from other countries use different names for the same stitch, so check the pattern’s terminology before you begin.
How to Change Yarn Colors
Changing colors is easier when you plan the final pull-through. Work the old color until only the last step of the stitch remains. Drop the old yarn, place the new color over the hook, and pull it through the remaining loops.
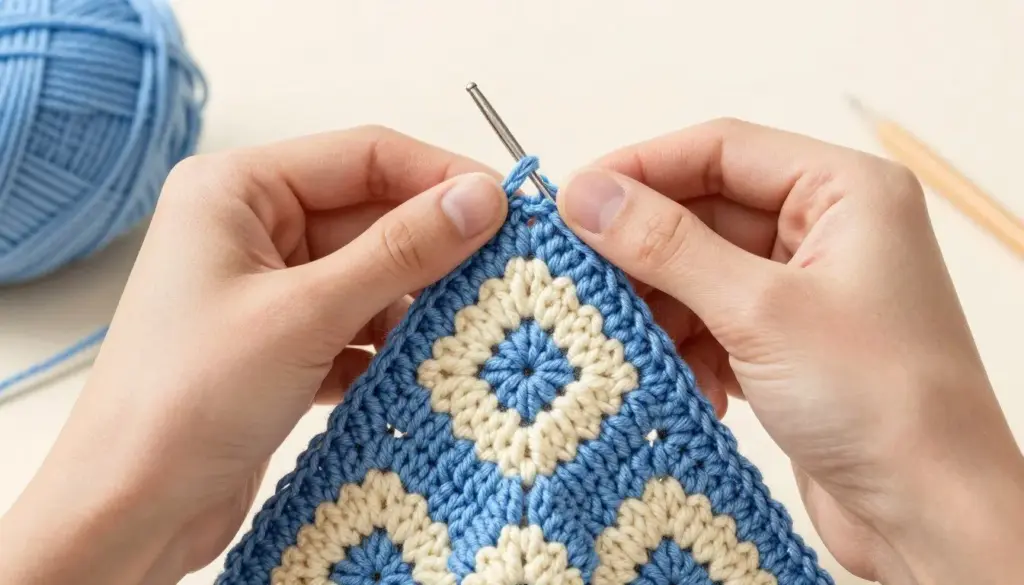
Add the new color during the last pull-through of the stitch.
Hold both yarn ends for the next few stitches so the new color stays secure. Do not pull too hard. Later, you will weave each loose end into the back of the fabric with a yarn needle.
For a first color project, use two smooth colors and change at the end of a row. This keeps the front neat and gives you a clear place to practice the technique.
How to Fasten Off and Weave in Ends
When the project is complete, leave a yarn tail about 6 inches long. Cut the yarn, yarn over, and pull the tail through the final loop. Gently tighten the knot. Do not yank, or the final stitch may become too tight.
Weave the tail through several nearby stitches on the back.
Thread the tail onto a blunt yarn needle. Run it through the back of several stitches, change direction, and trim the excess. Repeat for every loose end.
Good finishing prevents the fabric from unraveling. It also makes a practice swatch look complete and helps you build careful habits for larger projects.
Common Beginner Mistakes and Easy Fixes
Mistakes are part of learning crochet. Most can be repaired by pulling out a few stitches and working forward again. Stop when something looks wrong instead of adding more rows over the problem.
- The hook will not enter the stitch.
- The row has too many stitches.
- The fabric becomes narrower.
- The edge looks wavy.
What happened
- Loosen tension and look for both loops.
- Check whether you worked twice into one stitch.
- Find the first and last stitch before turning.
- Use steady tension and count each row.
What to try
When your loops are too tight
Relax the hand holding the yarn. Move the hook with a small, smooth motion. Do not force the hook through the stitch. You can also practice with a slightly larger hook.
When your edges are uneven
Count the stitches after every row. Place a marker in the first stitch and last stitch. Uneven edges usually come from skipping a stitch or working into the wrong space, not from a lack of ability.
If your wrist, fingers, or shoulders hurt, stop and rest. Short practice sessions are safer and more useful than pushing through pain.
Keep this troubleshooting checklist nearby
Save the guide so you can return to the slip knot, chain, and single crochet steps when a row does not look right.
Choose a Simple First Crochet Project
Your first project should repeat one basic crochet stitch. Repetition builds muscle memory and lets you notice progress. Choose a small item that can be completed without shaping, complex colorwork, or thin yarn.
Small square
Make a flat square with single crochet. It is ideal for learning rows, counting, and finishing.
Dishcloth
A dishcloth is practical and forgiving. Use cotton yarn after you feel comfortable with acrylic practice yarn.
Simple scarf
A scarf gives you long rows of repetition. Keep the width modest so the project does not feel endless.
Wait before starting clothing, fitted shapes, lace, tiny hooks, or complicated color changes. Those projects are rewarding, but they require more control and pattern reading.
A seven-day practice plan
- Day one: hold the hook and yarn, then make loose loops.
- Day two: practice the slip knot and foundation chain.
- Day three: work rows of single crochet.
- Day four: count stitches and correct an uneven row.
- Day five: try half double crochet and double crochet.
- Day six: change colors and weave in an end.
- Day seven: begin a small square or dishcloth.
Practice at your own pace. A few focused minutes each day can teach more than one rushed session.
Beginner Crochet FAQ and Final Encouragement
How long does it take to learn crochet?
Many beginners understand the basic motion after several short sessions. Smooth tension and even rows take more time. Progress is not always steady, so judge improvement over weeks rather than one difficult evening.
Why do I have two loops on the hook?
Two loops often appear during a single crochet stitch after you insert hook and pull up a loop. Yarn over again, then pull through both loops to complete the stitch.
Should I pull out a mistake?
Yes, when the mistake changes the stitch count or shape. Pull back carefully to the last correct stitch, place the loop hook into position, and continue.
What is the best yarn for a first project?
Smooth, medium-weight yarn in a light or medium color is easiest to see. Acrylic is affordable for practice, while cotton works well for a dishcloth.
Crochet becomes easier when you stop trying to make every stitch perfect. Begin with one hook, one skein of yarn, and one simple stitch. Learn how the loop moves, count your rows, and rest when your hands feel tired.
Your first piece may be uneven. That is not wasted work. It is how your hands learn the rhythm of crochet. Keep practicing, choose a small project, and let improvement happen one stitch at a time.