
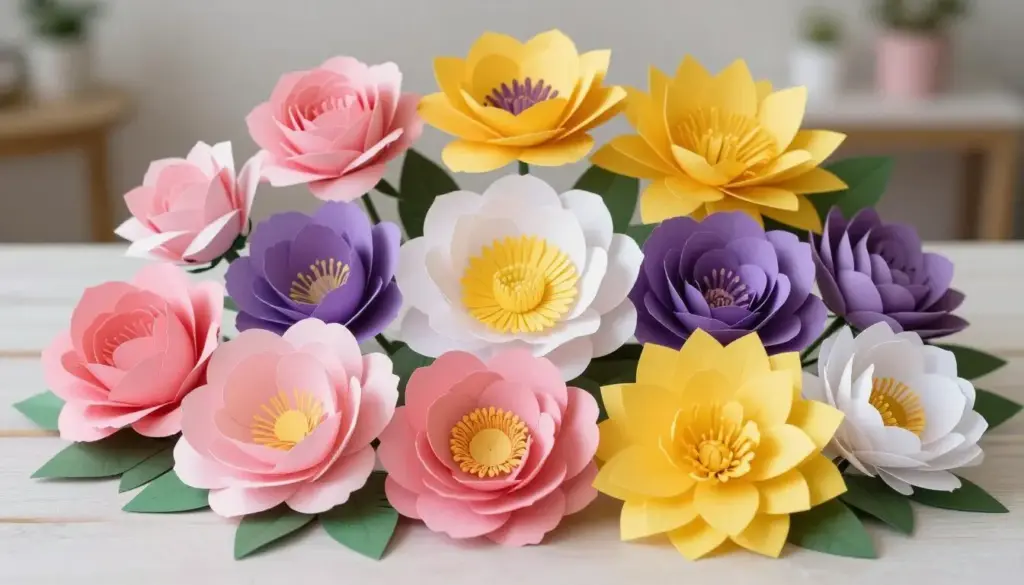
Paper flowers offer a stunning alternative to fresh blooms that wilt within days. These handmade creations last forever and cost just pennies to make. Whether you need decorations for a party, wedding bouquet, or room accent, paper flowers deliver beauty without the hefty price tag.
This guide walks you through nine different paper flower designs. Each tutorial uses easy-to-find materials and simple techniques. You’ll create gorgeous flowers that look remarkably realistic.
From delicate tissue paper blossoms to bold crepe paper blooms, these projects suit crafters of all skill levels. Let’s dive into making beautiful paper flowers that will impress everyone.
Essential Materials for Making Paper Flowers
Before starting your paper flower journey, gather these basic supplies. Most items are available at your local craft store or online.
Paper Options
- Tissue paper in various colors
- Crepe paper sheets
- Colored cardstock or construction paper
- Patterned scrapbook paper
- Book pages or sheet music for vintage looks
Tools and Adhesives
- Scissors or craft knife for cutting
- Hot glue gun and glue sticks
- Pipe cleaners for stems
- Floral wire for support
- Pencil and ruler for measurements
These basic supplies will serve you well across all nine tutorials. Having quality materials makes the crafting process smoother and produces better results.
Start Your Paper Flower Journey
Get our complete materials checklist and shopping guide delivered to your inbox, plus 10 bonus flower templates absolutely free.
1. Classic Tissue Paper Carnation
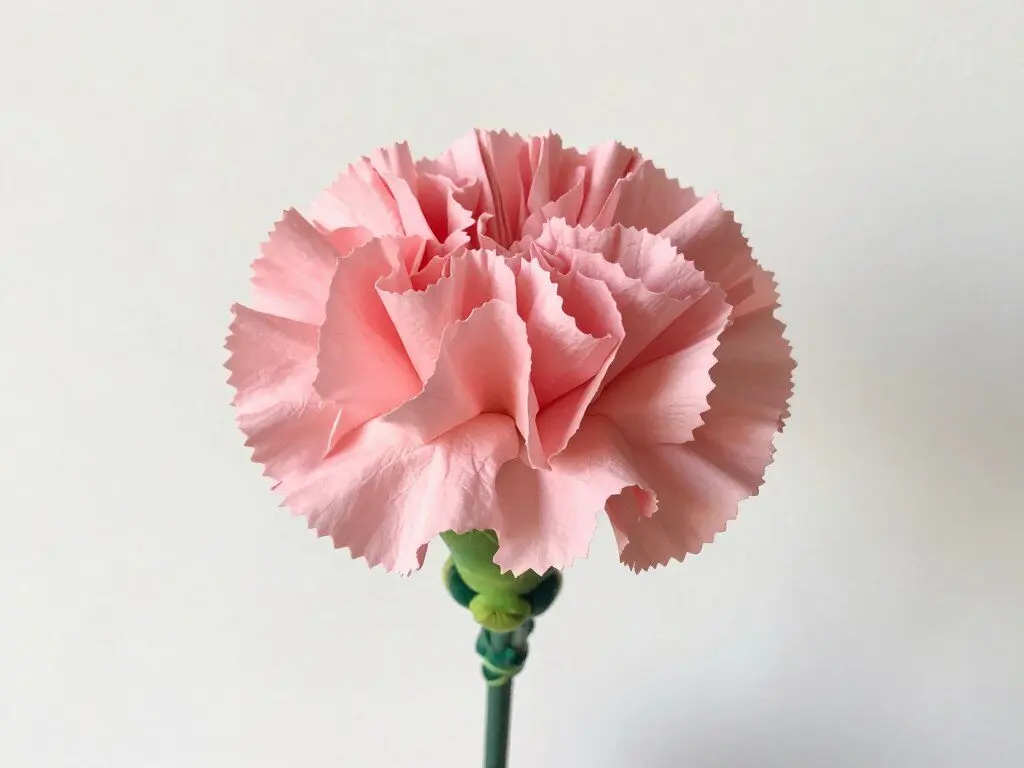
Carnations are perfect for beginners because they require minimal cutting and shaping. This classic design uses stacked tissue paper layers to create full, fluffy blooms.
Materials Needed
- Five sheets tissue paper in your chosen color
- One green pipe cleaner for the stem
- Scissors for trimming edges
- Ruler for measuring paper
Step-by-Step Instructions
- Stack five sheets of tissue paper together
- Fold the stack accordion-style with one-inch folds
- Wrap the pipe cleaner tightly around the center
- Trim both ends into rounded shapes
- Gently separate each layer, pulling toward the center
- Fluff the petals until you achieve a full, round bloom
This flower takes about 15 minutes to create. The accordion folding technique is easy to master and produces impressive results. You can make dozens quickly for large events or bouquets.
Pro Tip: Use different colors of tissue paper in your stack to create beautiful ombre effects. Alternate pink and white sheets for a gradient carnation.
2. Elegant Crepe Paper Rose
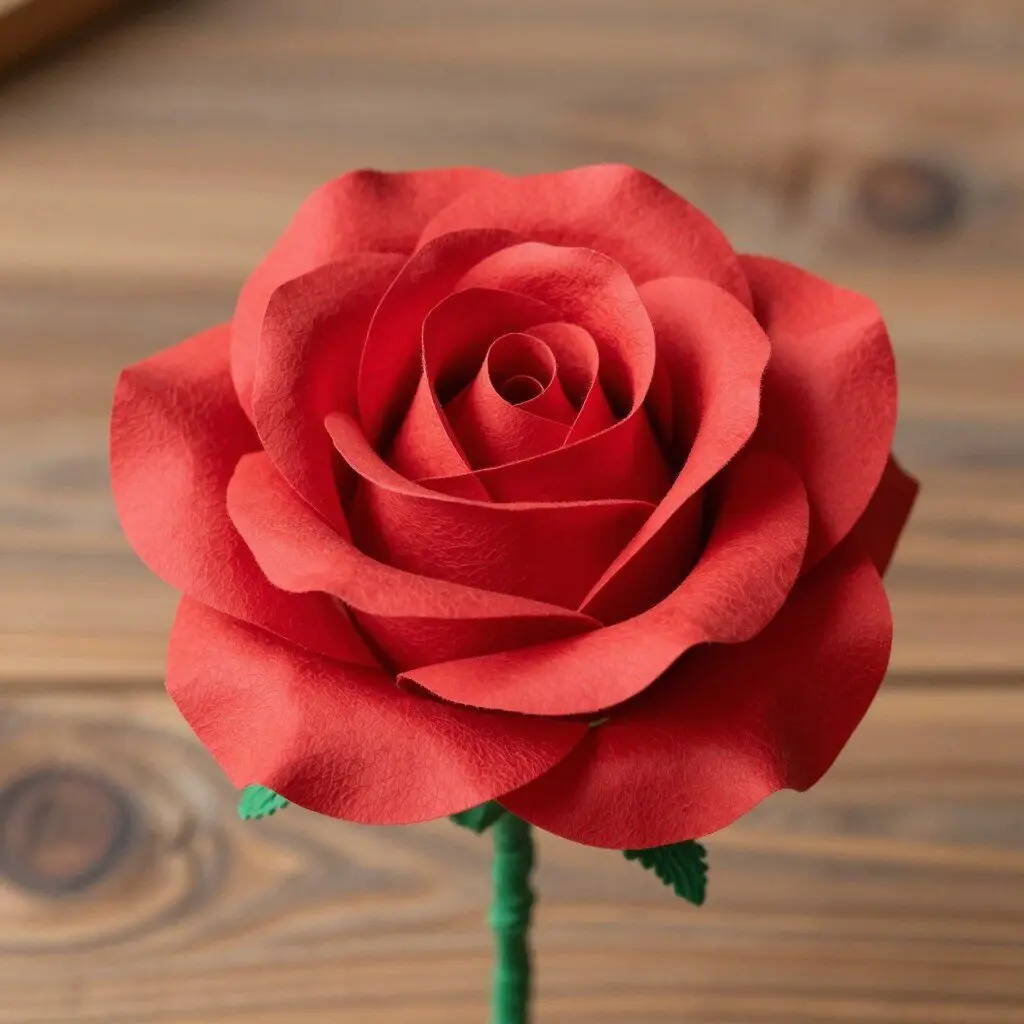
Roses are the most popular paper flowers for weddings and special occasions. Crepe paper creates realistic texture that mimics real rose petals.
Materials Needed
- Red or pink crepe paper roll
- Green crepe paper for leaves
- Floral wire for stem support
- Hot glue gun for attaching petals
- Scissors for cutting petal shapes
Step-by-Step Instructions
- Cut 15 petal shapes from crepe paper, varying sizes
- Stretch the top edge of each petal to create curves
- Wrap the smallest petal tightly around the wire stem
- Add petals one by one, overlapping slightly
- Secure each petal with a small dot of hot glue
- Cut leaf shapes from green crepe paper
- Attach leaves to the stem base
The stretching process is key to realistic-looking roses. Crepe paper has natural grain that allows gentle manipulation. Take your time shaping each petal for best results.
This rose takes approximately 30 minutes to complete. The extra time investment creates a flower that rivals expensive silk versions.
3. Stunning Paper Dahlia
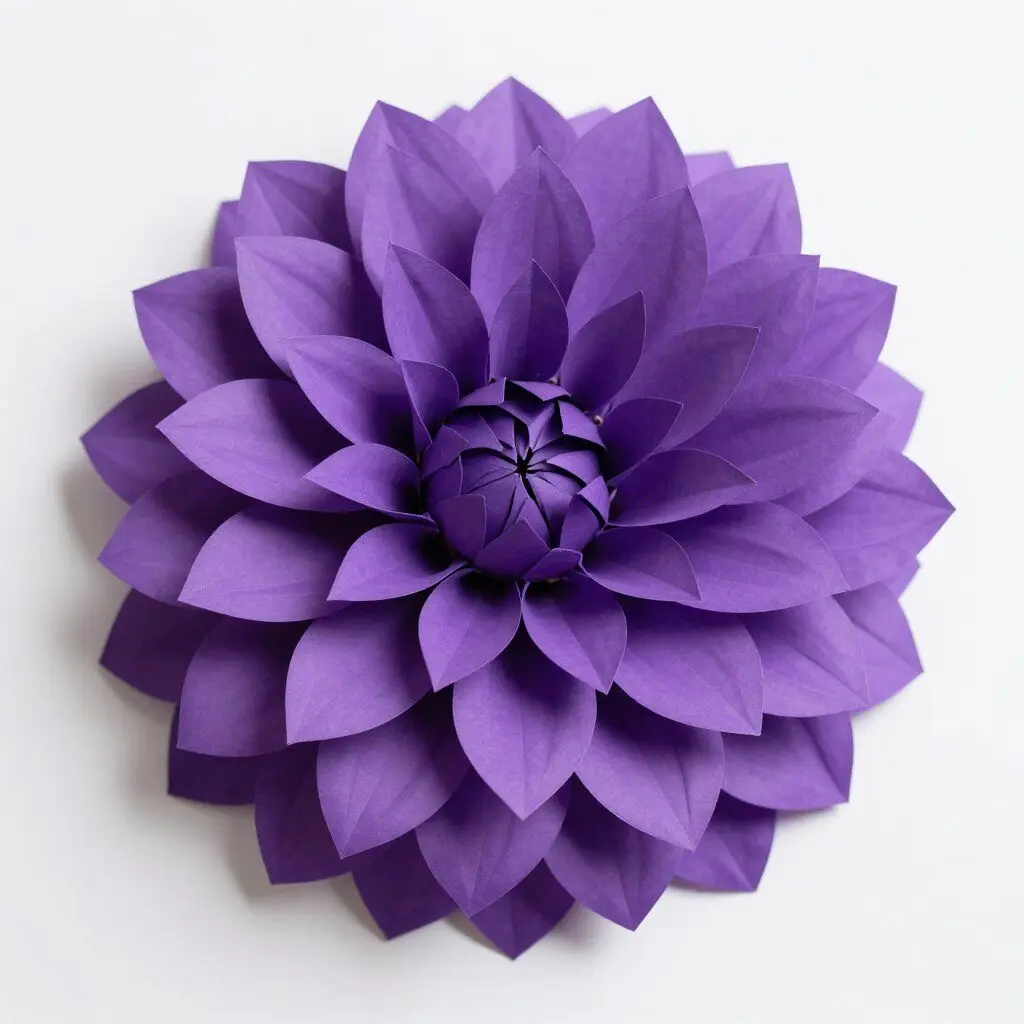
Dahlias feature dramatic pointed petals arranged in perfect symmetry. These bold flowers make stunning wall decorations or bouquet centerpieces.
Materials Needed
- Colored cardstock paper in two complementary shades
- Circle template or compass for base
- Craft glue or glue gun
- Scissors for cutting petals
- Pencil for tracing shapes
Step-by-Step Instructions
- Cut a four-inch circle from cardstock for the base
- Cut approximately 50 small cone-shaped petals
- Roll each petal into a cone shape and secure with glue
- Start gluing cones around the outer edge of the circle
- Work in concentric circles toward the center
- Fill the center completely with smaller cones
- Add a contrasting color in the very center for dimension
The repetitive rolling creates a meditative crafting experience. This project takes about 45 minutes but produces a show-stopping flower.
Size Variations: Make mini dahlias using a two-inch base circle or giant wall decorations with an eight-inch base. The technique scales beautifully for any size.
Love These Tutorials?
Subscribe now to receive 10 bonus paper flower templates, video tutorials, and exclusive crafting tips delivered straight to your inbox.
4. Romantic Tissue Paper Peony
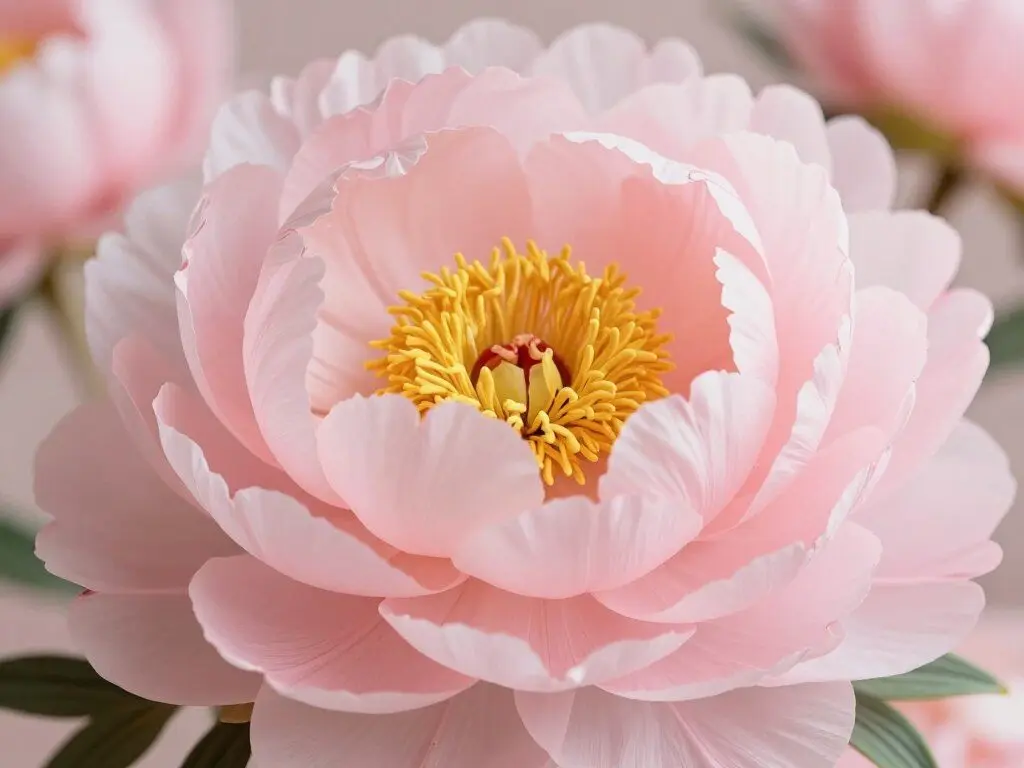
Peonies offer softness and romance with their abundant ruffled petals. These flowers work beautifully for spring decorations and wedding bouquets.
Materials Needed
- Light pink tissue paper, eight sheets
- Yellow tissue paper for center
- Green pipe cleaner stem
- Scissors for edge trimming
- Floral tape for stem wrapping
Step-by-Step Instructions
- Cut tissue paper sheets into six-inch squares
- Stack eight pink squares together
- Accordion-fold the stack into one-inch pleats
- Secure the center with pipe cleaner
- Round the edges with scissors
- Separate layers carefully, fluffing each one
- Scrunch yellow tissue paper for the center
- Glue yellow center into the middle of petals
The yellow center adds authenticity to your peony. This small detail transforms a basic tissue paper flower into something special.
Each peony takes roughly 20 minutes to craft. The delicate tissue paper requires gentle handling but forgives small mistakes easily.
5. Vintage Book Page Rose
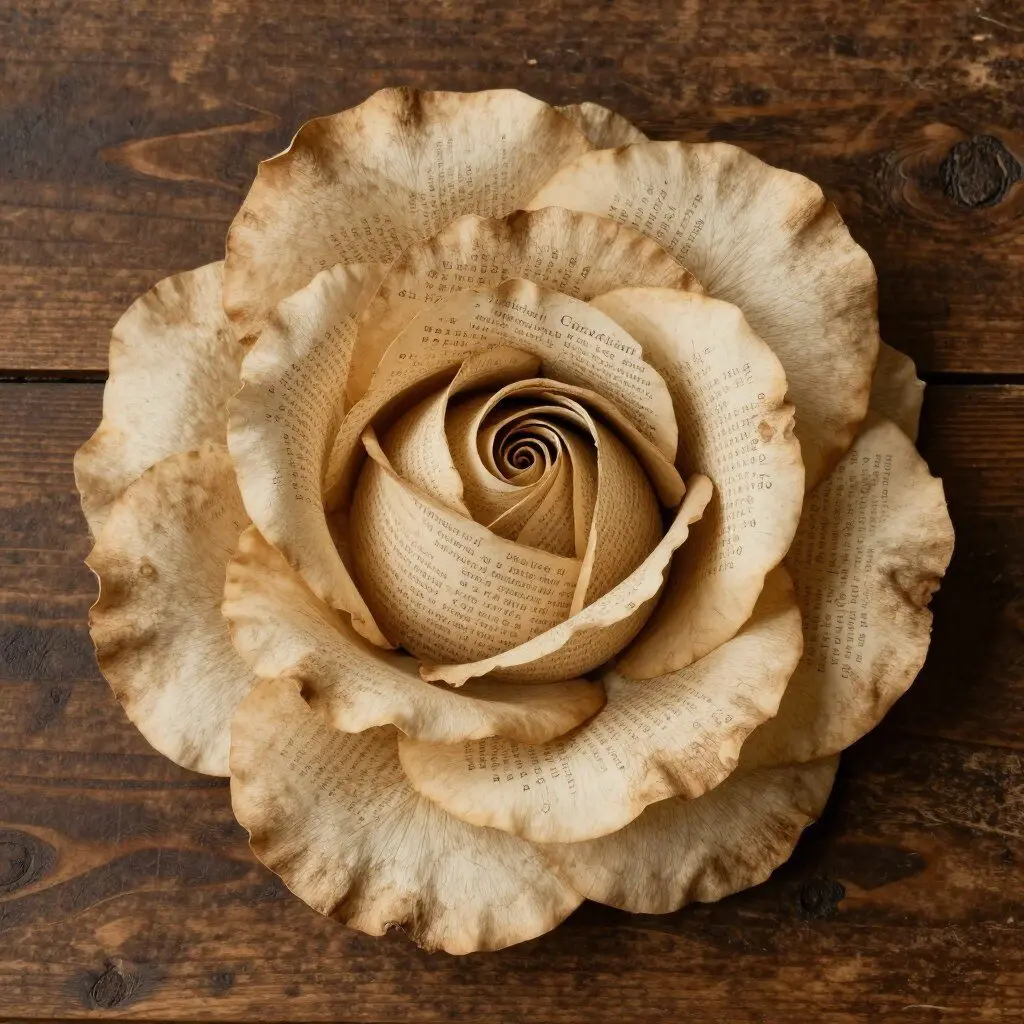
Book page roses bring vintage charm to any setting. Old books, sheet music, or dictionary pages create unique flowers with character and history.
Materials Needed
- Pages from an old book or printed vintage text
- Floral wire for stem structure
- Hot glue for securing petals
- Scissors for cutting petal shapes
- Brown floral tape for stem wrapping
Step-by-Step Instructions
- Cut book pages into heart-shaped petals of varying sizes
- Age the edges by brushing with tea or coffee (optional)
- Curl petal edges outward using a pencil
- Wrap the smallest petal tightly around wire stem
- Layer larger petals around the center
- Secure each petal with hot glue
- Wrap the stem with brown floral tape
The text visible on petals adds unexpected beauty. Choose pages with interesting fonts or meaningful passages for personalized gifts.
Eco-Friendly Crafting: This project gives new life to damaged books that cannot be donated. You’re creating art while reducing waste.
6. Bold Crepe Paper Poppy
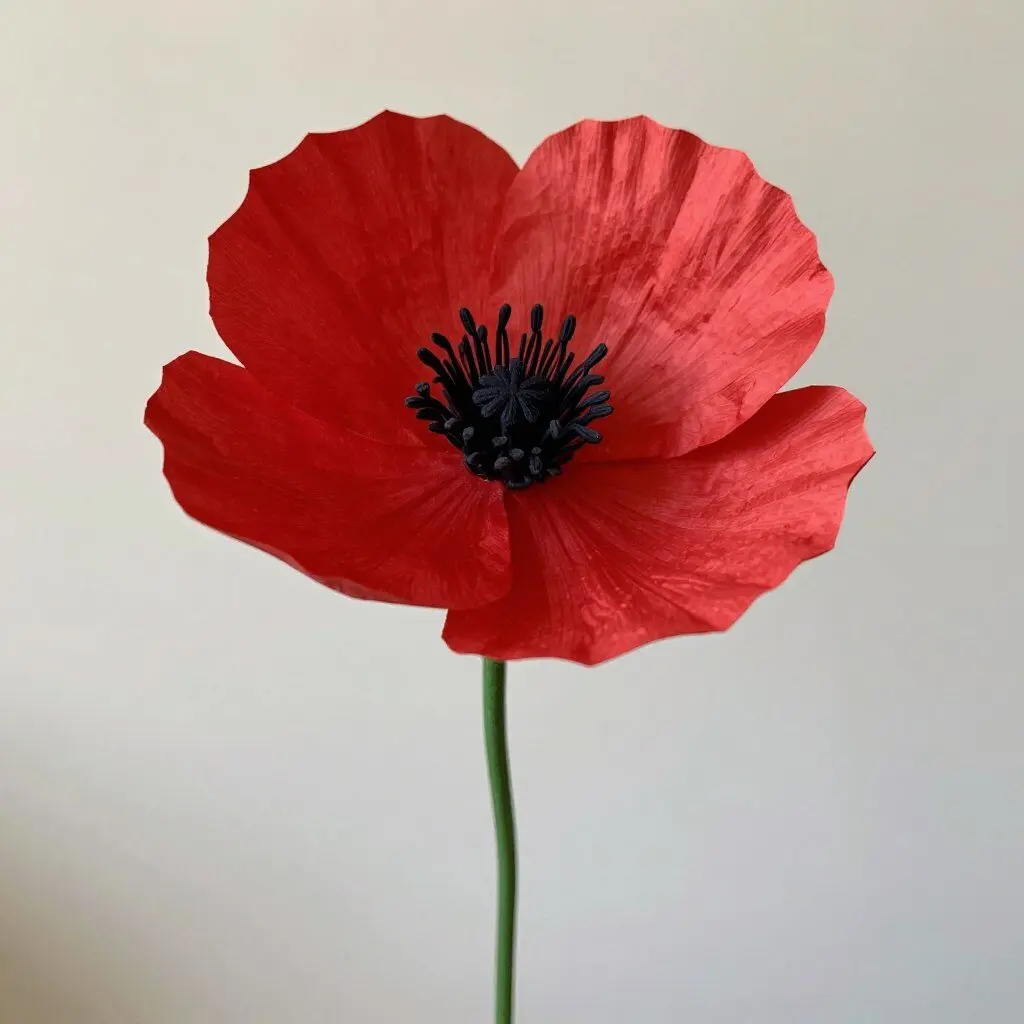
Poppies feature simple shapes with striking color combinations. Their four-petaled structure makes them surprisingly easy to create.
Materials Needed
- Red crepe paper for petals
- Black tissue paper for center
- Green pipe cleaner stem
- Hot glue gun for assembly
- Scissors for cutting petal shapes
- Small foam ball for flower center
Step-by-Step Instructions
- Cut four large oval petals from red crepe paper
- Stretch the center of each petal slightly
- Wrap black tissue paper around small foam ball
- Attach black center to pipe cleaner stem
- Glue petals around the black center, spacing evenly
- Pinch petal bases to create natural curves
- Fluff petals gently for dimension
The black center creates dramatic contrast against red petals. This color combination instantly recognizable as a poppy.
These flowers assemble quickly in about 15 minutes each. Make several for a striking Memorial Day or Veterans Day display.
7. Delicate Paper Hydrangea
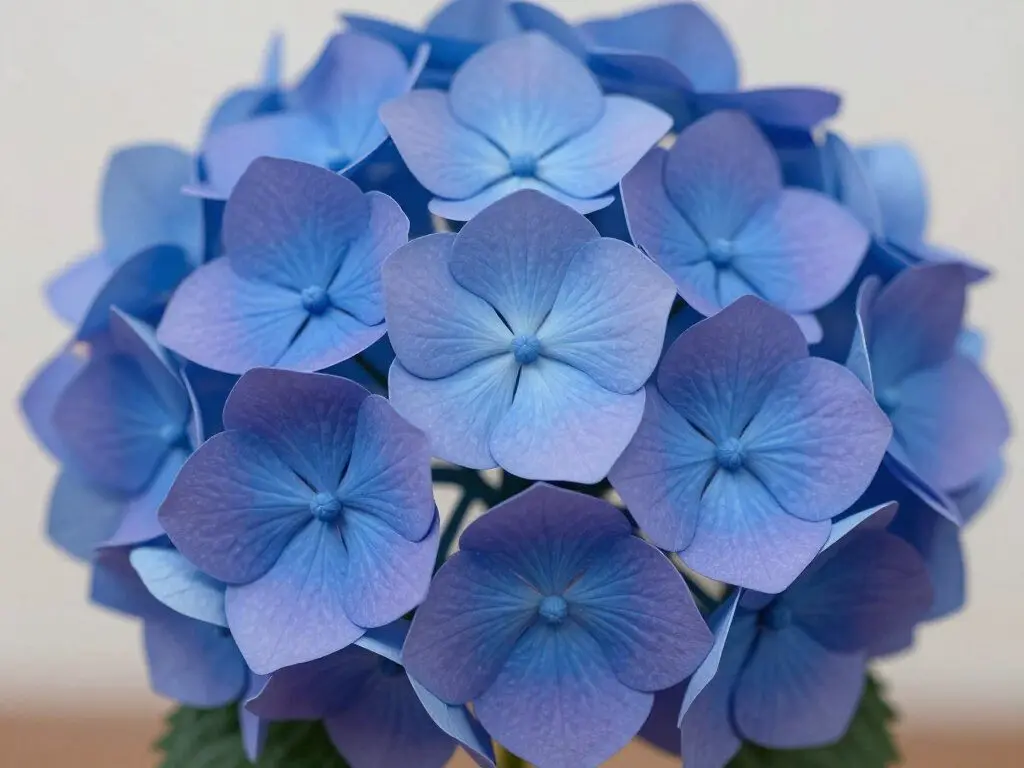
Hydrangeas consist of many small four-petaled flowers clustered together. This project teaches you to build complex blooms from simple components.
Materials Needed
- Colored paper in blue, purple, or pink shades
- Small flower punch (one-inch size)
- Scissors if you don’t have a punch
- Floral wire for stem base
- Hot glue for attaching florets
- Small beads for flower centers
Step-by-Step Instructions
- Punch or cut approximately 40 small four-petaled flowers
- Curl petals slightly upward using a pencil
- Glue a small bead in the center of each floret
- Form a cluster base from scrunched tissue paper
- Attach florets to the base one by one
- Cover the entire surface with overlapping flowers
- Add wire stem to the base
The repetitive nature of this project makes it perfect for watching movies while crafting. Each hydrangea bloom takes about one hour to complete.
Mix different shades of the same color for realistic depth. Real hydrangeas show color variation, and your paper version should too.
8. Cheerful Tissue Paper Marigold
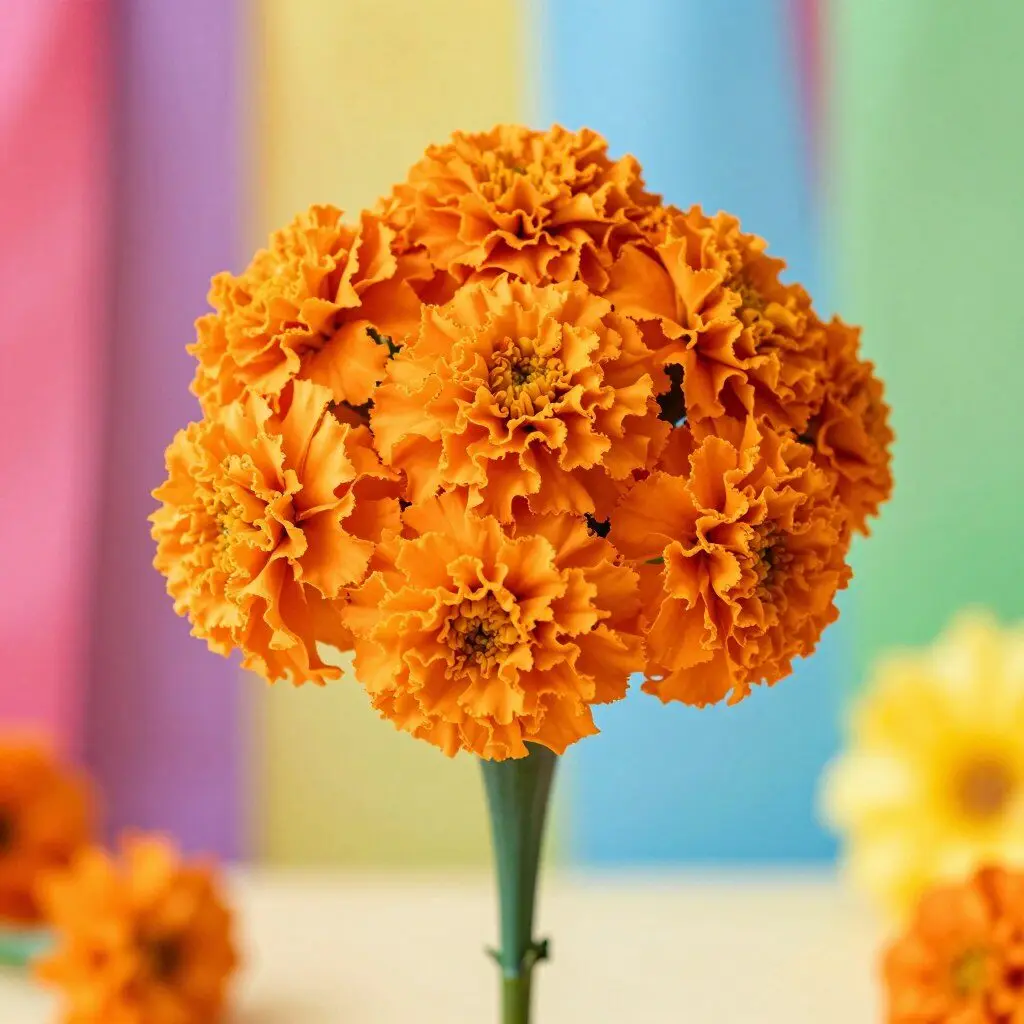
Marigolds bring sunny color to any space. These flowers use a fringe-cutting technique that creates fuller, fluffier blooms.
Materials Needed
- Orange tissue paper, six sheets
- Yellow tissue paper, two sheets
- Green pipe cleaner for stem
- Scissors for fringe cutting
- Ruler for measuring strips
Step-by-Step Instructions
- Stack orange and yellow tissue paper together
- Fold the stack in half lengthwise
- Cut fringe along the folded edge, stopping one inch from the bottom
- Roll the fringed paper tightly around the pipe cleaner
- Secure the base with the pipe cleaner twist
- Fluff the fringe outward to create a full bloom
- Trim any uneven edges for a neat appearance
The fringe-cutting technique works for many flower types. Once you master this method, you can create carnations, chrysanthemums, and more.
Festival Decorations: Marigolds are traditional decorations for Dia de los Muertos. Make dozens in orange and yellow for authentic altar displays.
9. Bright Crepe Paper Sunflower
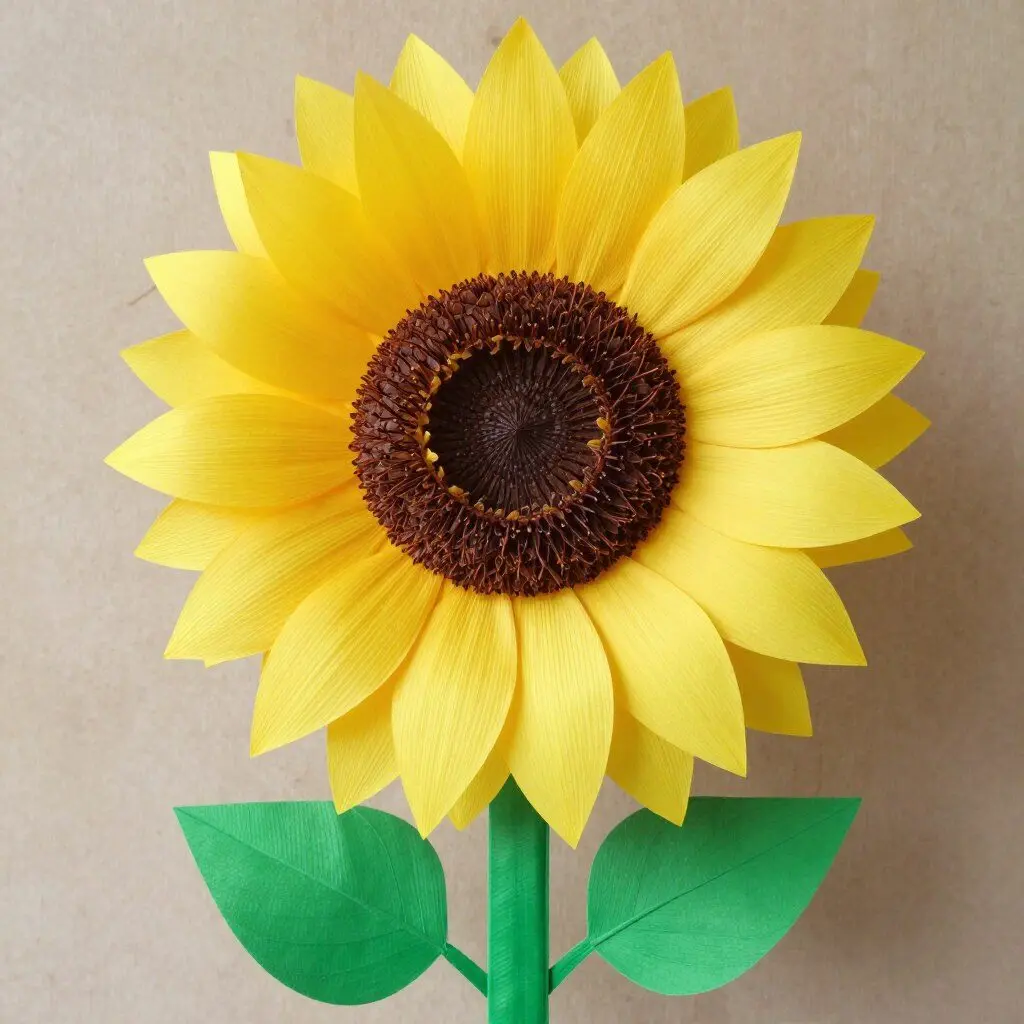
Sunflowers bring instant happiness with their bold yellow petals and distinctive brown centers. These large blooms make fantastic home decorations.
Materials Needed
- Yellow crepe paper for petals
- Brown tissue paper for center
- Green crepe paper for leaves
- Cardboard circle base, four inches diameter
- Hot glue gun for assembly
- Wooden dowel or thick wire for stem
Step-by-Step Instructions
- Cut 20 pointed petal shapes from yellow crepe paper
- Glue petals around the edge of cardboard circle
- Layer a second row of petals between the first row
- Scrunch brown tissue paper and glue in the center
- Cut large leaf shapes from green crepe paper
- Attach dowel stem to the back of the flower
- Glue leaves to the stem
The cardboard base provides structure for this large flower. This support allows your sunflower to stand tall in arrangements.
Each sunflower requires about 35 minutes to complete. Display several together for a stunning summer bouquet that never wilts.
Ready to Create Your Paper Flower Garden?
Get premium craft supplies delivered to your door. Shop high-quality tissue paper, crepe paper, and all the tools you need to make beautiful paper flowers.
Expert Tips for Perfect Paper Flowers
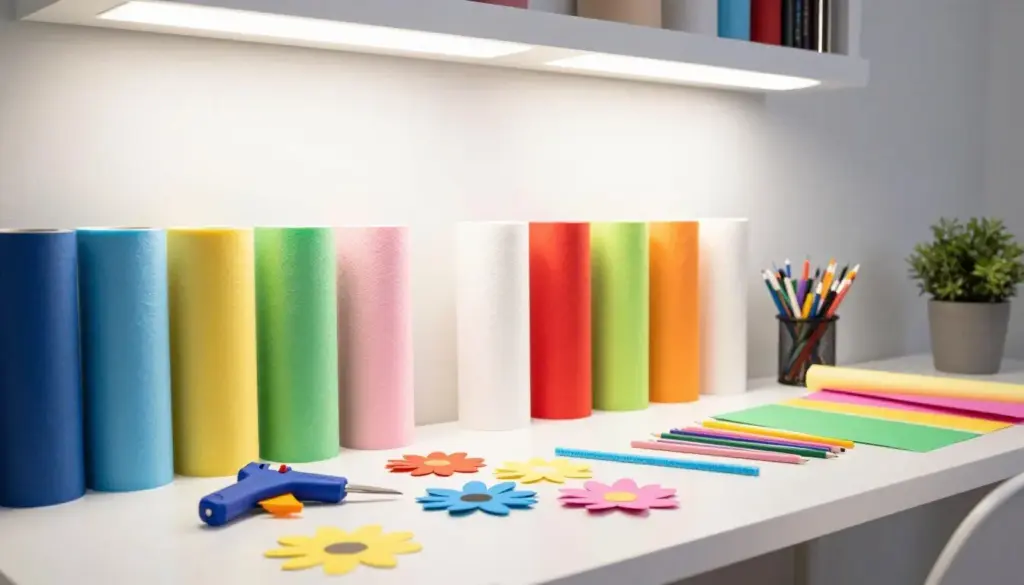
These proven techniques will improve your paper flower results and make the crafting process more enjoyable.
Choosing the Right Paper
Paper quality dramatically affects your finished flowers. Tissue paper creates delicate, lightweight blooms perfect for large installations. Crepe paper offers stretch and texture that mimics real petals. Cardstock provides structure for flowers that need to stand upright.
Buy paper in bulk for better value. Craft stores often run sales on tissue paper packs that include multiple colors. Stock up when prices drop to always have supplies ready.
Working with Color
Don’t limit yourself to realistic flower colors. Purple roses, blue carnations, and rainbow peonies add whimsy to decorations. Mix unexpected color combinations for unique results.
Layer different shades of the same color for depth. Use dark pink in the center and light pink on outer petals for dimensional roses.
Storage Solutions
Store completed paper flowers in boxes with tissue paper padding. Keep them away from humidity and direct sunlight to prevent fading. Properly stored paper flowers last for years.
Organize your supplies in clear containers. Being able to see your paper colors at a glance speeds up project selection and keeps your workspace tidy.
Benefits of Paper Flowers
- Last indefinitely without wilting
- Cost pennies compared to fresh flowers
- No allergies or maintenance required
- Customize any color or size imaginable
- Eco-friendly when using recycled paper
- Perfect for events in any weather
Considerations
- Time investment for large quantities
- Learning curve for complex designs
- Cannot match real flower fragrance
- Delicate tissue paper tears easily
- Storage space needed for finished flowers
Start Creating Your Paper Flower Collection
These nine paper flower tutorials offer something for every skill level and occasion. Start with simple carnations to build confidence, then progress to more complex roses and dahlias.
The beauty of paper flowers lies in their versatility. Use them for wedding decorations, party centerpieces, gift toppers, or permanent home decor. Each flower costs just pennies to make but delivers stunning visual impact.
Gather your supplies and choose your first project. The process of shaping paper into beautiful blooms provides relaxation and creative satisfaction. Before long, you’ll have a gorgeous collection of handmade flowers that showcase your crafting skills.
Remember that practice improves your results. Your tenth rose will look dramatically better than your first. Enjoy the learning process and celebrate each completed flower as an achievement.