A DIY Toilet Paper Roll Spider Craft for Kids offers an entertaining, budget-friendly way to turn simple household recycling into imaginative play. By shaping cardboard cylinders with washable tempera paint, pipe cleaners, and adhesive accents, children can construct sturdy three-dimensional arachnids while building coordination. These projects adapt easily to spooky season festivities, classroom art sessions, or rainy afternoon activities at home.
The right approach depends on the age of the children, available workspace, and the crafting supplies already in the cupboard. While younger crafters thrive with simple stamping and adhesive stickers, older children often enjoy bending articulated legs and testing different paint patterns.
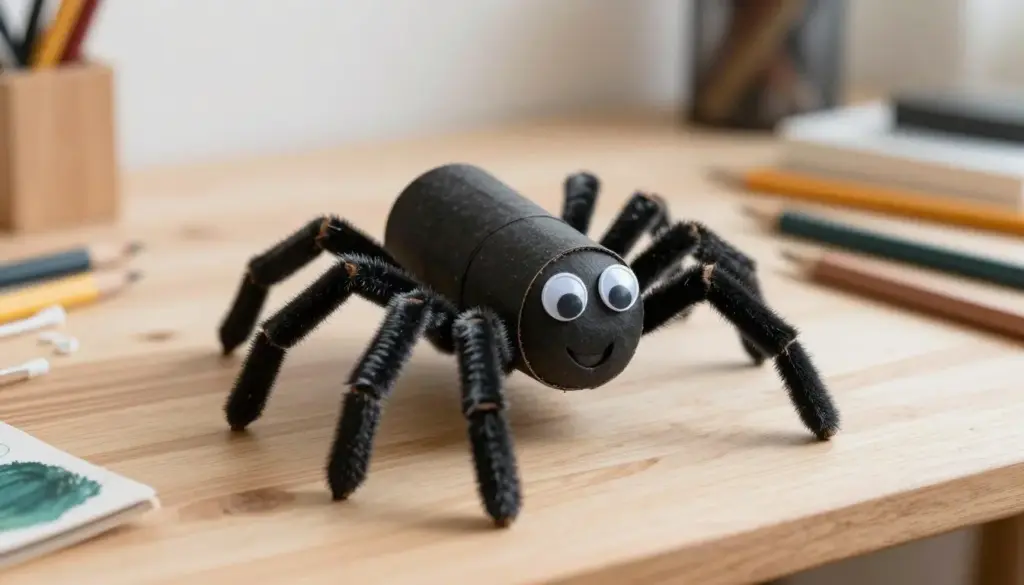
Transforming an empty paper roll into a freestanding spider combines creative painting with simple construction skills.
1. Classic DIY Toilet Paper Roll Spider Craft for Kids
The traditional cardboard tube spider remains a favorite project because it requires only basic household supplies and stands securely on flat surfaces. Transforming a simple toilet paper roll into a freestanding character allows children to practice painting broad surfaces and carefully bending flexible pipe cleaner legs.
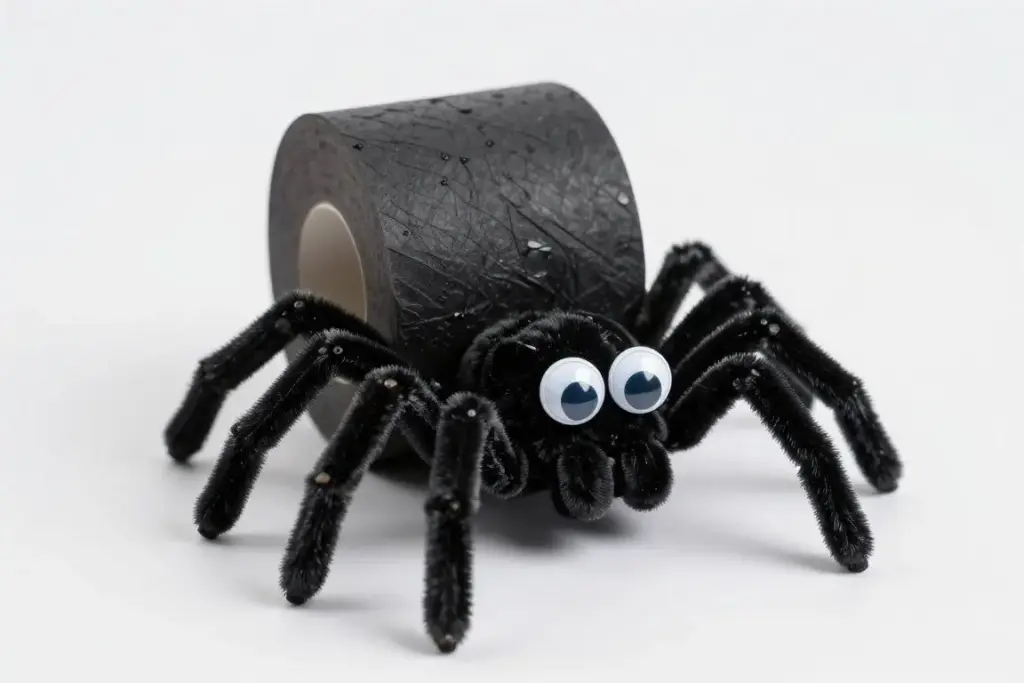
Bending flexible wire stems into jointed shapes gives the classic spider body balanced support.
Building the foundational version follows the straightforward steps demonstrated in the Toilet Paper Roll Spider Craft guide, which emphasizes body preparation before leg attachment. Assembling the components methodically keeps the workstation clean and lets paint dry smoothly between steps.
- Coat the cardboard tube evenly with black paint and allow the surface to dry completely before handling.
- Attach four pipe cleaners across each lower side using craft glue to produce eight balanced spider legs.
- Bend each leg downward to form jointed bends so the spider body stands firmly upright on its own.
- Affix two googly eyes near the top edge and draw a friendly smile using a white paint pen.
2. Hanging Bouncing Tube Spider
Suspending a paper roll spider creates an interactive decoration that bobs gently when hung from door frames or ceilings. Adding an elastic cord or yarn tether turns a static tabletop model into dynamic Halloween party decor.
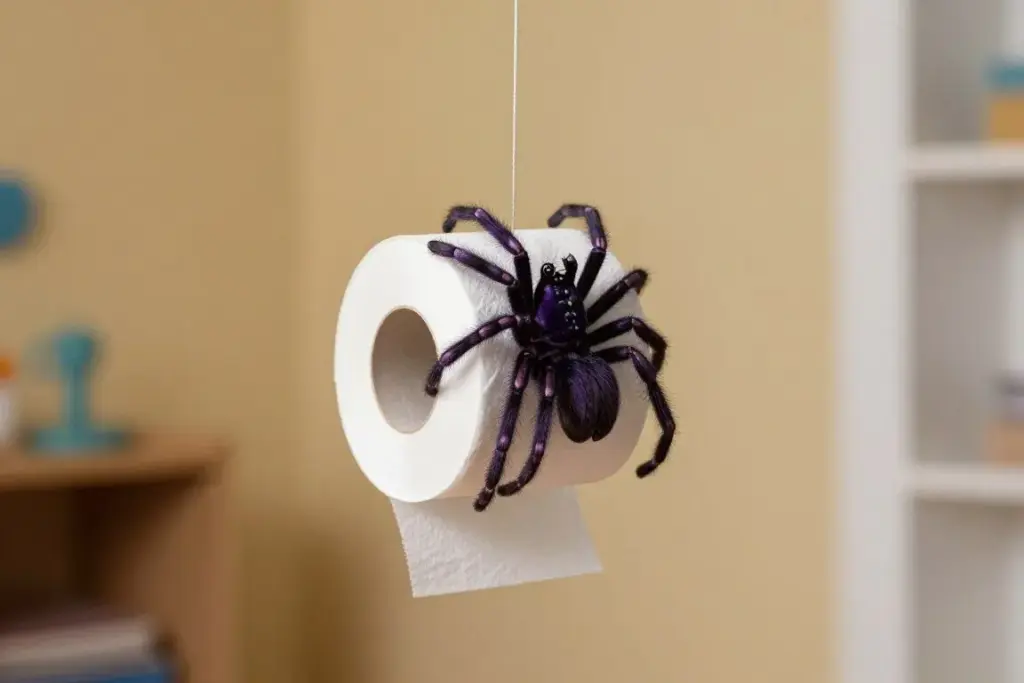
Attaching a simple suspension string allows the finished craft to dangle and bounce during play.
Punching two small holes near the upper rim of the tube allows the suspension thread to balance the craft evenly. Knotting the string securely on the inside prevents the cord from slipping out when children pull downward to make the spider bounce.
Thread the cord through the center of gravity before adding heavy embellishments to help the suspended tube stay level while hanging.
3. Multi-Eyed Friendly Tube Spider
True spiders feature multiple optical clusters, and children can explore this anatomical trait by covering the face of the cylinder with varying sizes of plastic eyes. Arranging several eye pairs builds fine motor control and produces comical facial expressions.
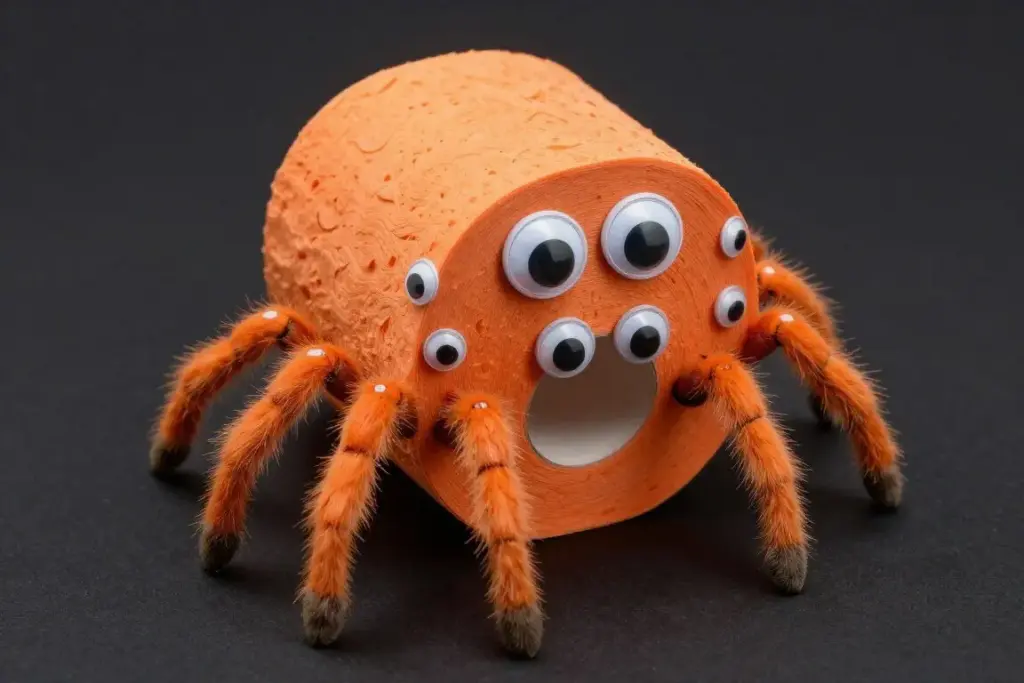
Clustering multiple eye sizes across the tube front adds personality while mimicking real arachnid traits.
Using different eye arrangements helps children experiment with symmetry and visual contrast on their spider craft. Comparing face layouts beforehand helps each child decide on their preferred design.
| Eye Layout | Eye Count | Visual Effect |
| Classic Pair | Two Eyes | Creates a familiar cartoon appearance that suits younger makers. |
| Double Tier | Four Eyes | Produces an alert expression with stacked optical pairs. |
| Full Cluster | Eight Eyes | Highlights authentic arachnid anatomy across the upper forehead. |
4. Recycled Cardboard Strip Leg Spider
When pipe cleaners are not on hand, crafters can use leftover cardboard scraps or thick construction paper to produce sturdy, angular legs. This variation reinforces zero-waste principles by relying entirely on paper-based household waste.
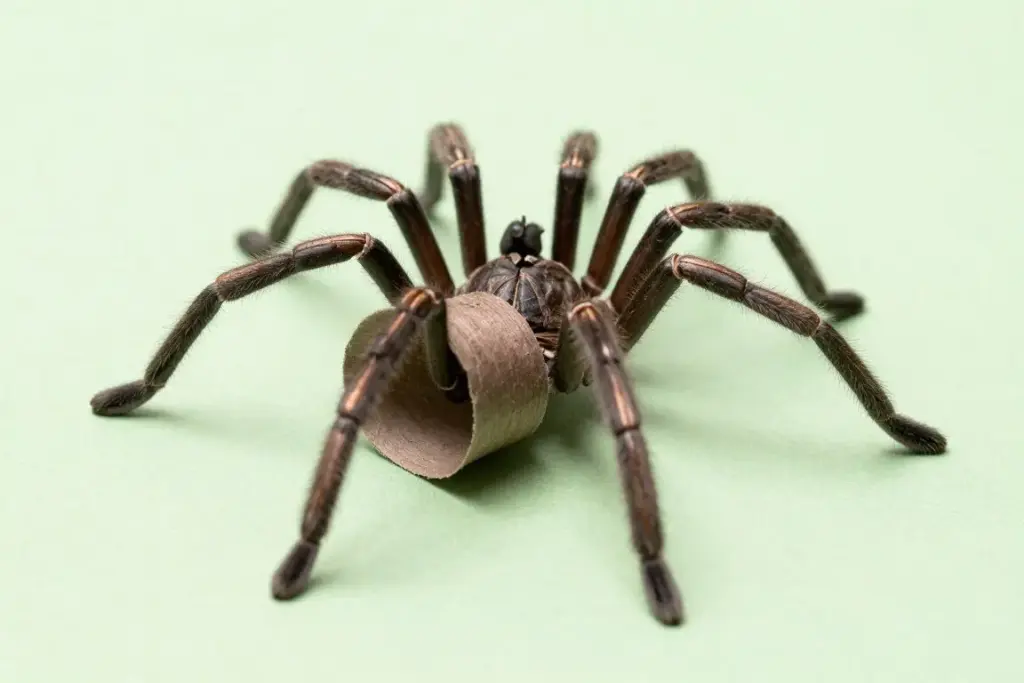
Cutting and creasing spare cardboard packaging creates surprisingly rigid legs without metal wire.
Cutting eight uniform strips from cereal boxes or spare tubes gives the legs enough rigidity to support the central tube. Folding each paper strip twice creates distinct knee and foot segments that grip the tabletop steadily.
Score the fold lines gently with the edge of a plastic ruler to help paper strips bend cleanly without tearing the fibers.
5. Neon Painted Paper Roll Spider
Halloween crafts do not need to rely exclusively on black paint. Splashing bright chartreuse, hot pink, and vivid turquoise across the spider body transforms potentially scary critters into cheerful desk companions.
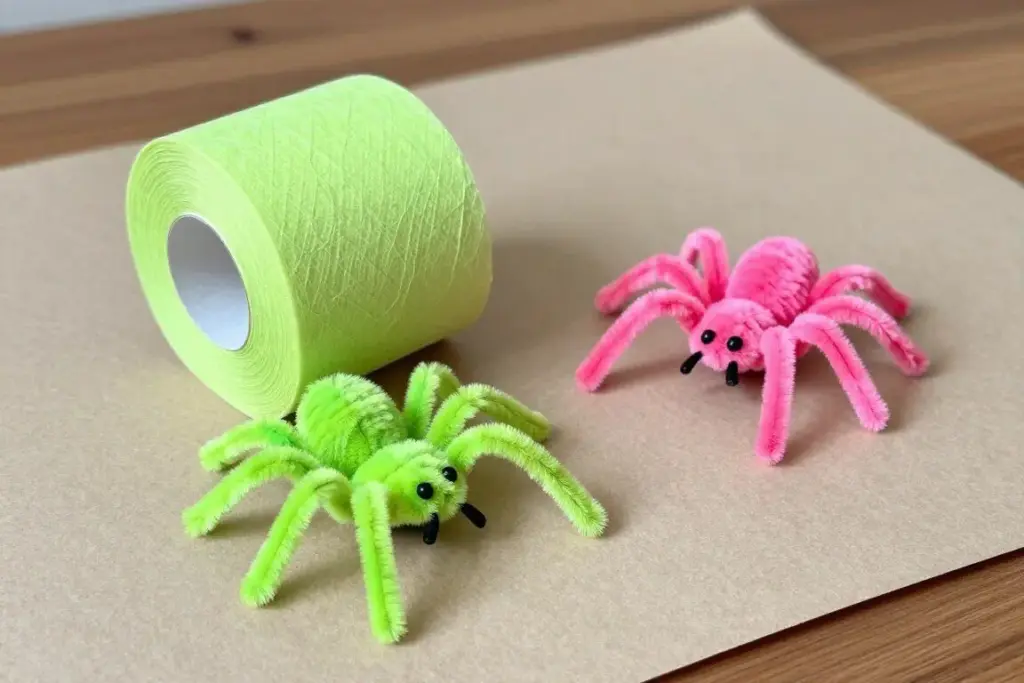
Vibrant paint options make spiders approachable and fun for toddlers and younger students.
Applying a white base coat over darker cardboard tubes helps neon tempera colors pop with maximum brightness. Once the base coat dries, children can layer multiple electric shades across the surface.
- Apply an initial coat of white acrylic or chalk paint to mask dark recycled cardboard.
- Layer bright neon tempera across the body tube using foam sponge brushes for even coverage.
- Select contrasting neon pipe cleaners to make the eight legs stand out against the body.
6. Glow-in-the-Dark Tube Spider
Applying phosphorescent paint coats to the exterior allows this spider craft to shine under darkened bedroom conditions or black lights. The project provides an exciting way to get creative before evening holiday events.
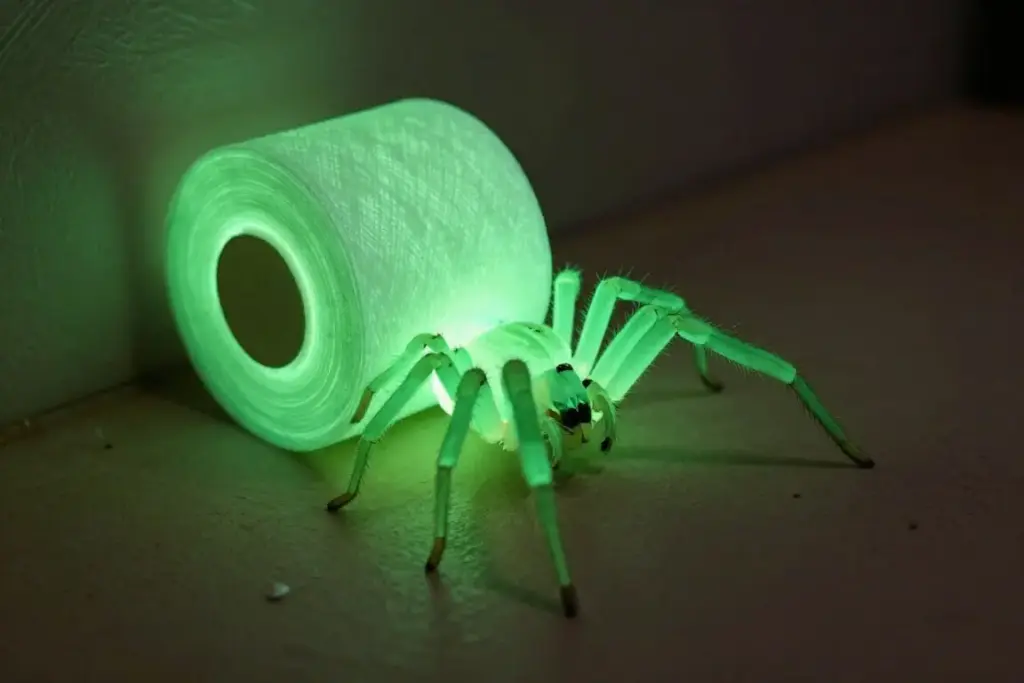
Phosphorescent accents along the legs and tube edges create an eye-catching display in dark rooms.
Children can paint stripes, fangs, or geometric dots using non-toxic glow paint across an already dried dark base. Charging the finished craft beneath a standard desk lamp activates the glowing compound for evening play.
Use dedicated child-safe, non-toxic glowing acrylic paints and supervise brush cleaning to avoid residue on clothing or craft surfaces.
7. Yarn-Wrapped Cardboard Tube Spider
Wrapping coarse knitting yarn around a cardboard tube introduces rich tactile texture while strengthening bilateral hand coordination. This fiber-art hybrid turns a smooth cardboard cylinder into a fuzzy, tactile spider body.
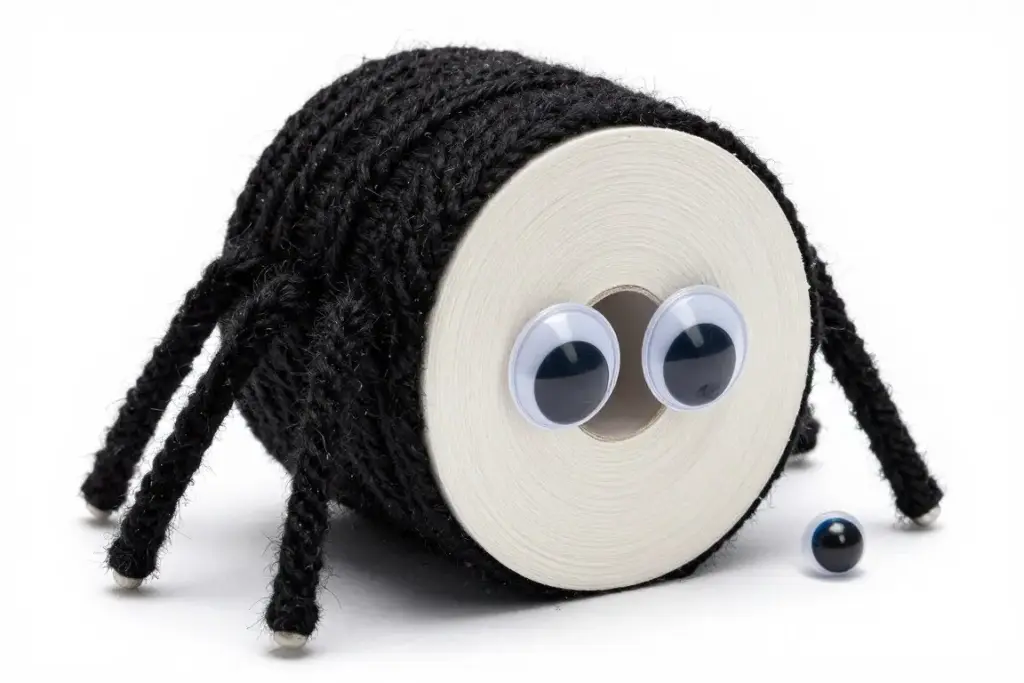
Textured yarn wraps add tactile depth while giving young crafters valuable fine motor exercise.
Children anchor one end of the yarn inside the tube with glue before winding the strand repeatedly around the outer circumference. Wrapping continues until the cardboard underneath is completely hidden by yarn coils.
Advantages
- Eliminates long waiting periods needed for wet paint coats to dry completely.
- Provides engaging sensory exploration for tactile learners through textured materials.
- Builds finger endurance and two-handed motor coordination through continuous wrapping.
Limitations
- Requires sustained finger grip to prevent yarn coils from unspooling during assembly.
- Demands extra glue application at both tube ends to secure loose yarn tails.
8. Accordion Paper Leg Tube Spider
Folding long strips of construction paper back and forth produces springy accordion legs that wiggle whenever the spider moves. This technique avoids wire components completely, making it well-suited for early childhood classrooms.
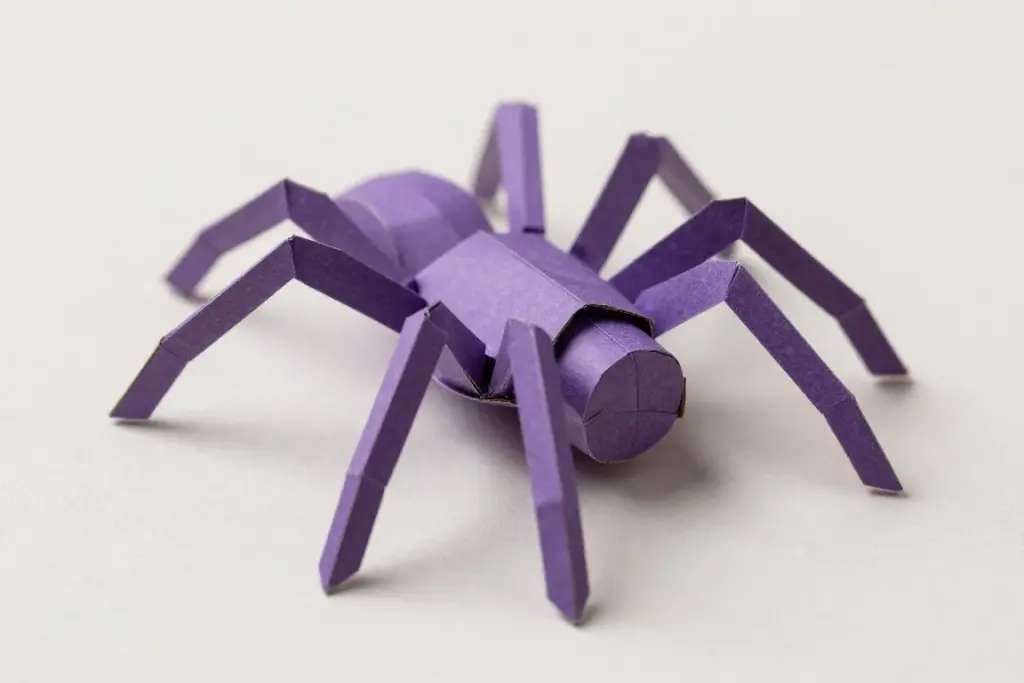
Folded accordion strips bounce and wiggle with light vibrations, giving the spider lifelike movement.
Young crafters cut strips of colored paper and execute alternating valley and mountain folds along the entire length. Fastening four folded strips to each side of the tube produces an energetic, bouncy spider that wobbles across tables.
Press each paper fold firmly with a fingertip before opening the accordion to produce tight, resilient springs that hold their bounce.
9. Patterned Polka Dot Paper Roll Spider
Introducing graphic surface patterns like polka dots, stripes, or checkerboards turns a plain tube into a decorative art piece. Using acrylic paint pens or cotton swabs dipped in paint gives children precise control over their surface designs.
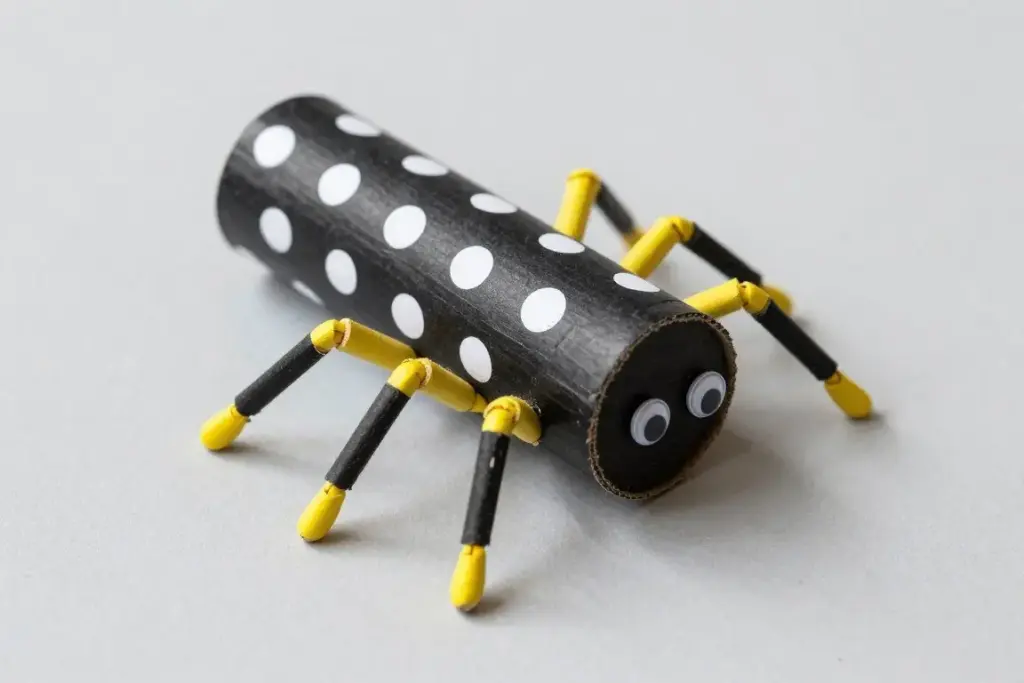
Adding rhythmic dot patterns introduces simple graphic design concepts to basic paper crafts.
Planning the decorative pattern encourages creative choices before assembling the legs and eyes. Working methodically keeps wet dots from smudging during handling.
- Paint the body tube with an opaque base color and let it dry fully to prevent color blending.
- Press the tip of a cotton swab or round sponge dabber into contrasting paint to stamp clean dots across the tube.
- Allow the stamped dots to dry before piercing holes or gluing the eight spider legs into place.
- Finish the face by positioning two googly eyes amidst the pattern to create an expressive personality.
10. Metallic and Glitter Tube Spider
Shimmering finishes turn recycled tubes into eye-catching celebration ornaments. Using washable metallic paints or sprinkling loose craft glitter over wet glue coats adds a festive sparkle that catches light from all angles.
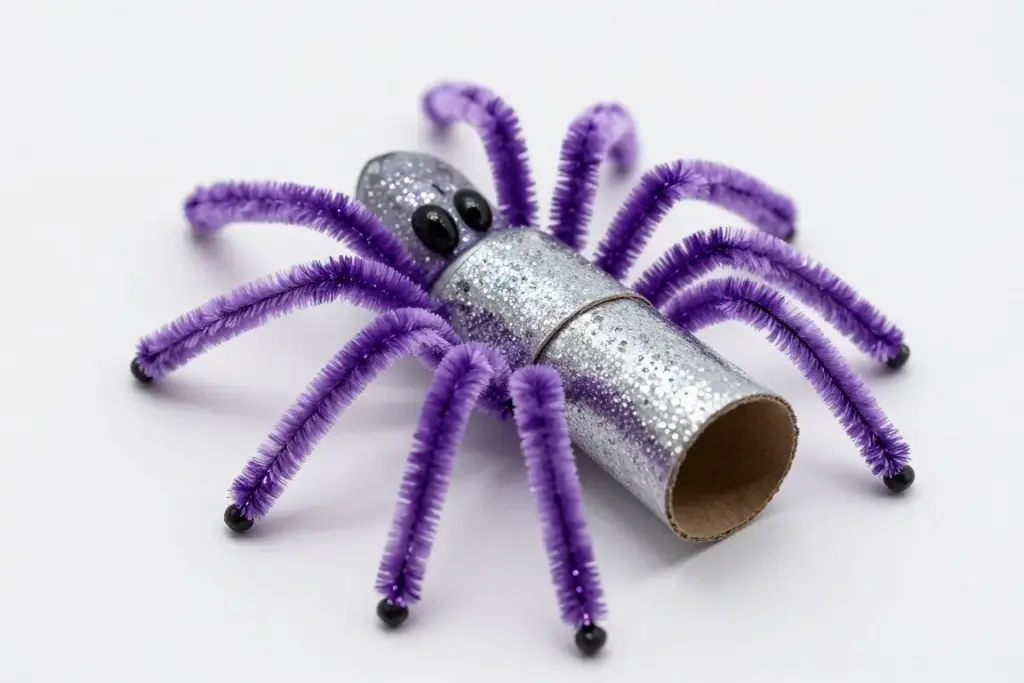
Glitter and metallic sheens catch ambient lighting, turning simple recyclables into holiday display pieces.
Applying glitter over tacky craft glue creates a durable, sparkling exterior that resists shedding during handling. Selecting complementary metallic chenille stems completes the shimmering design.
Metallic Paint Base
Metallic acrylics deliver high sheen with smooth application and zero loose glitter flakes. This option minimizes cleanup while producing a uniform, reflective surface across the cardboard body.
Glitter Glue Accents
Premixed glitter glue bottles allow children to apply shimmering lines and accents without airborne particles. The gel suspension dries clear and locks sparkling fragments firmly in place.
11. Cut-Down Mini Spiderlings
Cutting standard toilet paper rolls into halves or thirds creates squat, compact bodies suitable for a whole brood of baby spiderlings. These smaller variants require less paint and fit nicely onto handmade paper spiderwebs.
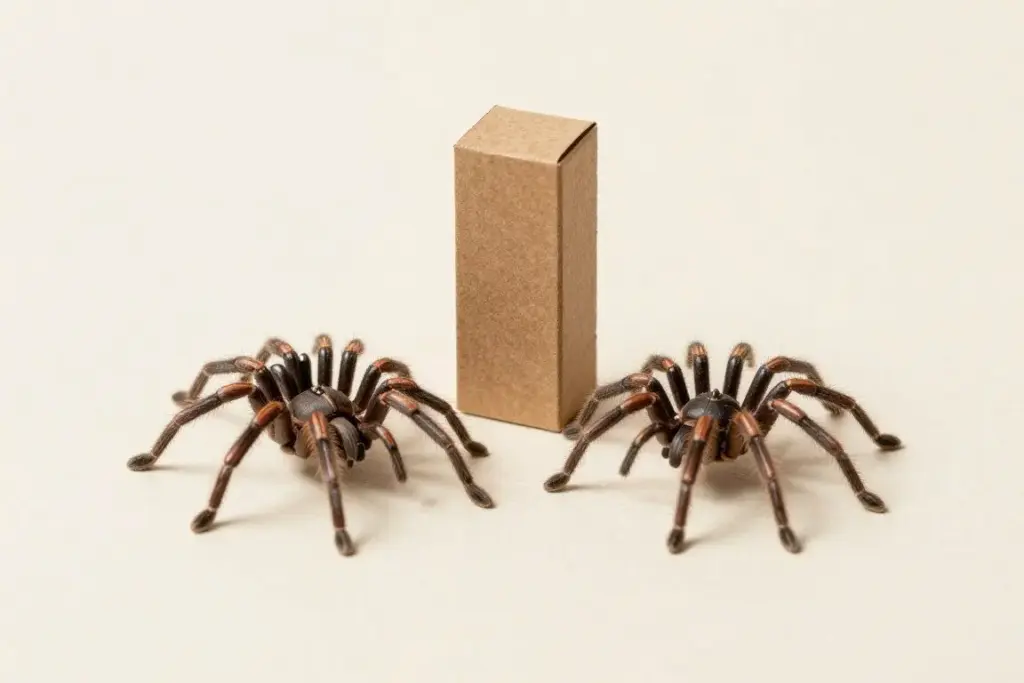
Trimming tubes to varying lengths produces an entire family of playful spiderlings.
An adult can trim tubes cleanly using sharp kitchen shears or a craft blade prior to the crafting session. Children can then decorate each miniature segment with shorter pipe cleaner segments and small plastic eyes.
Trim the cardboard tubes before painting so young crafters work with smooth edges that absorb paint evenly right to the cut rim.
12. Paper Roll Spider Stamp Painter
Instead of building a three-dimensional standing model, children can use the cardboard tube itself as an art tool to print spider shapes onto paper sheets. Slitting the base of the cylinder into fringe creates eight flexible stamping legs in one piece.
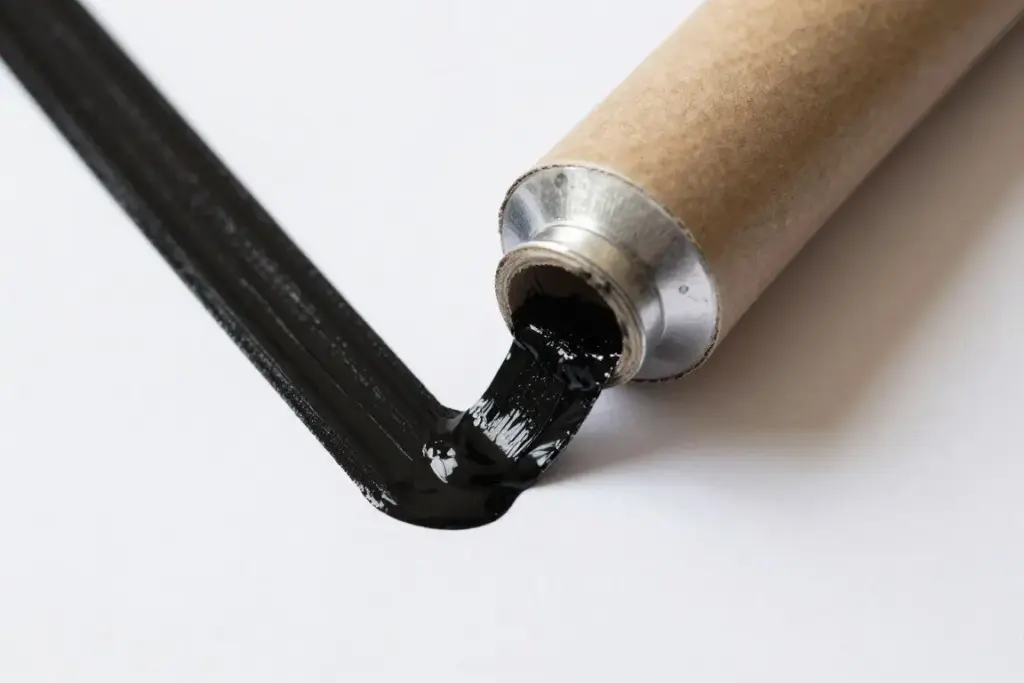
Slitting one end of the roll transforms household cardboard into an eight-legged stamping tool.
Pressing the splayed fringe into washable black paint allows toddlers and preschoolers to stamp multiple spider shapes rapidly onto banners or greeting cards. Once the stamped impressions dry, adding sticker eyes completes the scene.
- Cut eight slits halfway up one end of an unpainted tube to form flexible cardboard leg strips.
- Fold the eight cut strips outward so they flare horizontally from the central body cylinder.
- Dip the flared fringe into a shallow plate of washable paint and press down firmly onto paper.
- Stick two googly eyes onto the stamped central body once the printed paint impression dries.
Frequently Asked Questions
What is the best glue to hold pipe cleaner legs on a cardboard tube?
Thick white craft glue or low-temperature hot glue provides the strongest hold for chenille stems. Piercing small holes directly into the cardboard and threading the pipe cleaners through helps lock them in place before adding adhesive.
How can younger children make spider legs without using wire pipe cleaners?
Strips of black construction paper folded into simple accordion pleats create flexible, safe legs for early learners. Cardboard scrap strips glued directly to the lower tube rim also offer sturdy alternatives without sharp metal cores.
What type of paint adheres best to recycled toilet paper rolls?
Washable tempera paint and student-grade acrylic paint both bond easily with porous cardboard surfaces. Applying one or two thin, even coats prevents the tube from softening or warping as it dries.
How do you help a toilet paper roll spider stand upright without tipping?
Distribute the eight legs evenly around the lower half of the cylinder and bend each wire to form a distinct elbow joint. Adjusting the feet outward creates a broad, stable footprint that supports the weight of the central tube.
Bringing Recycled Spider Crafts Home
Recycling cardboard tubes into friendly arachnids gives children a fun, hands-on way to explore geometry, anatomy, and crafting. Gathering simple household supplies like leftover rolls, washable paints, and colorful wire stems encourages creative reuse while strengthening essential motor skills. Trying different leg styles and expressive eye clusters lets every crafter build a unique creature ready for playtime or seasonal holiday displays.