There’s something magical about combining crunchy textures, savory meats, and creamy dressings into one handheld meal. Today, I’m sharing my go-to creation that checks every box for flavor and convenience. Trust me – this isn’t just another lunch option. It’s a game-changer.
Simple Meals, Big Wins for Moms on the Go
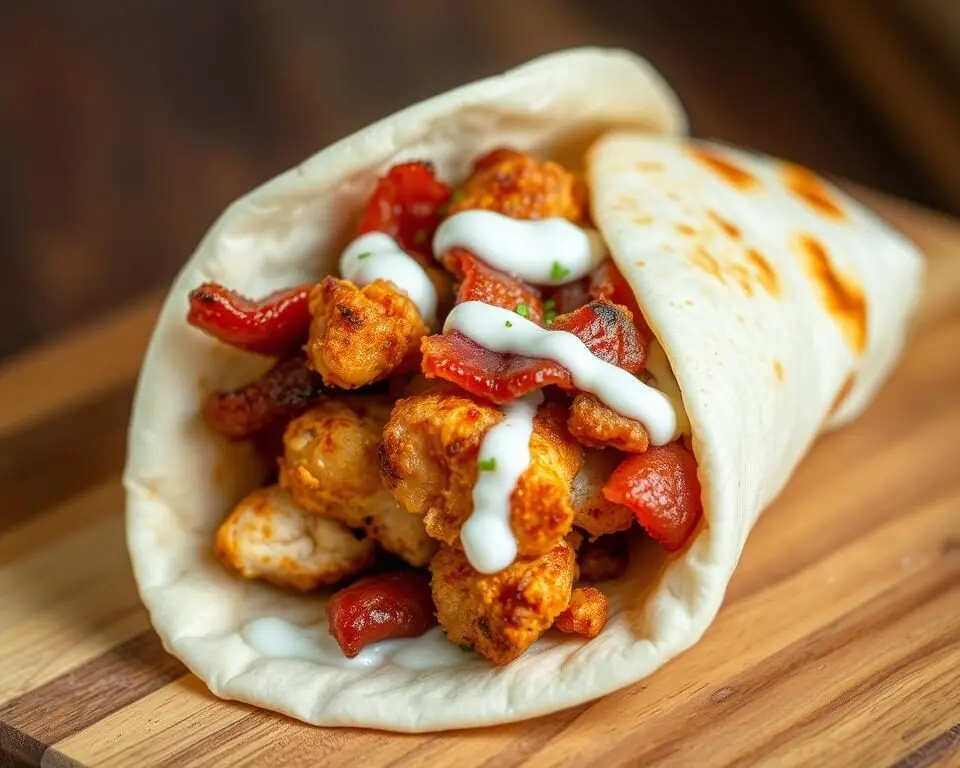
This crispy chicken bacon ranch wrap is a lifesaver for moms who want something quick and tasty. For more time-saving ideas in the kitchen, explore these Amazon pantry meal ideas for busy families or check out our budget meal ideas for large families that won’t sacrifice flavor. And if you’re packing lunches, don’t miss our easy lunchbox ideas for toddlers—perfect for picky eaters and tight schedules.
I developed this recipe during a hectic week when I needed something quick but still felt indulgent. The balance of smoky, crispy, and tangy elements creates a harmony that’s hard to resist. Whether you’re packing lunches or hosting friends, it adapts effortlessly to any occasion.
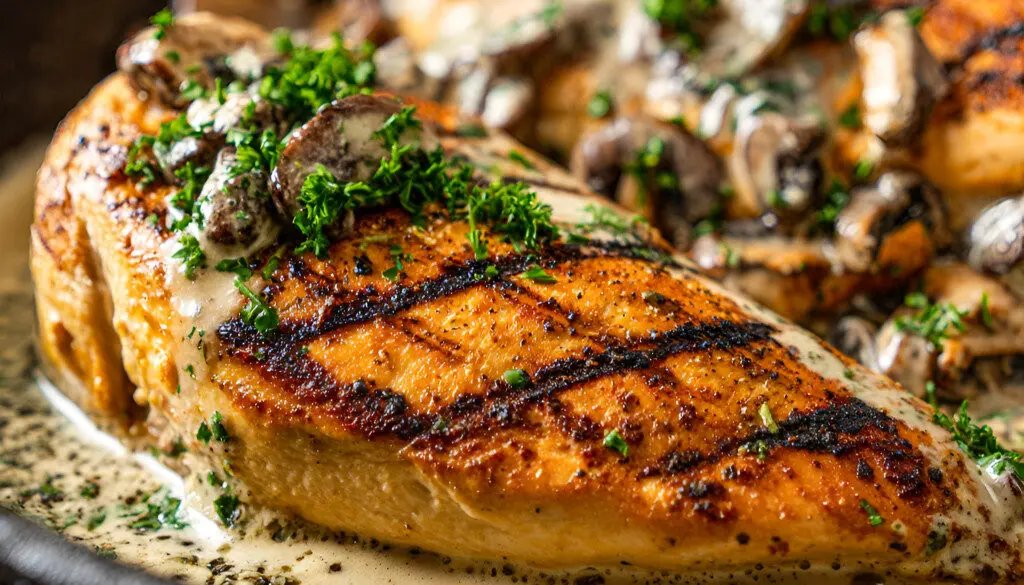
What makes this dish stand out? Every ingredient plays a role. The golden-brown protein adds crunch, while the salty cured meat delivers richness. A cool, herby sauce ties everything together, preventing the flavors from overwhelming your palate.
In this guide, I’ll break down each step to help you recreate restaurant-quality results at home. You’ll learn how to adjust seasoning, swap ingredients, and even make it ahead for busy days. By the end, you’ll have a versatile meal that’s as fun to customize as it is to eat.
Ready to transform your kitchen into a flavor hub? Let’s dive in – your taste buds will thank you.
Introduction to My Crispy Chicken Bacon Ranch Wrap Experience
Some meals become instant classics in your life. For me, this handheld masterpiece started as a dorm-room experiment and evolved into my signature crowd-pleaser. It’s the kind of dish that sparks conversations at picnics and gets requested at family gatherings.
My Personal Journey With This Recipe
Back in college, I survived on microwave meals until discovering how simple ingredients could create magic. My first attempt involved leftover rotisserie protein and store-bought sauce wrapped in a tortilla. The moment that creamy tang hit my tongue, I knew I’d found my go-to meal.
Years of tweaking taught me precision matters. Too much dressing drowns the textures. Uneven bacon distribution ruins every bite. Now, I prep components separately for optimal assembly-warm tortillas, chilled lettuce, and room-temperature sauce blend perfectly.
Why I Love This Flavor Combination
This trio works like a culinary symphony. Smoky cured meat elevates seasoned poultry, while herby dressing cuts through richness. Add fresh greens for crunch, and you’ve got balance in every mouthful.
What truly captivates me is its versatility. Swap spinach for lettuce? Add avocado? The base flavors adapt beautifully. It’s comfort food that feels gourmet without demanding chef skills, a rare win in weeknight cooking.
Ingredient Essentials and Fresh Flavors
Fresh components transform good meals into unforgettable ones. This recipe thrives on quality elements that work together like puzzle pieces. Let’s explore what you’ll need and how to pick the best versions of each item.
Key Ingredients to Gather
Start with these essentials to build your flavor foundation. Each plays a specific role in creating the final taste experience.
| Ingredient | Purpose | Selection Tip |
|---|---|---|
| Rotisserie Chicken | Base protein | Choose original flavor |
| Bacon | Adds smokiness | Thick-cut style |
| Ranch Dressing | Creamy element | Thick consistency |
| Flour Tortillas | Wrap foundation | Burrito-sized |
| Lettuce | Crunch factor | Crisp green leaves |
Freshness and Quality Tips
Prepping ingredients correctly makes all the difference. For the poultry, I grab rotisserie chicken from the deli section – it’s juicy and ready to shred. Avoid preseasoned varieties that clash with other flavors.
When selecting cured meat, thick-cut strips create the ideal texture. They stay slightly chewy while developing those crispy edges we all love. Store-bought dressings work fine, but check the thickness, runny versions make tortillas soggy.
For wraps, pliable tortillas are non-negotiable. I warm them briefly before assembling to prevent cracking. Cheese choices matter too – sharp cheddar packs bold flavor without overwhelming other ingredients.
Chop veggies last-minute to preserve their crunch. Green onions add zing, while tomatoes bring acidity. Keep everything chilled until assembly time for maximum freshness.
Step-by-Step Guide to Preparing the Chicken
Perfecting the protein element is crucial for a standout meal. Let’s explore how to handle this star ingredient, whether you’re short on time or craving homemade freshness.

Rotisserie vs Fresh: What Works Best
I’ve tested both options extensively. Store-bought rotisserie versions save 20+ minutes on busy nights. Look for plain varieties – herb-crusted or lemon-pepper types clash with other flavors.
When cooking from scratch, boneless breasts deliver consistent results. My seasoning blend (salt, pepper, paprika, onion powder) enhances without overpowering. For grilled versions, a quick char adds smoky depth that pairs beautifully with creamy dressings.
| Method | Prep Time | Flavor Profile | Best For |
|---|---|---|---|
| Rotisserie | 5 minutes | Savory & Juicy | Quick Meals |
| Pan-Seared | 15 minutes | Golden & Crisp | Texture Lovers |
| Grilled | 20 minutes | Smoky & Bold | Outdoor Cooking |
Cooking Methods Made Simple
For pan-searing, heat oil in a skillet until shimmering. Cook seasoned breasts 4 minutes per side. Always check the internal temperature, 165°F keeps things safe and juicy.
Let cooked meat rest 15 minutes before shredding. This locks in moisture better than immediate cutting. Rotisserie users: microwave shreds briefly (30 seconds) to revive warmth without drying.
How to Achieve the Perfectly Crispy Bacon
Cooking bacon to golden perfection requires strategy. Through trial and error, I discovered two reliable techniques that guarantee consistent results every time. Let’s explore which approach suits your kitchen style.

Oven Method: Effortless Batch Cooking
This hands-off technique works wonders for large quantities. I line a baking sheet with foil—trust me, cleanup becomes a breeze. Arrange strips with space between them so heat circulates evenly.
Starting in a cold oven lets fat render slowly as the temperature climbs to 375°F. Regular cuts take fifteen minutes, while thick slices need twenty. You’ll get uniform crispness without babysitting the pan.
Skillet Method: Quick Control
When cooking for one or two, nothing beats a trusty skillet. I lay strips in a cold cast-iron pan, then turn the burner to medium. This gradual heating prevents curling and ensures even browning.
After five to seven minutes of sizzling, I flip the strips. Another four minutes creates that ideal mix of crunch and chew. Adjust timing by a minute for softer or crisper textures.
| Method | Time | Texture | Best For |
|---|---|---|---|
| Oven | 15-20 mins | Even crispness | Large batches |
| Skillet | 10-12 mins | Quick sear | Small portions |
Whichever method you choose, transfer cooked strips to paper towels immediately. This step absorbs excess grease while preserving that satisfying crunch. Now you’re ready to layer flavors into your masterpiece!
Mastering the Crispy Chicken Bacon Ranch Wrap Assembly
Building this handheld meal is like crafting edible architecture, every layer needs purpose and precision. Through countless trials, I’ve perfected a method that keeps ingredients secure while maximizing taste in every bite.
The Art of Layering Flavors
Start by laying tortillas flat on your workspace. Place crisp lettuce leaves dead-center – this creates a moisture barrier between the tortilla and creamy elements. Next, arrange shredded poultry in a tight line over the greens. Uniform distribution here ensures consistent flavor throughout.
Shredded cheese comes next. It melts slightly when wrapped, acting as edible glue while adding richness. Drizzle ranch dressing directly over the cheese instead of spreading it, this prevents sogginess and coats ingredients evenly.
Scatter chopped cured meat evenly across the surface. Finish with diced tomatoes and green onions for freshness. Resist the urge to overstuff – keeping fillings compact lets you roll tightly without splits.
My golden rule? Fold sides inward first, then roll from bottom to top while applying gentle pressure. This technique locks everything in place, creating a portable meal that holds its shape until the last delicious bite.
Creating the Perfect Ranch Dressing
A great sauce can elevate any meal from good to unforgettable. Through years of kitchen experiments, I’ve found that ranch’s versatility makes it ideal for balancing bold flavors. Let’s explore how to craft or choose the best version for your needs.
Homemade vs. Store-Bought: A Flavor Face-Off
Whipping up ranch dressing from scratch takes five minutes but rewards patience. My go-to blend combines buttermilk, fresh dill, and garlic powder. Letting it chill for an hour deepens the herb flavors and thickens the texture naturally.
Pre-made versions save time when you’re rushing. Look for thicker options labeled “restaurant style” – they cling better to ingredients. For a lighter twist, I sometimes mix Greek yogurt with seasoning packets. It adds tang without overwhelming other elements.
Whether you DIY or grab a bottle, remember: balance is key. Too much dressing masks the crunch of fresh veggies. Too little leaves bites dry. Start with a modest drizzle – you can always add more after the first taste test!