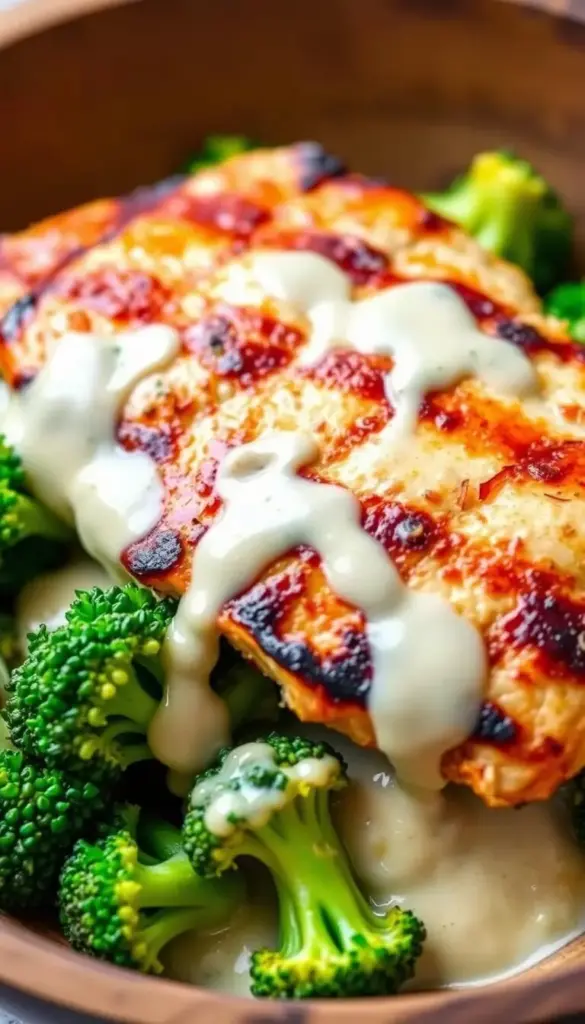
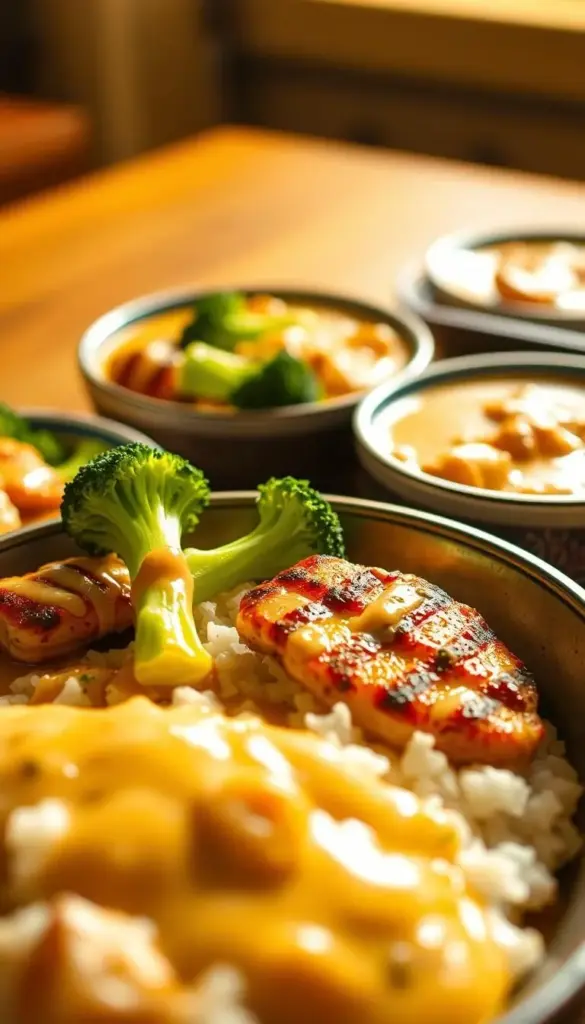
Let me tell you about my absolute favorite weeknight dinner. This protein-packed meal comes together faster than takeout and tastes like something from your favorite restaurant. I’ve perfected this combination over dozens of meals, and it never fails to impress.

What makes this dish shine is its beautiful simplicity. You get juicy, charred protein paired with crisp-tender veggies, all drizzled with a sauce that’s pure magic. It’s the kind of meal that feels special but requires minimal effort—perfect for hectic evenings or when you want leftovers for lunches.
I love how adaptable this recipe is. Swap veggies based on what’s in season, adjust spice levels to your taste, or make it dairy-free. The creamy element adds richness without weighing you down, while the garlic brings that familiar comfort-food vibe. Plus, everything cooks in one pan if you’re smart about timing!
Whether you’re feeding picky eaters or meal-prepping for the week, this balanced dish delivers. I’ll show you my secret for getting those perfect grill marks every time and how to whip up the sauce in under five minutes. Let’s create something delicious!
Key Takeaways
- Ready in under 30 minutes for busy schedules
- Balances lean protein with fresh vegetables
- Customizable to different dietary needs
- Satisfies both health goals and flavor cravings
- Makes excellent leftovers for meal prep
- Uses simple techniques for restaurant-quality results
Introduction: A Quick Overview of My Recipe
Weeknights used to stress me out until I cracked the code for meals that check every box. This creation started as a desperate attempt to combine speed, nutrition, and bold taste—now it’s my go-to solution when life gets chaotic.
From Kitchen Experiments to Family Favorite
I spent months tweaking marinades and testing sauce ratios. The breakthrough came when I paired smoky charred meat with a velvety dressing that clings perfectly to veggies. My secret? A splash of lemon juice in the marinade tenderizes without drying things out.
The Magic Behind the Meal
Three elements make this work: texture contrast, layered seasonings, and smart prep. Crisp greens meet tender grains, while toasted spices in the sauce add depth. It’s filling enough for athletes but light enough for summer evenings.
| Component | Key Benefit | Flavor Boost |
|---|---|---|
| Marinated Protein | Builds savoriness | Smoked paprika & thyme |
| Fresh Veggies | Adds crunch | Quick-pickled onions |
| Signature Dressing | Ties ingredients together | Roasted garlic base |
What I love most is how adaptable it is. Swap quinoa for rice, use zucchini instead of greens—the framework stays strong. Every bite delivers a mix of earthy, bright, and rich notes that keep you coming back.
This isn’t just another dinner option. It’s proof that with the right techniques, everyday ingredients transform into something extraordinary. The best part? You’ll have everything prepped before the oven finishes preheating.
Why I Love Grilled Chicken Broccoli Bowls Creamy Garlic Sauce
There’s a secret weapon in my kitchen that solves every dinner dilemma. The creamy garlic sauce elevates basic ingredients into something special, while keeping prep time under 20 minutes. It’s become my not-so-guilty pleasure that actually fits my health goals.

What makes this dish stand out is its nutritional smarts. Each bowl delivers 35g of protein and healthy fats that keep me full until lunch tomorrow. Perfect for keto diets but satisfying enough for anyone, it’s become my meal-prep MVP—leftovers stay fresh for four days in the fridge.
| Perk | How It Shines | Real-Life Impact |
|---|---|---|
| Flavor Bomb | Garlicky cream base | Tastes indulgent without heaviness |
| Time Saver | One-pan prep | Ready before takeout arrives |
| Diet Friendly | Under 5g net carbs | Fits low-carb lifestyles |
| Customizable | Swap proteins/veggies | Never gets boring |
The real magic? How it pleases everyone. My carb-craving friends beg for the recipe, never guessing it’s keto-approved. Whether I use leftover rotisserie poultry or fresh veggies, that velvety sauce makes every bite feel decadent. It’s proof that eating well doesn’t mean sacrificing flavor or convenience.
Essential Ingredients and Cozy Substitutions
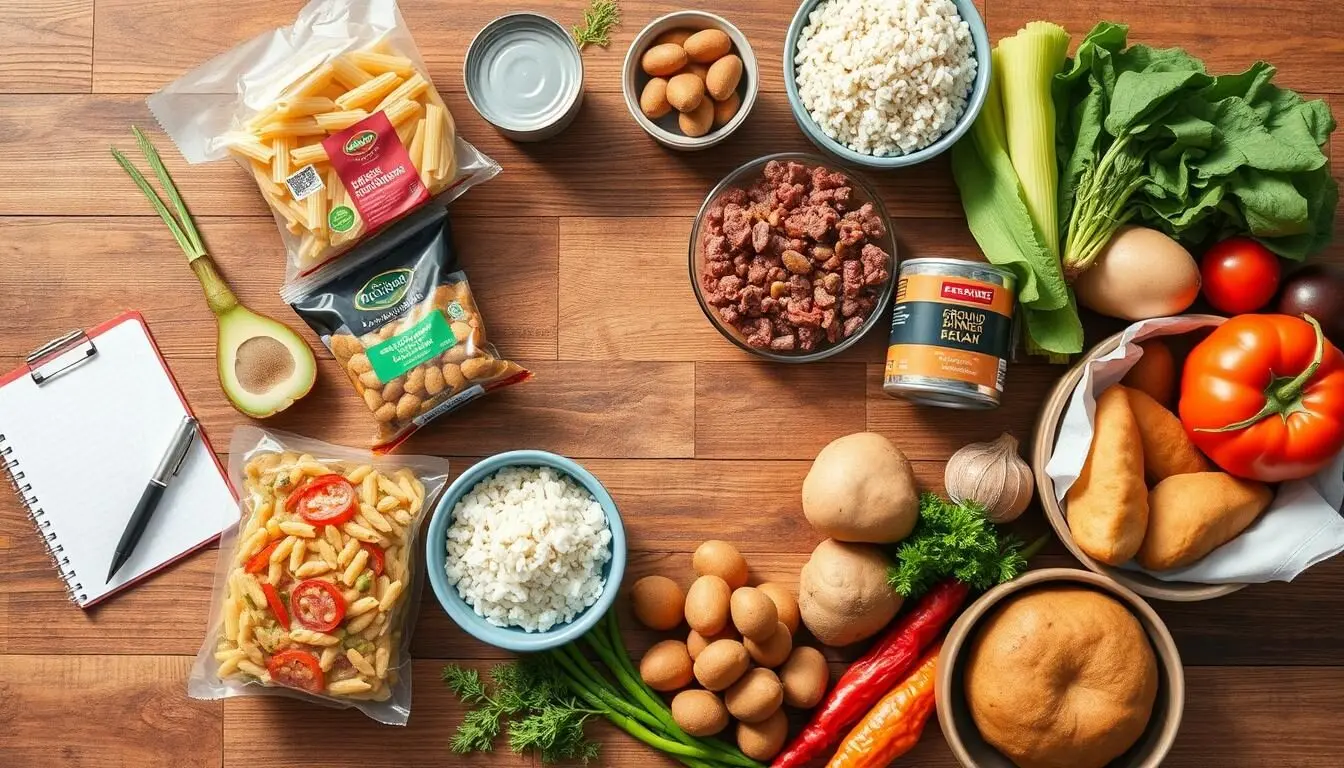
Building a memorable meal starts with smart ingredient choices. I focus on items that deliver maximum flavor while keeping swaps simple for dietary needs. Let’s break down what works best and how to adapt it.
Ingredient Highlights for a Flavorful Meal
My foundation is 2 lbs of boneless, skinless chicken breasts—they cook evenly and absorb marinades beautifully. For the spice rub, I mix paprika, garlic powder, and cayenne. This trio adds warmth without overpowering.
The sauce magic happens with 1/2 cup mayo blended with sour cream. Fresh garlic cloves (never powdered!) give it that punchy aroma. A squeeze of lemon brightens everything up.
Swap Options for Healthier Choices
Thighs work great if you prefer juicier meat. Dairy-free mayo and coconut yogurt make the sauce vegan-friendly. Cauliflower rice slashes carbs while keeping texture interesting.
| Must-Have Items | Purpose | Flexible Swaps |
|---|---|---|
| Skinless chicken breasts | Lean protein base | Thighs or tofu |
| 1 tbsp olive oil | Prevents sticking | Avocado oil |
| 1/2 cup mayo | Sauce creaminess | Greek yogurt |
| Fresh garlic | Flavor depth | Roasted garlic |
I always keep lime wedges nearby. That citrus zing cuts through richness perfectly. Remember, great meals adapt to your pantry—not the other way around.
Required Equipment for a Smooth Cooking Experience
Having the right tools transforms cooking from chaotic to effortless. I’ve learned that quality gear cuts prep time in half while delivering consistent results. Let’s explore what works best for this recipe.

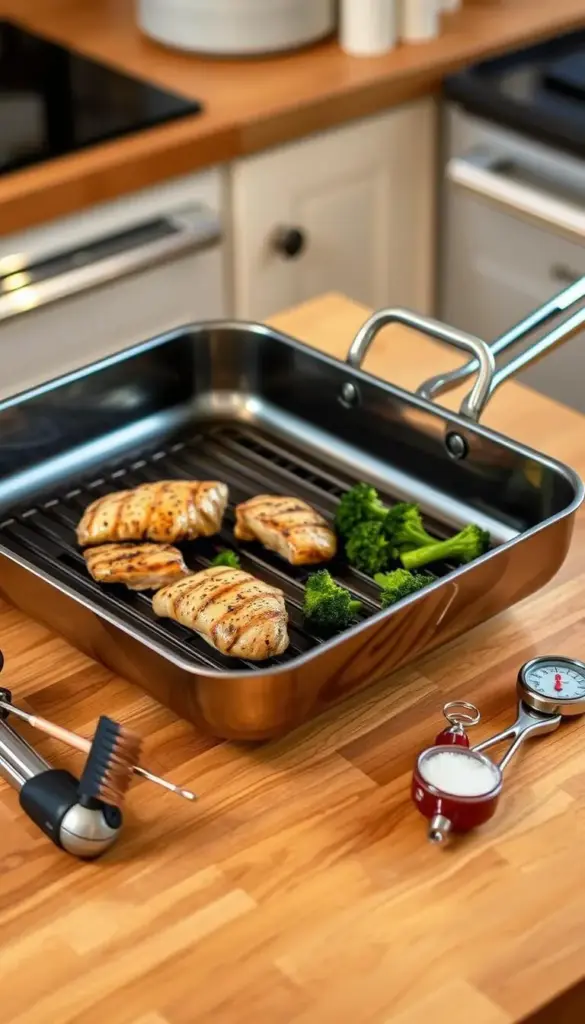
Grill Pan vs. Outdoor Grill
My heavy-bottomed grill pan is a kitchen hero. It distributes heat evenly, preventing burnt edges while creating those coveted sear marks. A quick brush of oil keeps everything from sticking – no backyard grill required.
When using an outdoor grill, I preheat it to medium-high. Clean, oiled grates ensure flawless flipping. Both methods work, but the pan shines for weeknight convenience.
| Tool | Best For | Pro Tip |
|---|---|---|
| Grill Pan | Indoor cooking | Preheat 5 minutes |
| Outdoor Grill | Smoky flavor | Oil grates twice |
Don’t overlook these essentials:
- Tongs: Flip protein safely without piercing
- Nonstick saucepan: Prevents sauce scorching
- Whisk: Creates velvety texture in seconds
Multiple mixing bowls streamline prep. I dedicate one for marinades, another for veggies, and a third for sauce ingredients. This setup lets me work like a restaurant line cook – efficient and mess-free.
Preparing the Chicken: Marinating and Cooking Tips
Mastering tender, flavorful results comes down to two things: how you season and how you cook. I’ve found that even small changes in technique can transform bland cuts into something extraordinary. Let’s dive into my tried-and-true methods.
How I Marinate My Skinless Chicken for Maximum Flavor
My marinade formula balances acidity with bold spices. Combine olive oil, smoked paprika, garlic powder, and cayenne for a base that clings to every surface. A generous squeeze of lime juice tenderizes while adding brightness.
I rub the mixture into each piece thoroughly, making sure no spot goes untouched. For best results, marinate overnight—the extra time lets flavors penetrate deeply. If you’re short on time, 30 minutes still works wonders.
| Marinating Time | Flavor Intensity | Texture Impact |
|---|---|---|
| 30 minutes | Subtle seasoning | Light tenderizing |
| 4+ hours | Rich depth | Juicy consistency |
Effective Grilling Techniques for Juicy Chicken
Heat management makes or breaks your meal. I preheat my grill pan to medium-high before adding the protein. This creates instant sear marks while locking in moisture.
Cook each side for 5-7 minutes, resisting the urge to peek constantly. Use a meat thermometer—165°F at the thickest part means it’s done. Let the meat rest 5 minutes before slicing against the grain.
This resting period lets juices redistribute, ensuring every bite stays succulent. Pair these techniques with proper slicing direction, and you’ll never serve dry poultry again.
Crafting the Creamy Garlic Sauce to Perfection
The secret to unforgettable bowls lies in mastering the dressing. After years of trial and error, I discovered techniques that transform simple ingredients into a velvety emulsion everyone craves.
Step-by-Step Guide to Achieve the Ideal Consistency
Room-temperature ingredients are non-negotiable. Cold mayo or sour cream creates clumps that no amount of whisking can fix. Let everything sit on the counter for 15 minutes before mixing.
Start by blending the mayo and sour cream until silky smooth. This creates a stable base for other flavors. Use a microplane or garlic press for the garlic—large chunks overpower the sauce.
| Version | Base Ingredients | Texture | Best For |
|---|---|---|---|
| Classic | Mayo + sour cream | Light & tangy | Traditional flavor |
| Alternative | Greek yogurt + Parmesan | Rich & thick | Low-carb diets |
Add lemon juice one teaspoon at a time. Taste after each addition—you want brightness without puckering acidity. Let the mixture rest 10 minutes before serving. This mellows the garlic’s bite and lets flavors marry beautifully.
For dairy-free needs, coconut yogurt works wonders. Just add a pinch of xanthan gum to prevent separation. The result? A luscious drizzle that clings to every ingredient without dripping.
Cooking Broccoli to Retain Crunch and Nutrients
Perfecting broccoli texture can make or break your meal. I’ve tested every technique to find what keeps florets vibrant and crisp. The secret? Balancing cook time with high heat to preserve both nutrients and that satisfying bite.
Roasting vs. Steaming: My Preferred Methods
For maximum flavor, I toss florets with olive oil and roast at 400°F. Spread them in a single layer—crowding causes sogginess. In 15-20 minutes, you’ll get caramelized edges with tender stems.
Steaming works when I’m short on time. Five minutes over boiling water maintains bright color and vitamins. A quick drizzle of olive oil after cooking enhances absorption of nutrients.
| Method | Time | Texture |
|---|---|---|
| Roasting | 15-20 minutes | Crispy & charred |
| Steaming | 5 minutes | Tender-crisp |
Both methods let the veggie shine without masking its natural goodness. Try each to discover your favorite—I alternate based on whether I want earthy depth or fresh simplicity.


