Holiday crafting with children thrives on straightforward methods, accessible materials, and projects that match developing motor skills. The best festive projects rely on everyday household staples such as construction paper, washable paint, and cardboard tubes to spark creative expression without complex preparation. Exploring 40 easy to make Christmas crafts for kids provides structured, tactile activities that keep children engaged throughout the winter holidays.
Selecting the right project depends on the child’s developmental stage, attention span, and the level of direct adult supervision available. Simple sorting and sticking activities suit younger toddlers, while detailed cutting and threading engage older elementary school children.
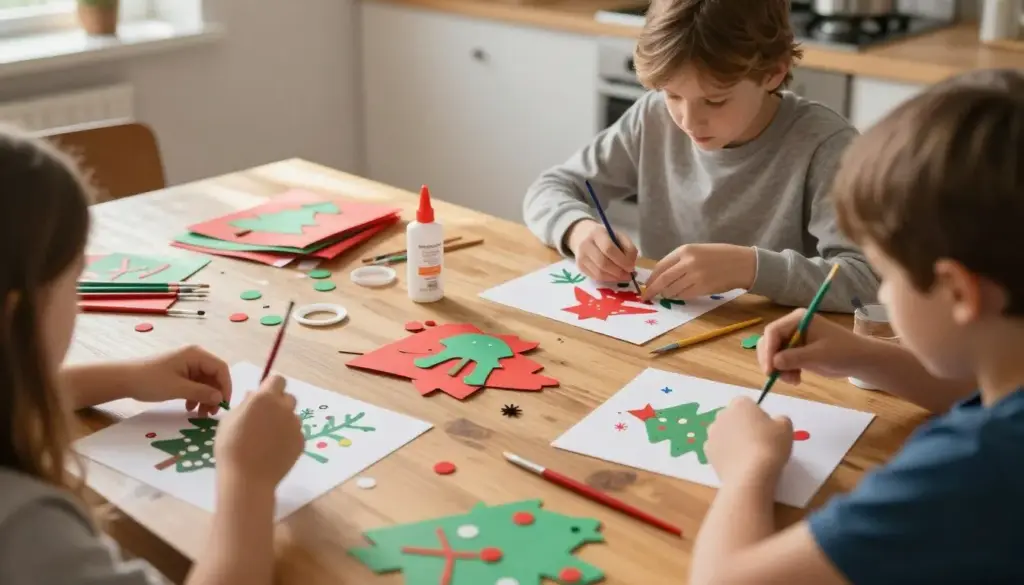
40 Easy to Make Christmas Crafts for Kids: Classic Paper Projects
Paper crafts form the backbone of holiday art sessions due to their simplicity and minimal cleanup. These beginner-friendly projects require basic cutting, folding, and gluing techniques that build fine motor control.
Pre-cutting folded paper wedges helps younger children practice scissor control without tearing delicate snowflake points.
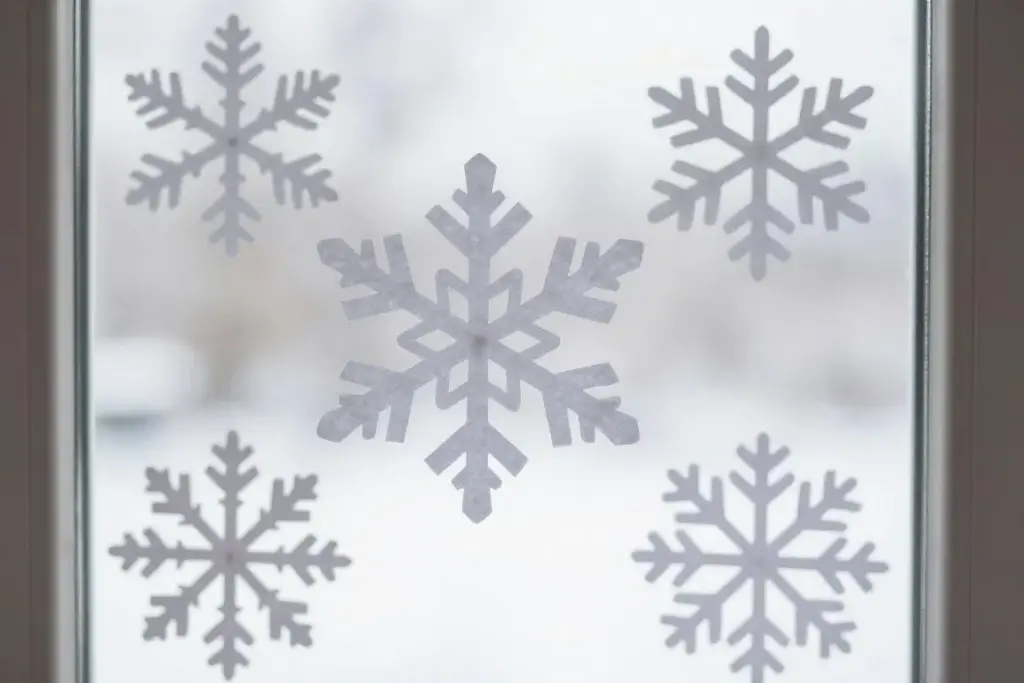
1. Paper Snowflakes
Intricate paper snowflakes let children experiment with geometric patterns and symmetry using lightweight white paper.
- White printer paper
- Safety scissors
- Pencil
- Silver glitter or washable markers
- Fold a square sheet of white paper diagonally multiple times to form a compact triangle.
- Sketch small notches, triangles, and curves along the folded outside edges using a pencil.
- Snip out the drawn pencil shapes with safety scissors, unfold the paper gently, and decorate with glitter.
2. Folded Paper Stars
Three-dimensional paper stars create striking ornaments for mantels or windows using vibrant holiday cardstock.
- Colored craft paper
- Blunt craft scissors
- School glue stick
- Twine for hanging
- Fold square pieces of paper in half horizontally and diagonally to establish crisp guide creases.
- Cut short slits along the center creases and fold the corners inward to form dimensional star points.
- Glue overlapping flaps together to secure the raised shape, then attach a loop of twine to the back.

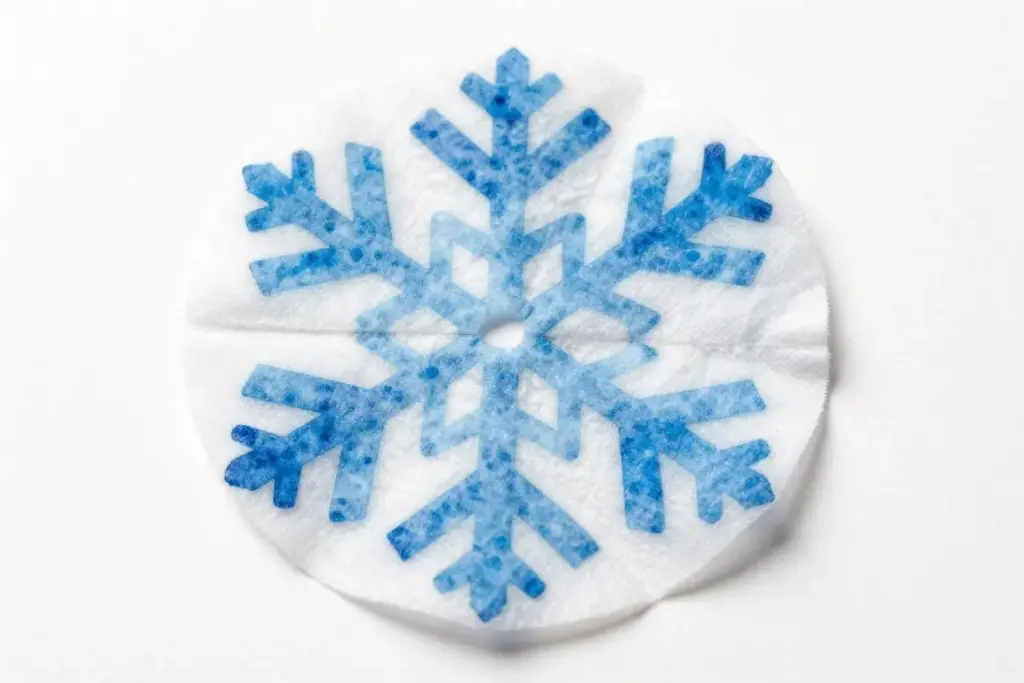
3. Coffee Filter Snowflakes
Fluted coffee filters absorb watercolor pigment smoothly, resulting in translucent snowflake decorations that glow against glass.
- Round paper coffee filters
- Washable watercolor paints
- Small paintbrush
- Child-safe scissors
- Flatten the round coffee filter and fold it into small pie wedges.
- Dab watery blue, turquoise, and purple paint across the folded paper until damp.
- Snip decorative edges while damp, then unfold the filter onto craft paper until completely dry.
4. Classic Paper Chains
Linking paper chains teaches sequencing and pattern recognition while producing long garlands for holiday walls or doorways.
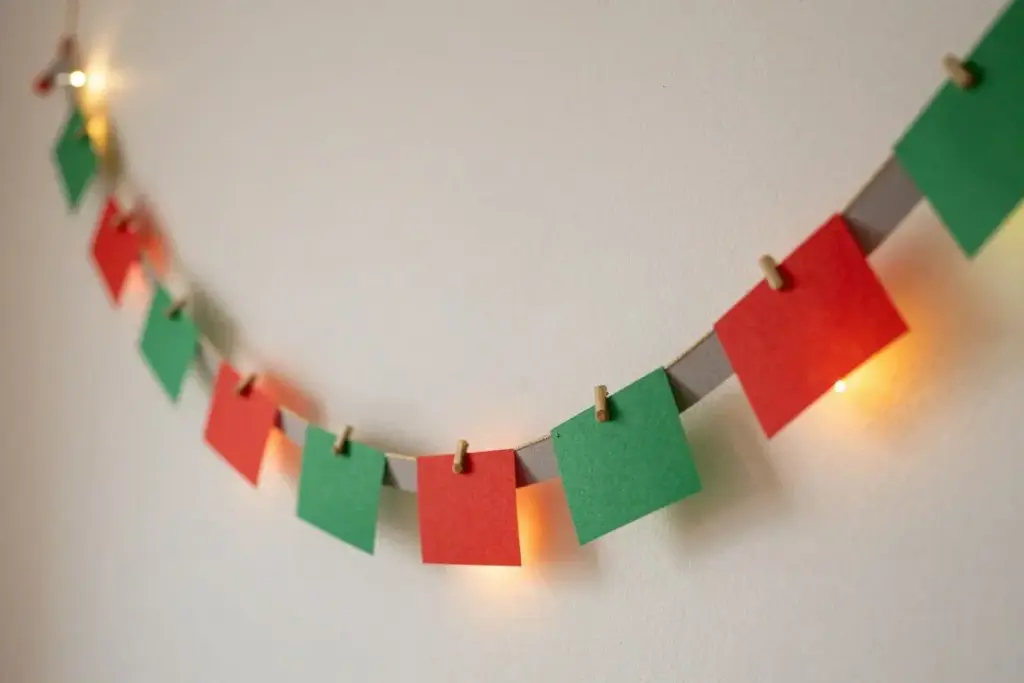
- Red and green construction paper
- Glue stick or clear adhesive tape
- Paper trimmer or safety scissors
- Cut construction paper into uniform straight strips.
- Loop the first strip into a ring and secure the overlapping ends with glue.
- Slide the next paper strip through the center of the ring, seal its ends, and continue linking loops.
Cheerful Paper Plate Holiday Figures
Inexpensive paper plates serve as sturdy, curved foundations for expressive winter faces and hanging holiday characters. These designs provide broad surfaces for painting, gluing, and collage layering.
Uncoated paper plates absorb tempera paint and liquid glue much faster than gloss-coated picnic plates.
5. Paper Plate Snowman Faces
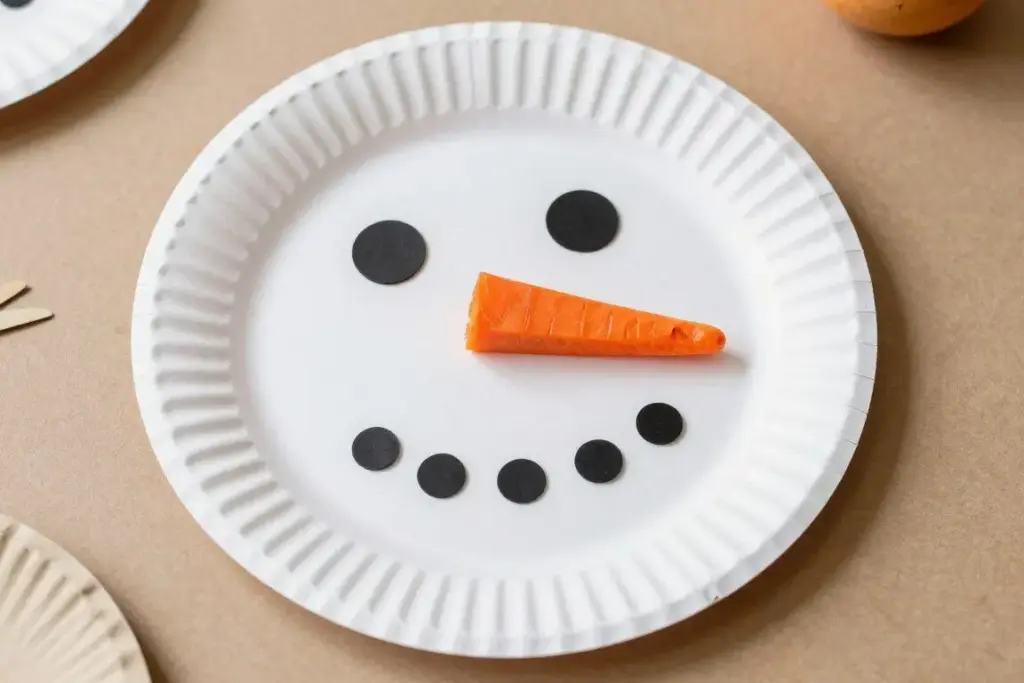
A classic white plate transforms into a smiling snowman character decorated with colorful cardstock accents.
- White uncoated paper plates
- Black and orange construction paper
- Large craft buttons
- Liquid craft glue
- Cut an orange paper carrot nose and black paper circular coal shapes.
- Adhere the paper carrot, coal eyes, and black buttons across the plate surface to form the face.
- Add painted rosy cheeks or fabric ribbon scraps along the bottom edge for a scarf effect.
6. Paper Plate Angels
Folding and cutting a single plate creates a free-standing angel figure suitable for tabletops or tree tops.
- White fluted paper plates
- Gold tinsel or pipe cleaner
- Liquid school glue
- Felt-tip markers
- Cut away two triangular wedges from the plate sides to create separate wings.
- Roll the remaining triangular center into a cone shape and glue the rear seam securely.
- Attach the cutout wings to the back, draw a gentle face, and glue a gold halo over the head.

7. Paper Plate Holiday Baubles
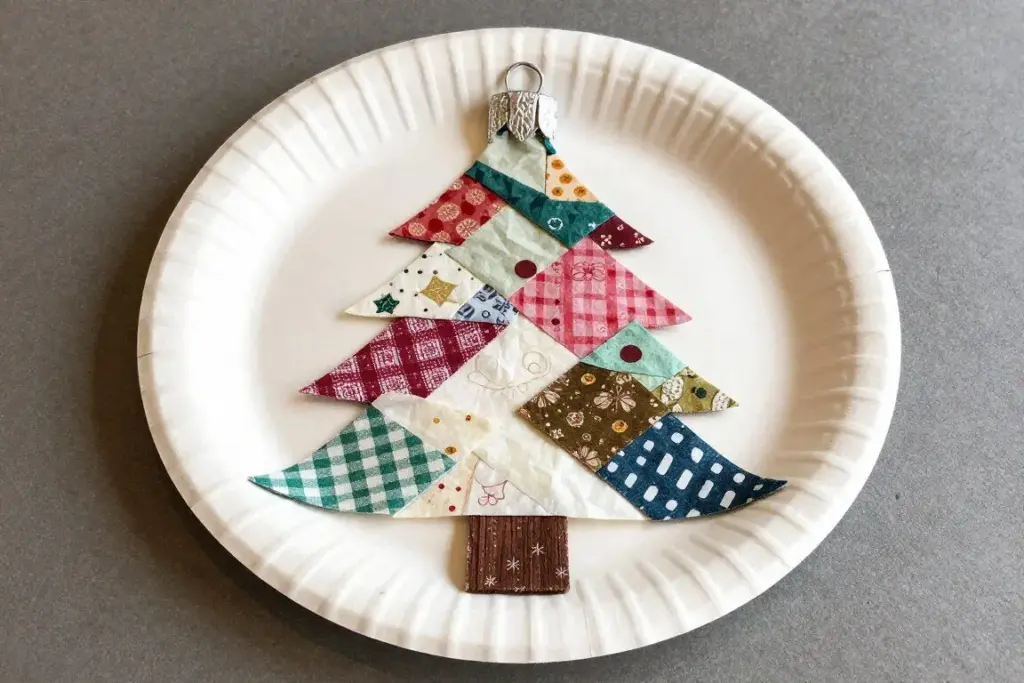
Children can explore vibrant color mixing by turning flat plate circles into oversized tree ornaments.
For more festive inspiration, explore 20 easy Christmas crafts for kids to make to complement these paper makes.
- Small dessert paper plates
- Tissue paper squares
- Silver or gold foil paper
- Sponge brushes and craft glue
- Brush liquid glue mixed with water across the front curve of the dessert plate.
- Overlap colorful tissue paper squares over the wet glue until the plate is covered.
- Glue a silver foil rectangle to the top edge and punch a small hole for a ribbon hanger.
8. Festive Paper Headbands
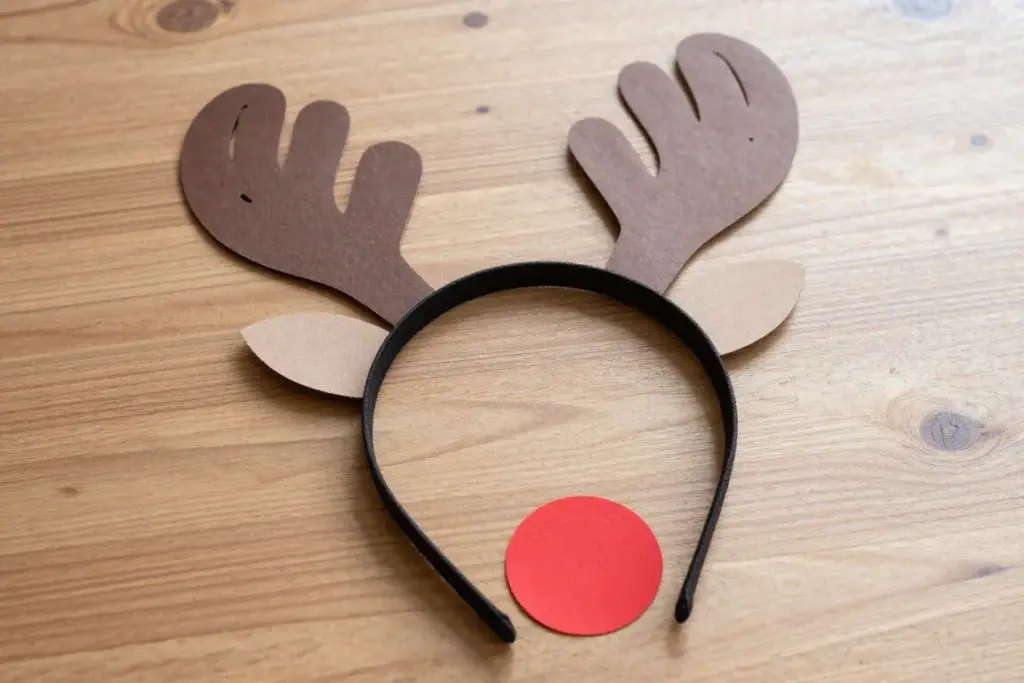
Wearable holiday headbands bring imaginative play into the crafting process for holiday parties and school plays.
- Sturdy cardstock strips
- Brown construction paper for antlers
- Red pom-poms
- Craft stapler and tape
- Measure and cut a wide paper strip to encircle the child’s head comfortably.
- Trace the child’s hands on brown paper to make antlers, then cut them out.
- Staple the antlers to the headband, tape over metal staples for comfort, and glue a red pom-pom nose to the front.
Durable Wooden Craft Stick Ornaments
Wooden popsicle sticks offer a rigid base that holds up well to heavy coats of paint, yarn wrapping, and embellishments. These pieces create lasting ornaments that hang securely from tree branches year after year.
Hot glue guns require direct adult handling; younger children can assemble wooden sticks safely using tacky craft glue.
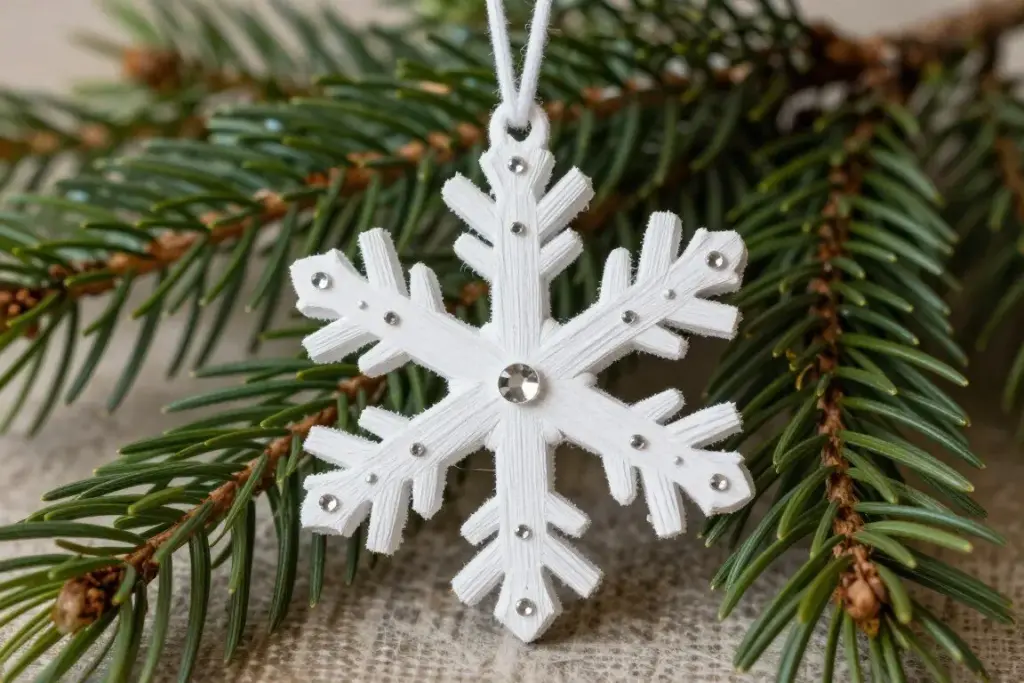
9. Popsicle Stick Snowflakes
Arranging wooden sticks into crossed star shapes introduces children to radial geometry while producing sturdy ornaments.
- Standard wooden craft sticks
- White acrylic paint
- Craft gems or silver sequins
- Tacky glue
- Paint four wooden craft sticks entirely white and let them dry completely.
- Cross the sticks at center points to form an eight-pointed star and glue the center joints.
- Press sequins and plastic craft gems along the wooden spokes, then attach a hanging ribbon.
10. Popsicle Stick Santa and Tree Ornaments
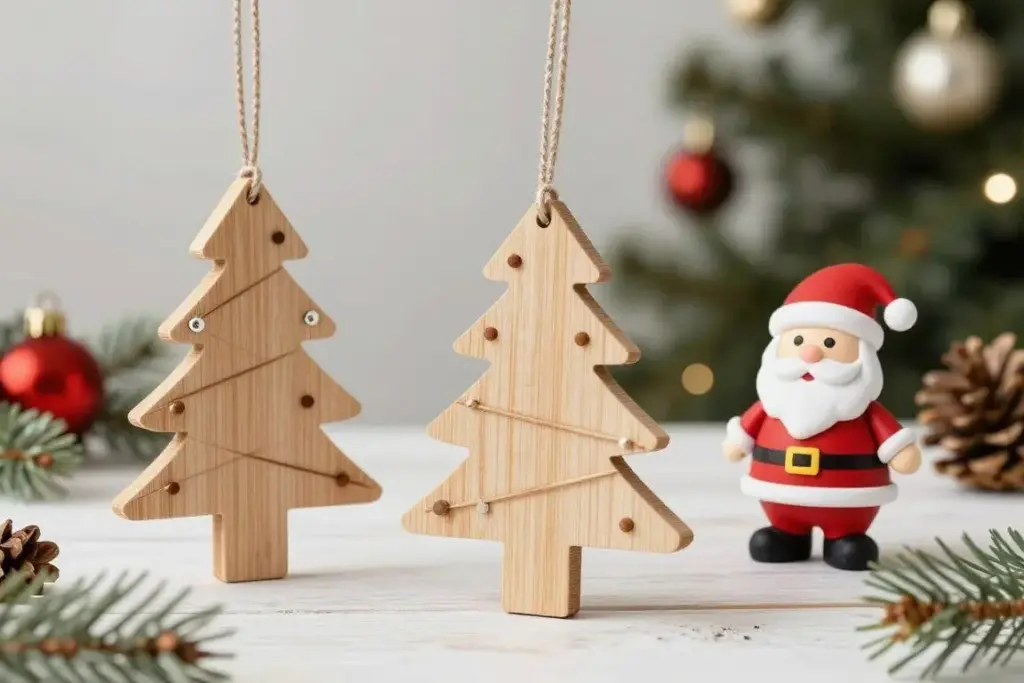
Gluing sticks into triangular formations creates hats, Santa figures, and miniature holiday trees.
- Three wooden craft sticks per character
- Green and red craft paint
- Cotton balls for Santa beards
- Twine loops
- Glue three sticks together into a triangle frame and paint with green or red paint.
- For Santa, fill the bottom point with stretched cotton balls and glue a paper face inside the frame.
- For trees, glue a brown paper trunk to the base and add tiny pom-poms across the green sticks.
11. Scrap Ribbon Tree Sticks
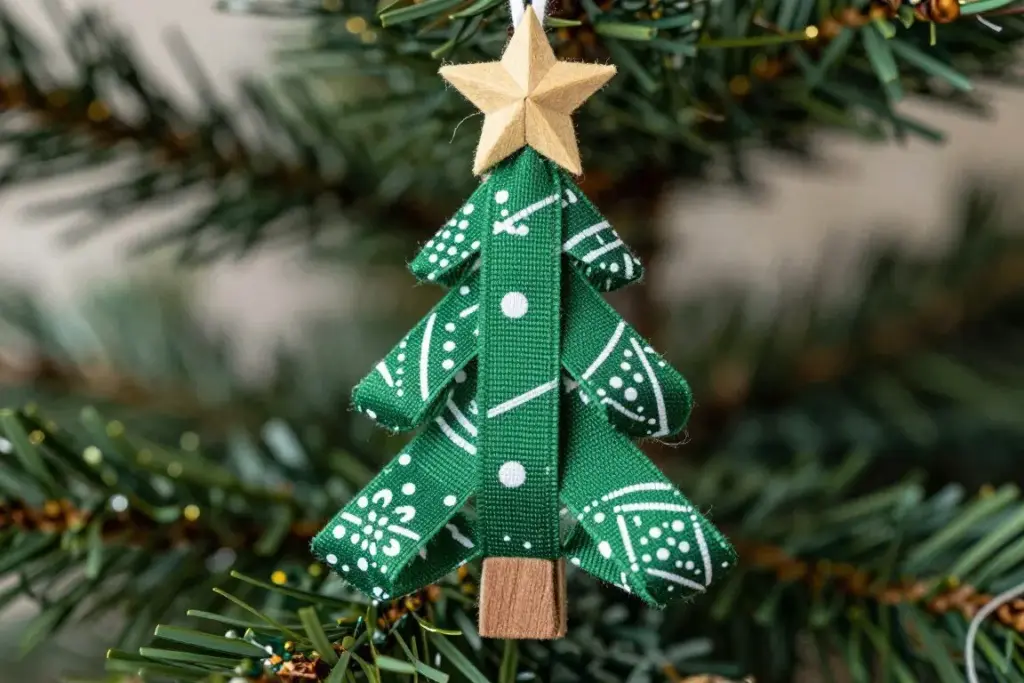
Tying fabric scraps along a central wooden spine improves knot-tying dexterity while using leftover sewing ribbons.
- One wooden craft stick or small twig
- Assorted green and patterned fabric ribbons
- Fabric scissors
- Wooden star bead
- Cut fabric ribbon into strips of varying lengths, keeping longer pieces for the bottom.
- Tie each ribbon strip tightly around the wooden stick using a simple double knot.
- Trim the tied ribbon ends at an upward angle to form a neat triangular pine silhouette.
12. Cinnamon Stick Tree Ornaments
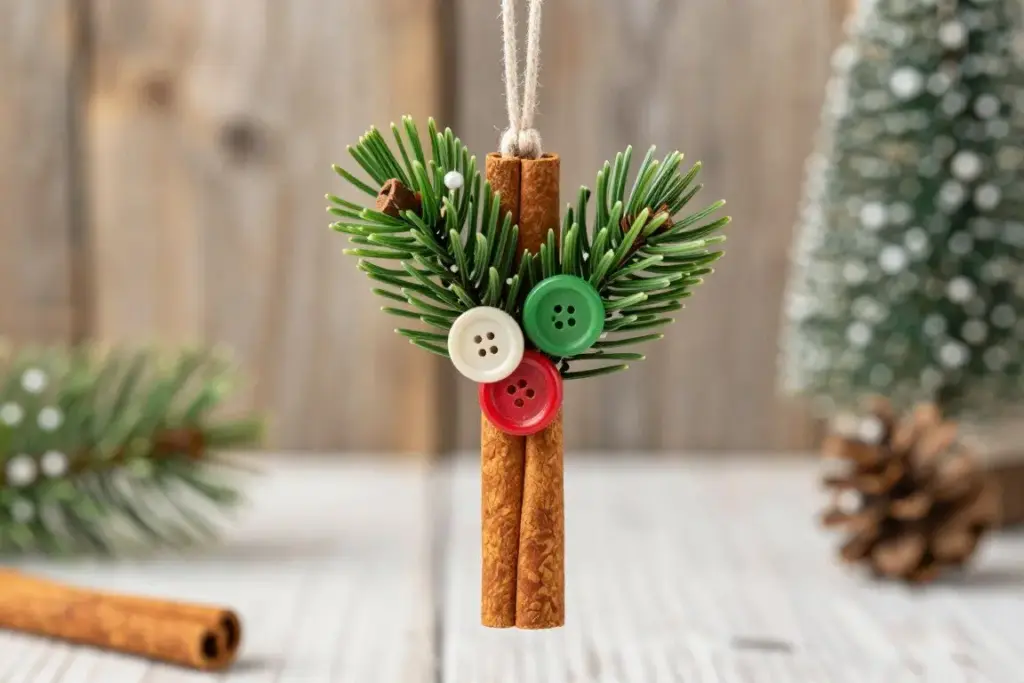
Combining fragrant cinnamon bark with felt or greenery fills the home with comforting natural holiday scents.
- Whole cinnamon sticks
- Faux pine needle sprigs
- Small colorful buttons
- Craft twine
- Select a straight cinnamon stick to serve as the tree trunk.
- Glue short graduated sprigs of faux pine needles horizontally across the top half.
- Affix tiny buttons over the greenery like ornaments and wrap twine around the top for hanging.
Rustic Pine Cone and Nature Ornaments
Gathering natural materials outdoors combines fresh air with holiday craft preparation. Pine cones, seed pods, and twigs provide rich natural textures that pair well with bright craft supplies.
Baking collected pine cones on foil at low oven heat dries lingering sap and cleans wild debris before crafting.
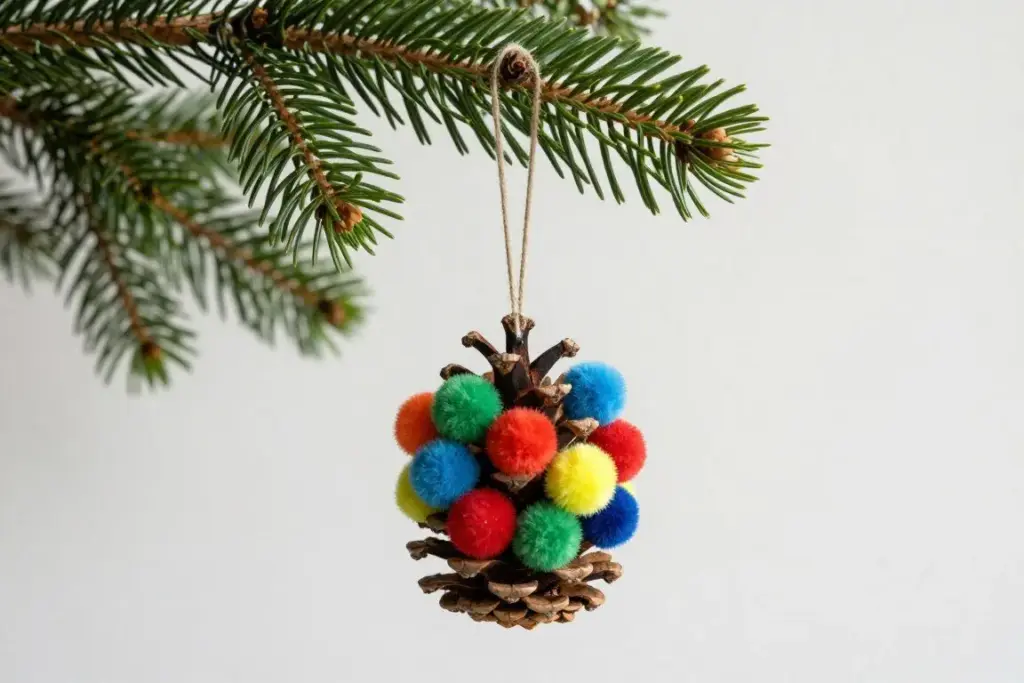
13. Decorated Pine Cone Ornaments
Tucking colorful accents inside pine cone scales creates textured ornaments that reflect woodland winter charm.
- Clean pine cones
- Miniature multicolored pom-poms
- Craft glue
- Hanging ribbon
- Dab small drops of craft glue into open scales around the pine cone.
- Press miniature craft pom-poms into the glue drops until the cone looks trimmed like a tree.
- Secure a loop of satin ribbon to the top stem using glue.
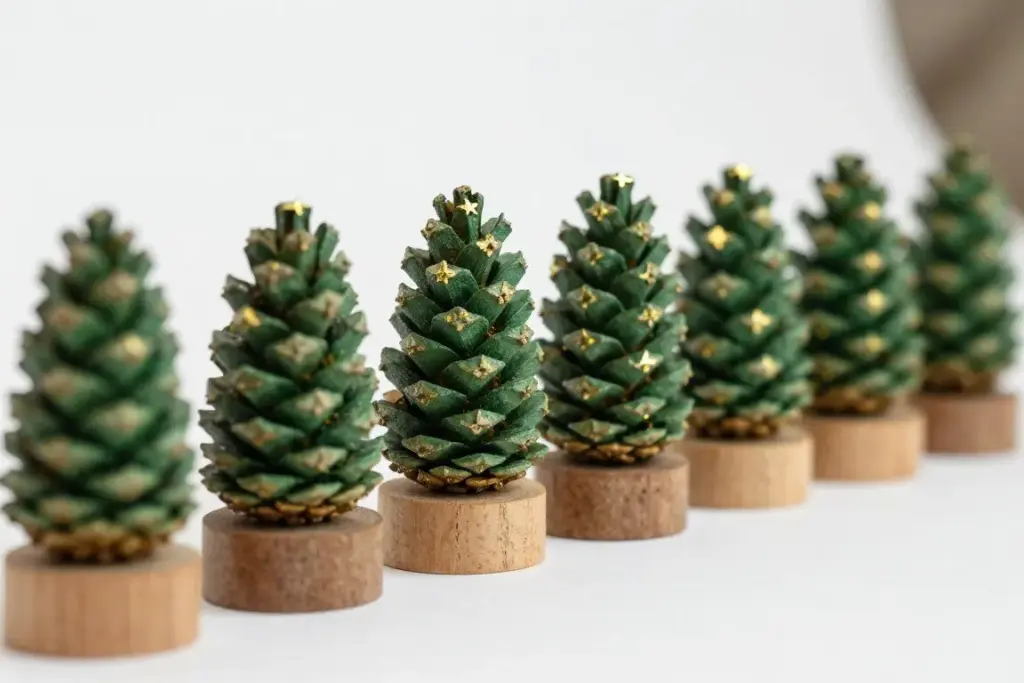
14. Pine Cone Mini Christmas Trees
Standing pine cones upright in small bases turns them into miniature holiday trees for mantel displays.
- Broad, flat-bottom pine cones
- Green tempera paint
- Wine corks or wooden discs for bases
- Gold paper stars
- Paint the pine cone scales with rich green paint and let dry completely.
- Glue the flat base of the pine cone onto a sliced wine cork or wooden craft disc.
- Top the cone with a miniature gold paper star and dust the scale tips with white paint.
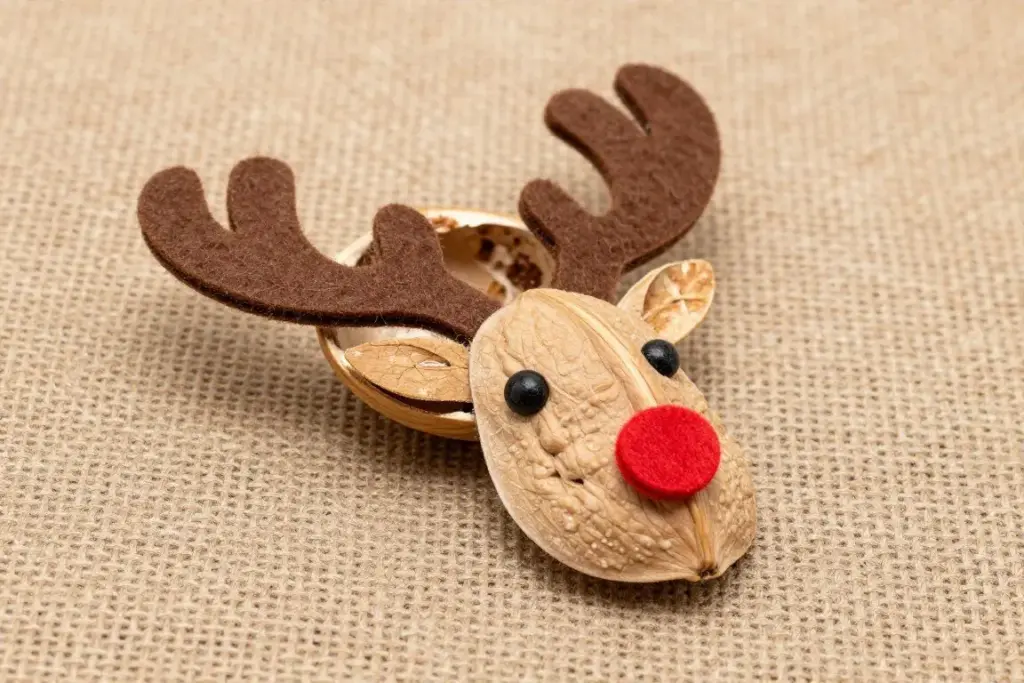
15. Walnut Shell Reindeer
Empty walnut shell halves create hollow shells that transform into miniature animal faces with felt additions.
- Intact walnut shell halves
- Brown felt scraps
- Mini red pom-poms
- Black fine-tip marker
- Cut small antler and ear shapes out of brown felt sheets.
- Glue the felt antlers to the inside rim of the broad end of the walnut shell.
- Affix a red pom-pom to the lower tip and draw tiny black eyes with marker.
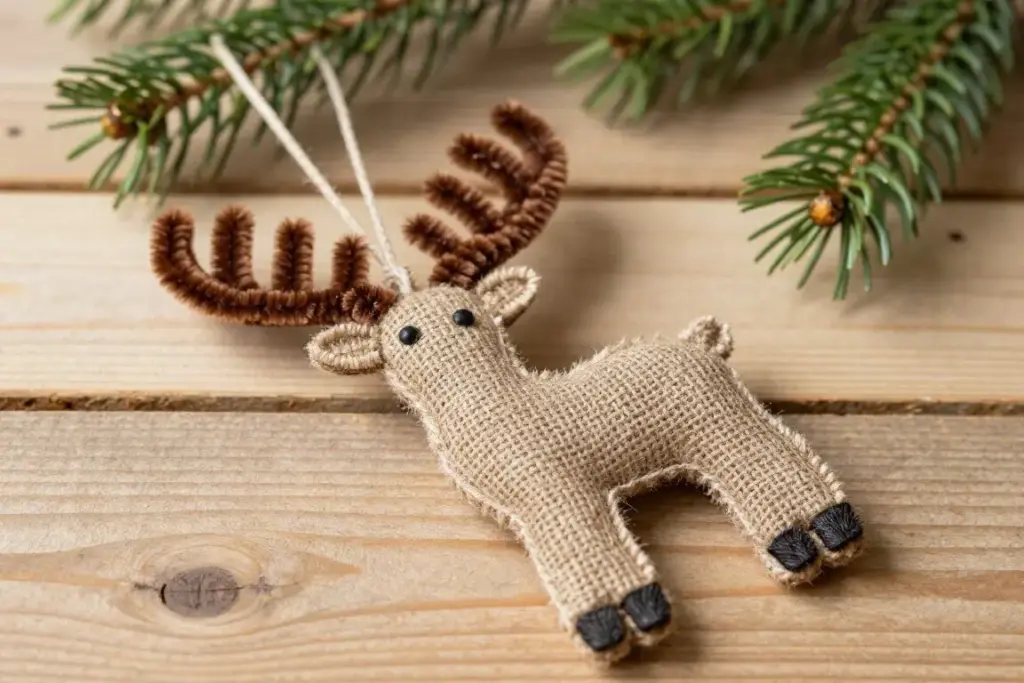
16. Reindeer Burlap Ornaments
Burlap fabric brings coarse, tactile warmth to simple animal ornaments that resist tearing during crafting.
- Natural brown burlap fabric
- Wiggle eyes
- Red jingle bells or pom-poms
- Brown pipe cleaners
- Cut paired circular or triangular shapes from stiff burlap fabric.
- Sandwich twisted pipe cleaner antlers between the top edges and glue the perimeter closed.
- Glue wiggle eyes and a red jingle bell onto the burlap face.
Upcycled Cardboard Roll and Carton Characters
Cardboard tubes and molded pulp cartons are versatile recycled bases that give holiday figures reliable three-dimensional structure. These projects teach children resourcefulness by repurposing common household packaging.
Heavier tempera or acrylic paint coats cardboard tubes smoothly without warping the underlying cylindrical shape.
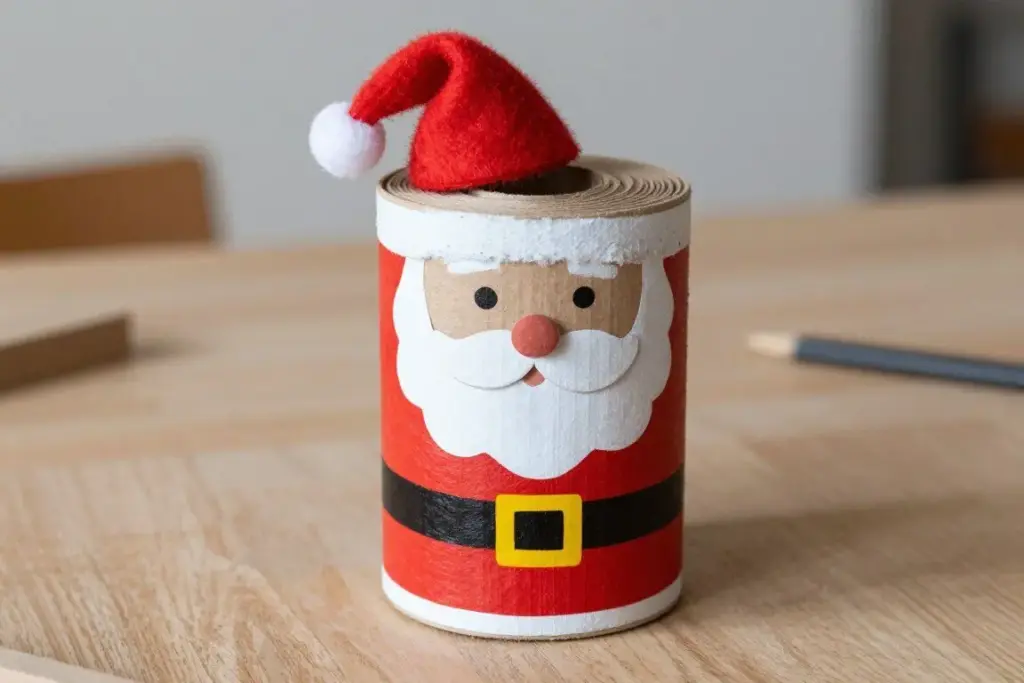
17. Cardboard Roll Holiday Characters
Empty paper tubes convert into Santas, elves, or winter penguins with simple paint and felt embellishments.
- Cardboard tubes from paper towels or bath tissue
- Washable craft paint
- Construction paper scraps
- Liquid glue
- Paint the tube in festive colors, such as black for penguins or red for Santa figures.
- Wrap a narrow strip of black paper around the middle to create a belt with a yellow buckle.
- Add painted facial features, cotton ball trims, and paper hats to finish each character.
18. Cardboard Roll Christmas Trees
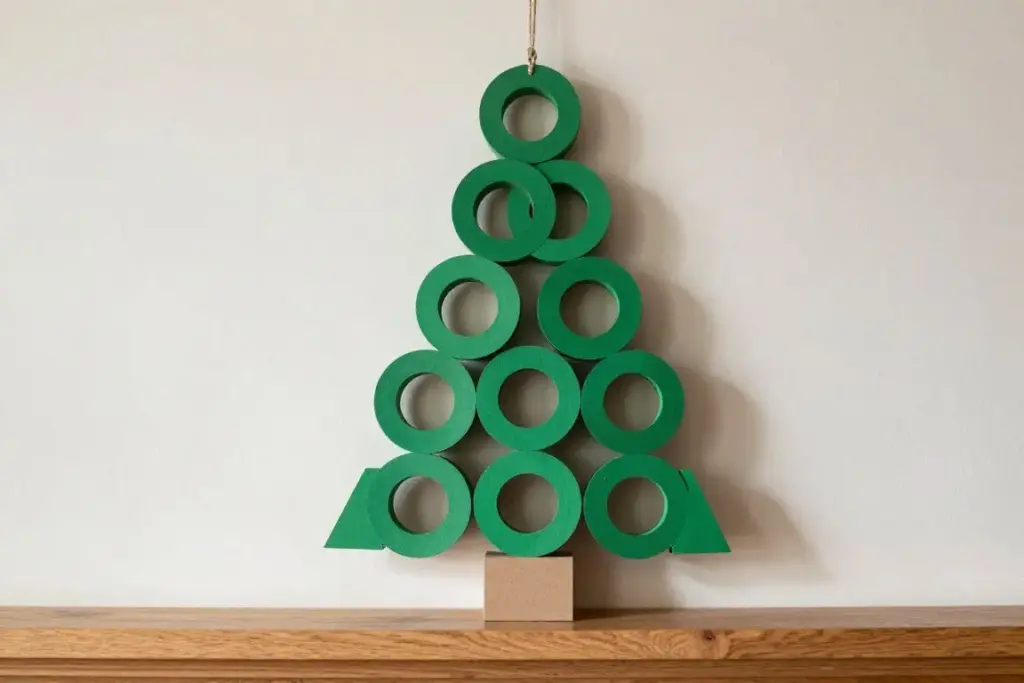
Slicing or shaping painted cardboard tubes creates layered miniature trees that sit securely on holiday shelves.
- Cardboard tubes
- Green craft paint
- Hole punch
- Sequins or small buttons
- Paint several cardboard rolls green and allow them to dry fully.
- Flatten slightly and cut into uniform rings, then glue the rings together in a pyramid shape.
- Nest colorful beads or buttons inside each open ring like miniature hanging ornaments.
19. Egg Carton Snowmen
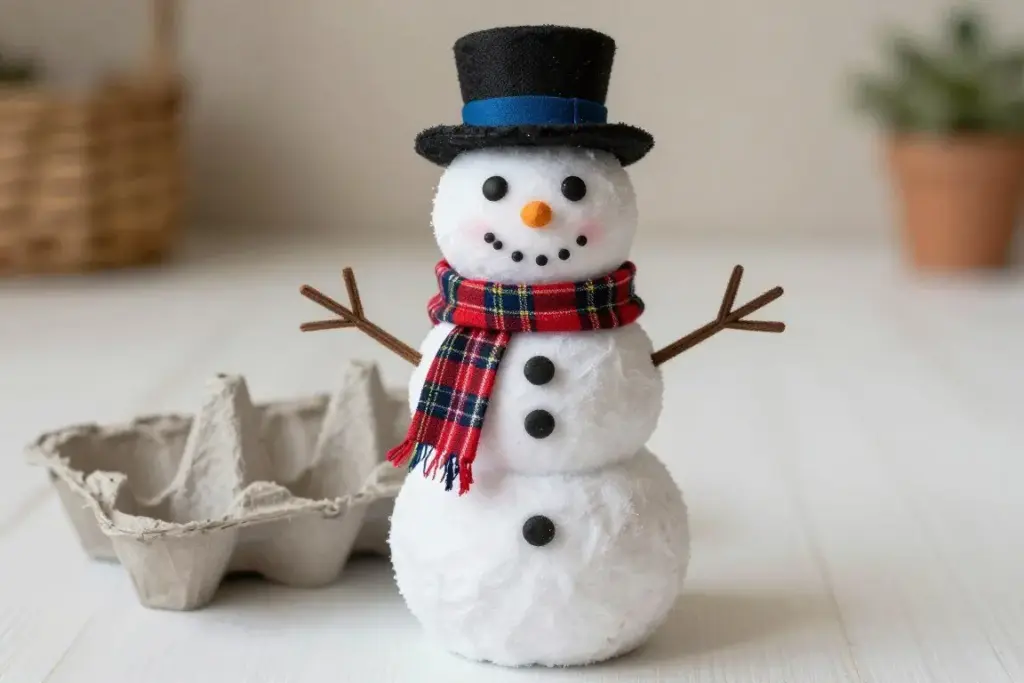
Egg cartons feature molded cups that separate into stackable rounded segments for adorable snow figures.
- Cardboard egg carton cups
- White acrylic paint
- Fabric ribbon for scarves
- Black marker and orange paper
- Cut out three connected cups vertically from an egg carton, trimming rough edges cleanly.
- Paint the front and back of the cups solid white.
- Tie a ribbon scrap around the neck between the top two cups and ink on smiling coal details.
20. Cardboard Gingerbread Houses
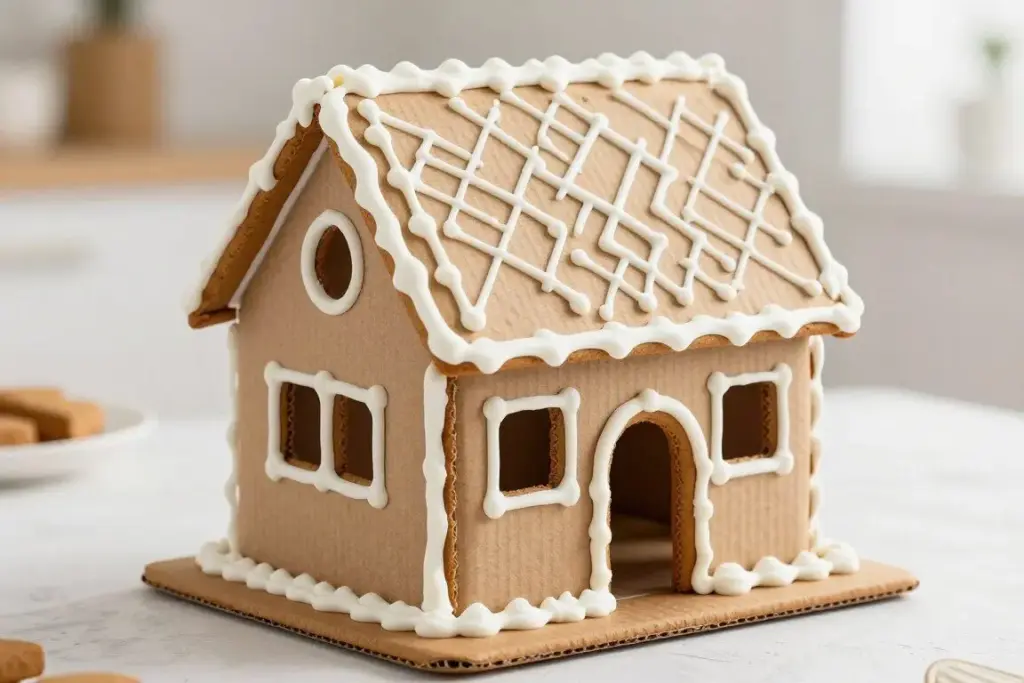
Sturdy shipping boxes or cereal packaging form flat-pack gingerbread houses decorated with chalk markers.
- Clean corrugated cardboard
- White paint pens or chalk markers
- Liquid glue
- Cotton balls for snow
- Cut house silhouettes with pitched rooflines out of unprinted brown cardboard.
- Draw frosting swirls, shingled roofs, and window panes using opaque white markers.
- Glue fluffy cotton balls along the roof edges to represent accumulated fresh snow.
Cozy Yarn and Felt Hanging Ornaments
Felt and yarn add tactile warmth to tree branches without the risk of shattering associated with glass decorations. These fiber-based crafts encourage hand-eye coordination through wrapping and basic threading.
Choose blunt plastic tapestry needles when teaching young children to thread yarn through felt or cardboard holes.
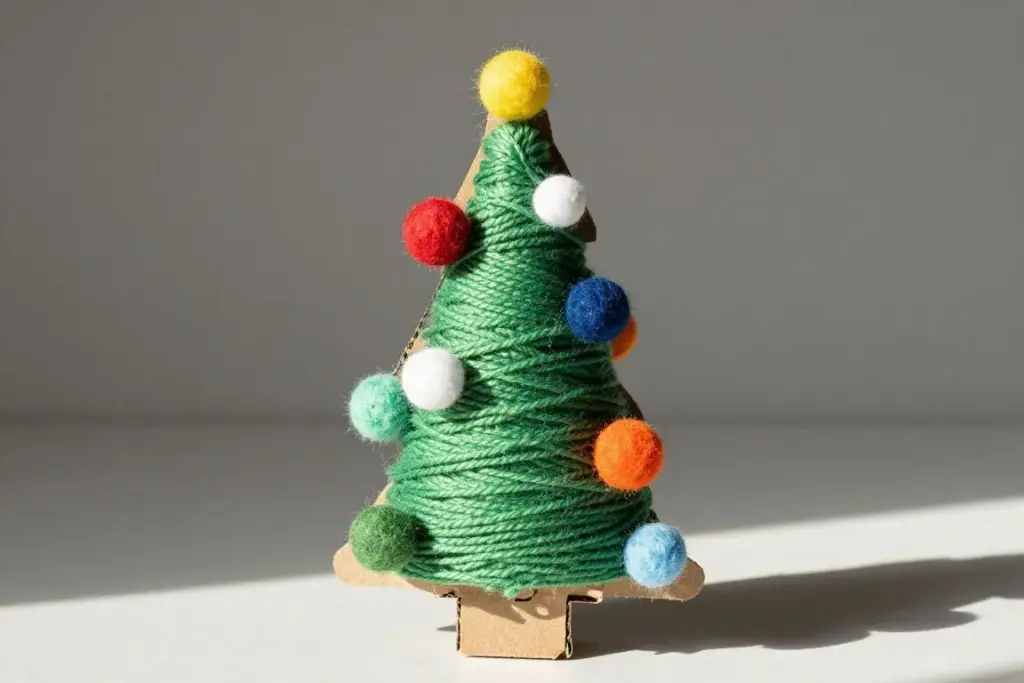
21. Yarn-Wrapped Christmas Tree Ornaments
Winding colorful yarn around flat cardboard cutouts produces soft, textured trees with great visual appeal.
- Stiff cardboard cut into triangles
- Green knitting yarn
- Craft glue
- Pompoms and hanging twine
- Glue the starting tail of the green yarn securely to the back of a cardboard triangle.
- Wrap the yarn repeatedly around the cardboard shape in crisscross directions until covered.
- Tuck and glue the end behind the ornament, then dot colorful pom-poms across the front yarn loops.
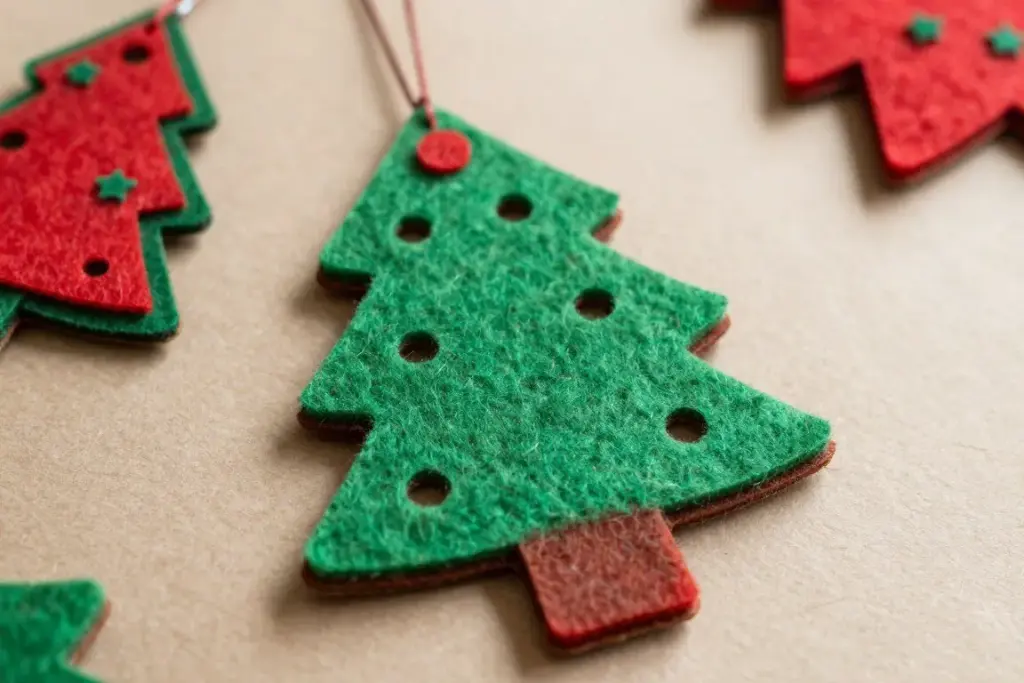
22. Felt Tree Ornaments
Soft felt sheets cut cleanly without fraying, making them ideal for layered geometric ornaments.
- Craft felt sheets in assorted colors
- Fabric scissors
- Fabric glue
- Embroidery floss or ribbon
- Cut out two identical holiday shapes, such as trees, mittens, or stocking outlines.
- Decorate the front felt piece with smaller contrasting shapes like dots or stripes using fabric glue.
- Sandwich a hanging ribbon loop between the shapes and glue the outer seams together.
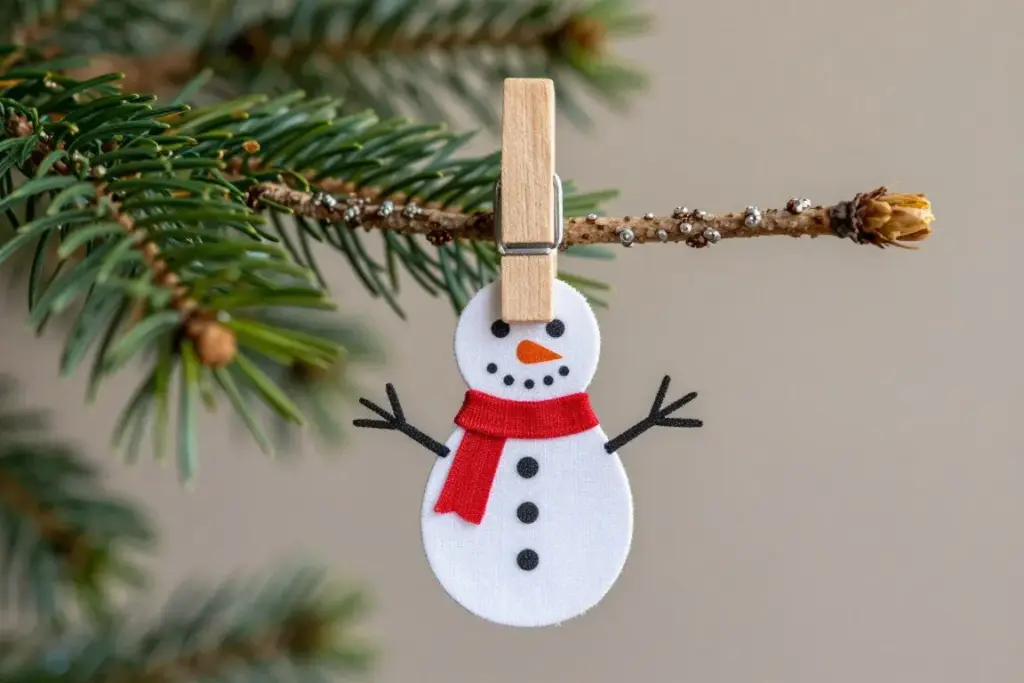
23. Wooden Clothespin Snowmen
Traditional wooden spring clothespins provide an elongated body perfect for clip-on holiday figures.
- Wooden clothespins
- White craft paint
- Fine-tip permanent markers
- Felt scraps for scarves
- Coat the wooden clothespin entirely with white acrylic paint and allow to dry.
- Draw coal eyes, mouth dots, and button marks along the front spine using fine markers.
- Wrap a narrow strip of felt around the neck as a scarf and clip the figure onto tree boughs.
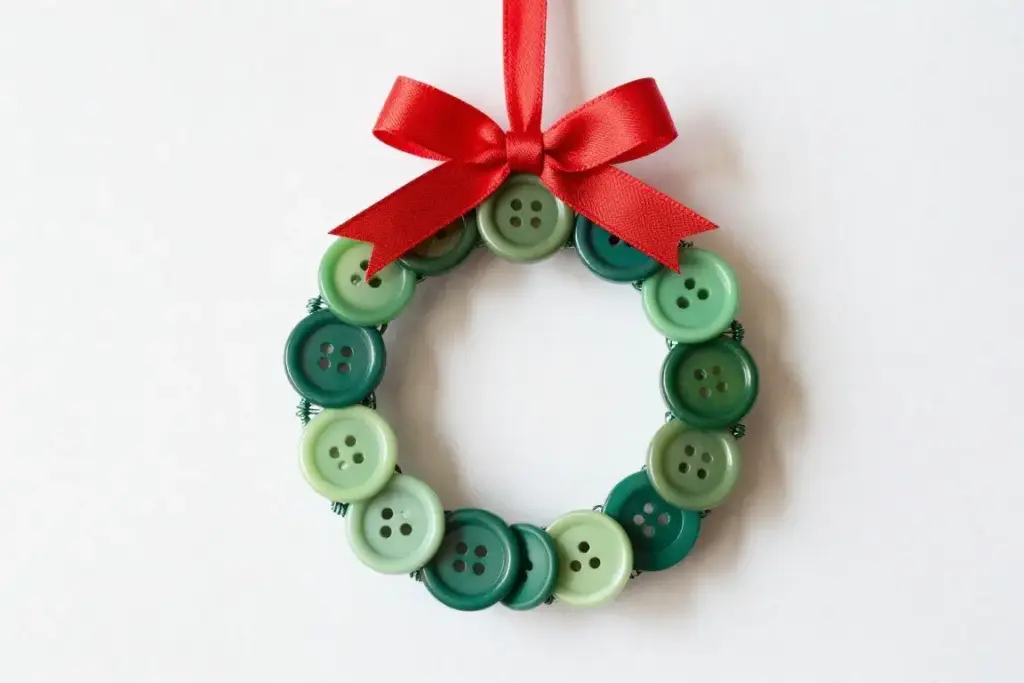
24. Button Wreath Ornaments
Stacking green buttons by size forms a miniature wreath that exercises sorting and fine motor grasping skills.
- Green craft buttons in various diameters
- Thin craft wire or pipe cleaner
- Red ribbon bow
- Thread buttons consecutively onto a flexible craft wire, alternating shades of green.
- Bend the wire into a complete circle and twist the wire ends securely together to close the wreath.
- Glue a small red ribbon bow over the twisted wire seam to complete the hanger.
Sensory Dough and Holiday Display Crafts
Tactile sculpting doughs and sensory mixtures engage children through hands-on manipulation and scent. These activities encourage exploration of physical textures while resulting in decorative keepsakes.
Sealing dried salt dough with a clear acrylic craft spray prevents moisture absorption and preserves ornaments over time.
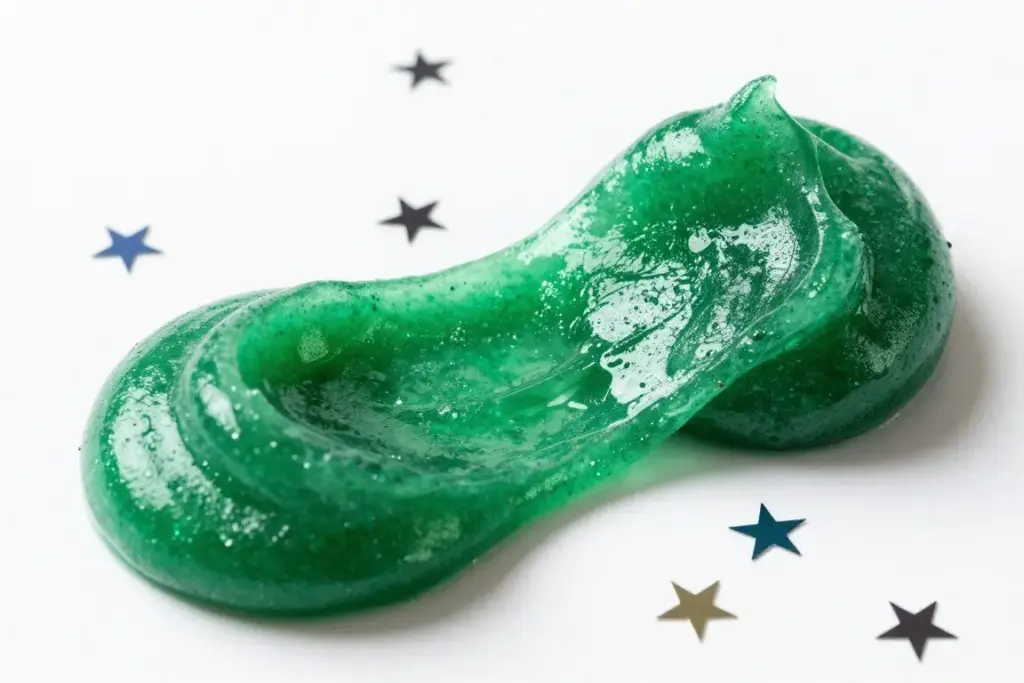
25. Christmas Tree Slime
Stretching and folding scented green slime provides relaxing sensory play while creating custom holiday jars.
- Clear washable PVA glue
- Saline solution and baking soda
- Green food coloring and fine glitter
- Holiday confetti shapes
- Mix liquid craft glue with a pinch of baking soda and a drop of green coloring in a bowl.
- Add contact lens saline solution gradually while stirring until the mixture pulls away from the edges.
- Fold in glitter and plastic holiday confetti until evenly distributed throughout the stretchy dough.
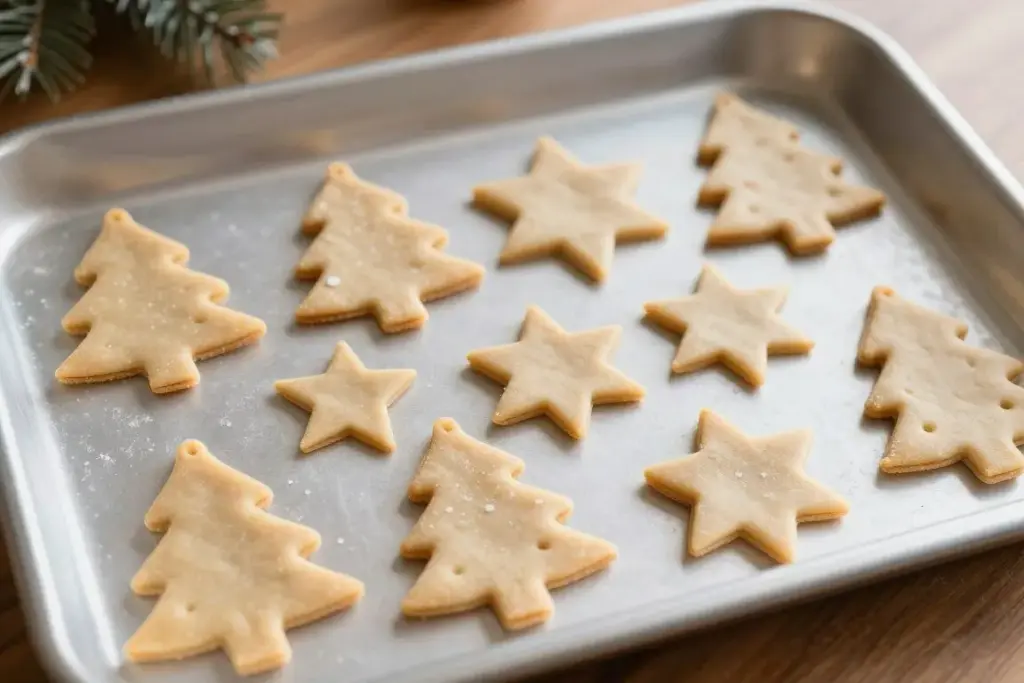
26. Salt Dough Holiday Keepsakes
Simple pantry ingredients bake into durable clay-like ornaments that take paint and imprint patterns smoothly.
- All-purpose flour
- Table salt and warm water
- Holiday cookie cutters
- Straw for hanging hole
- Mix flour, salt, and water into a smooth, pliable dough and roll flat across a floured board.
- Press metal or plastic cookie cutters into the dough to stamp out festive silhouettes.
- Poke a clean hole near the top using a drinking straw, bake until hard, and paint once cool.
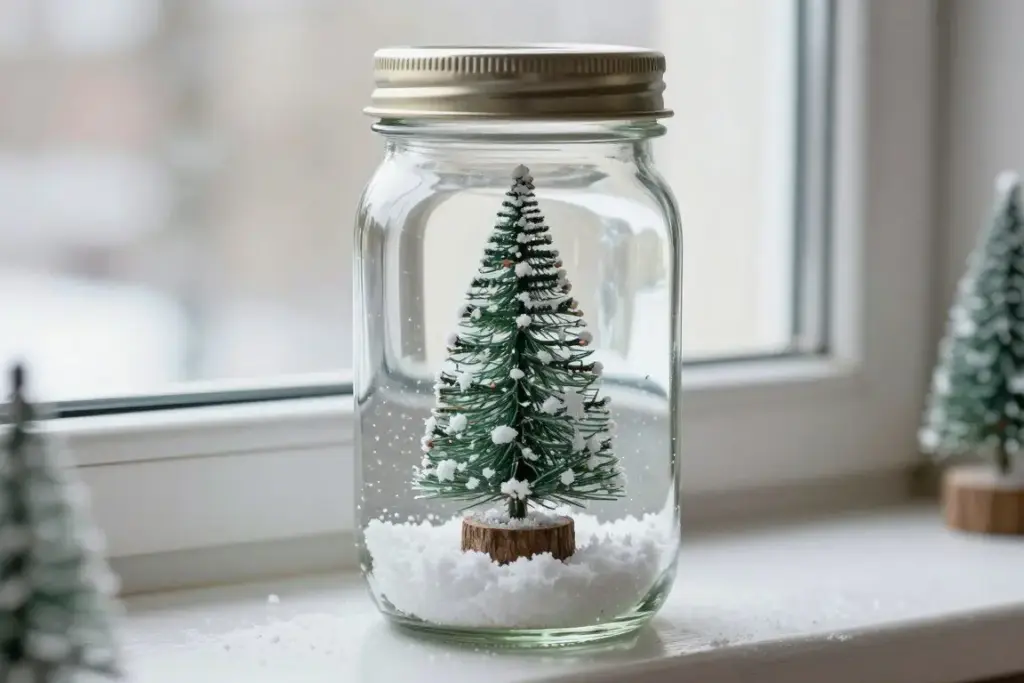
27. Mason Jar Snow Globes
Waterless snow globes eliminate the risk of murky water leaks while offering a magical miniature winter landscape.
- Small clear glass mason jars with lids
- Plastic holiday figurines or bottle brush trees
- Faux snow flakes or white glitter
- Strong craft adhesive
- Glue plastic figurines securely to the interior surface of the flat metal jar lid.
- Spoon a generous layer of dry faux snow into the bottom of the glass jar.
- Invert the lid into the jar, twist the band tightly closed, and flip upright to view the scene.
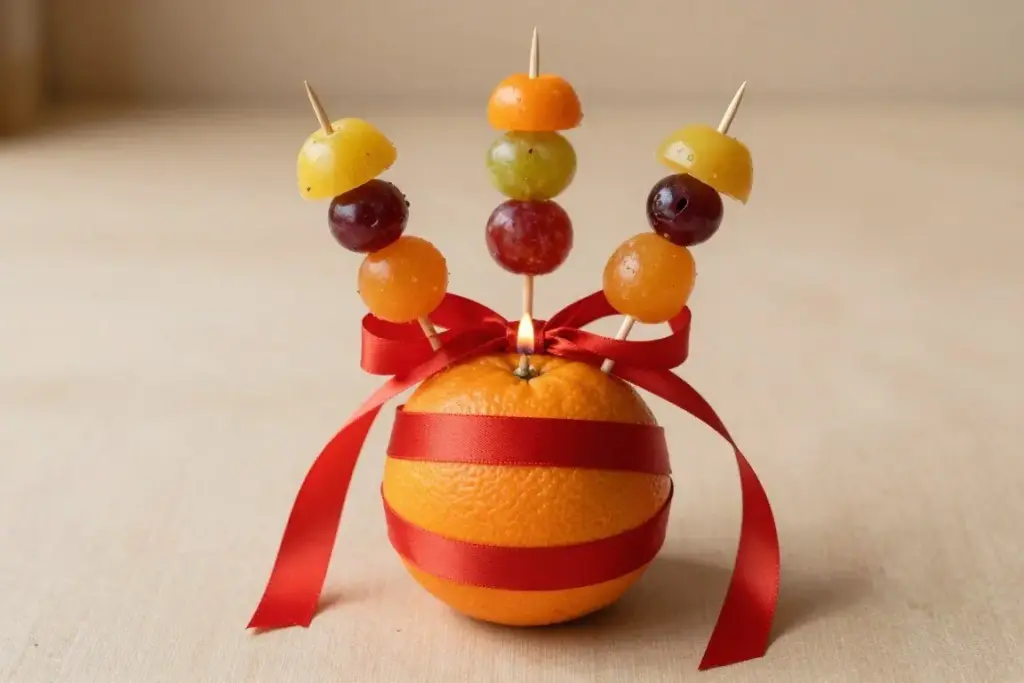
28. Traditional DIY Christingle
This meaningful craft pairs fresh fruit with symbolic candles and fruit skewers to celebrate holiday light and community.
- Whole round oranges
- Red satin ribbon
- Small taper candle or battery tea light
- Toothpicks loaded with dried fruit or soft candy
- Wrap a strip of red ribbon around the middle equator of the orange and secure with a pin.
- Insert four loaded fruit toothpicks angled upward into the orange sides.
- Scoop a small well in the orange top to seat the candle safely for holiday display.
Cherished Handprint and Footprint Keepsakes
Capturing the physical size of a child’s hands and feet produces sentimental decorations that document early childhood milestones. These personalized makes serve as heartfelt gifts for relatives and family scrapbooks.
Wiping hands with baby wipes immediately after printing makes paint cleanup quick before it dries on skin.
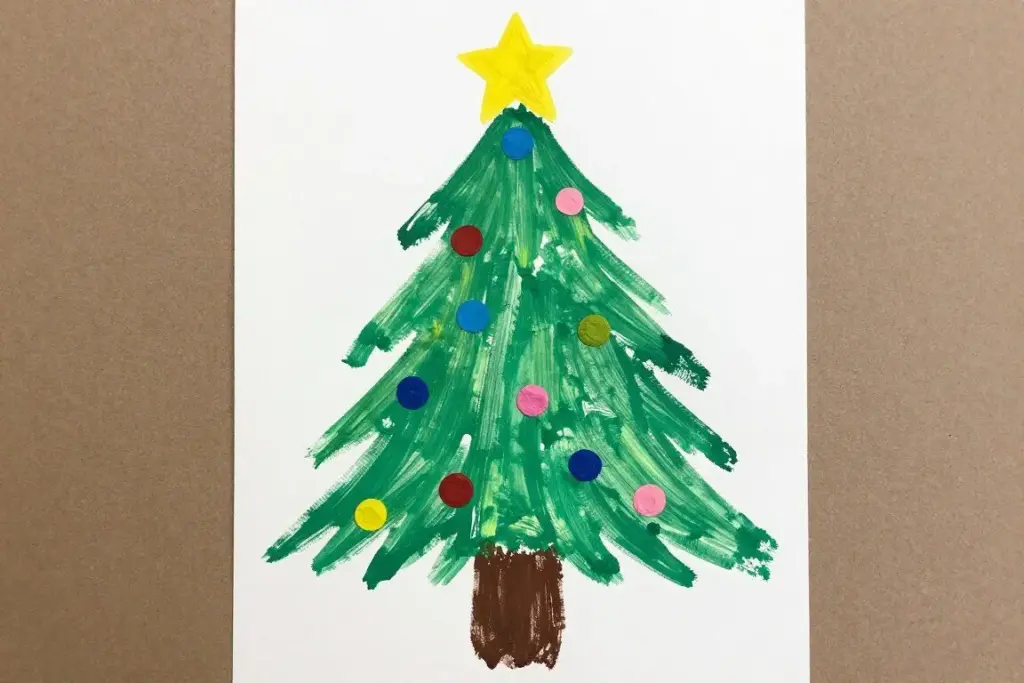
29. Handprint Christmas Tree Keepsakes
Stacking green handprints inverted on cardstock builds a lush, layered evergreen tree silhouette.
- Green non-toxic washable tempera paint
- Heavy white cardstock paper
- Yellow paper star
- Fingertip paints for ornaments
- Coat the child’s palm and fingers with washable green paint using a sponge brush.
- Press handprints firmly onto cardstock, printing three at the base, two in the center, and one at top.
- Top the painted handprint tree with a yellow star and dab colorful fingerprint ornaments across the boughs.
30. Potato Print Snowman Cards
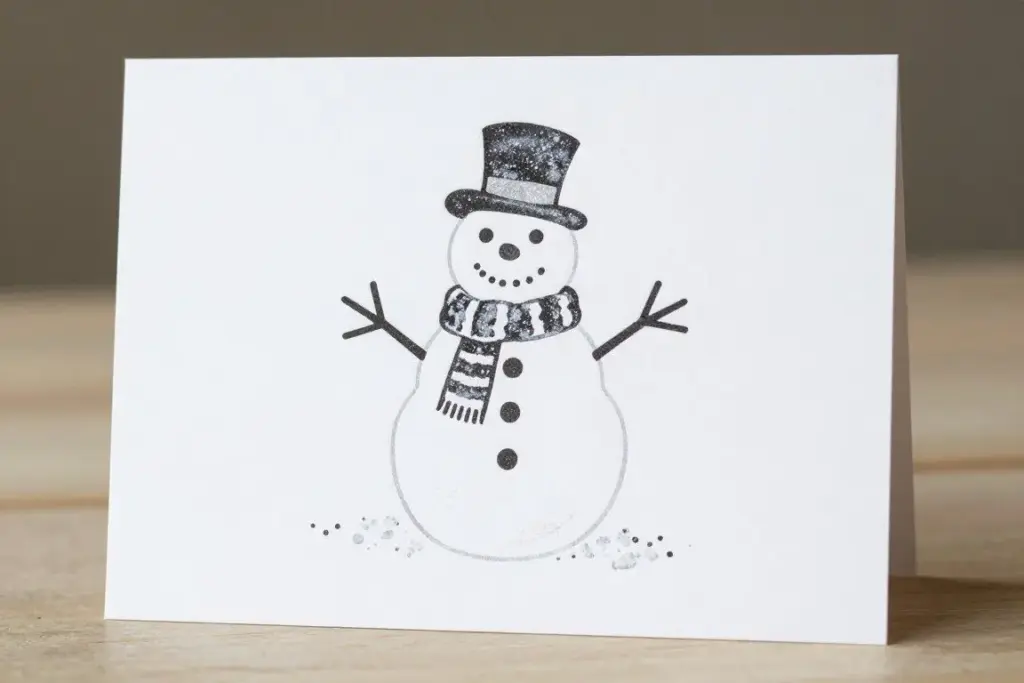
Cut raw potatoes form easy-to-grip natural stamps that produce crisp circular impressions on greeting cards.
- Raw baking potato halved by an adult
- White acrylic paint
- Blank cardstock greeting cards
- Toothpicks and fine markers
- Dip the flat cut surface of a halved potato into a shallow tray of white paint.
- Press the potato firmly onto the front of a folded card, stamping two stacked circular bodies.
- Add black hat details, button dots, and orange carrot noses with markers once dry.
31. Fingerprint Holiday Lights Garland
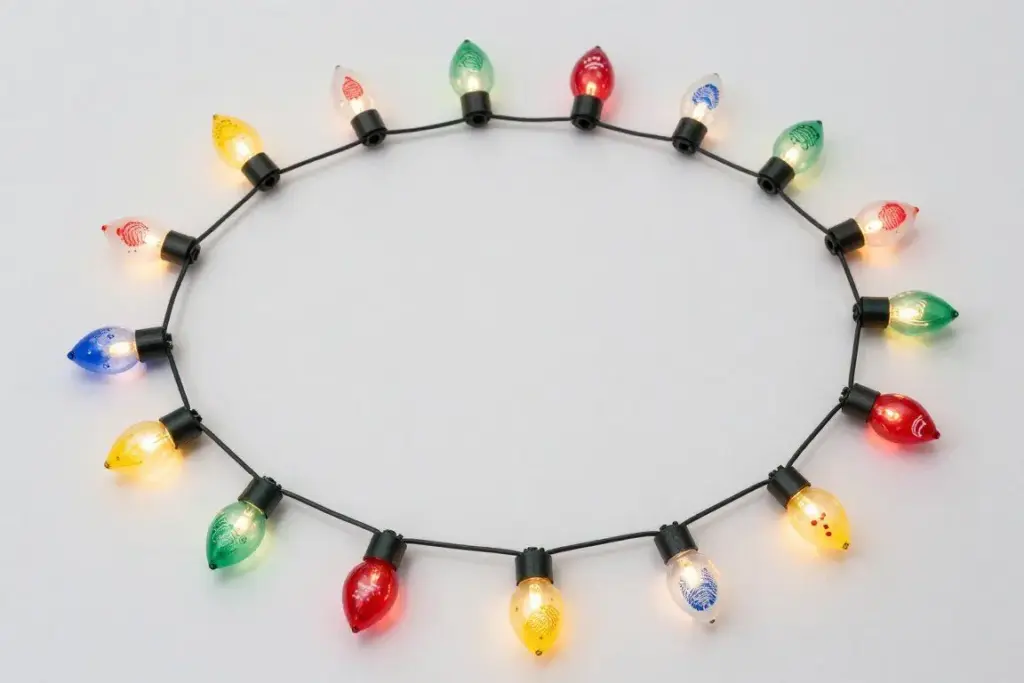
Dipping fingertips into vivid paints creates glowing multicolored bulbs along an inked garland cord.
- Black fine-tip drawing pen
- White poster board or cardstock
- Washable tempera paints in varied bright colors
- Draw a wavy, looping black line across the cardstock to represent an electrical light strand.
- Sketch small square light sockets along the looping line at spaced intervals.
- Press ink-coated child fingertips atop each socket to form glowing holiday light bulbs.
32. Footprint Mistletoe Canvas
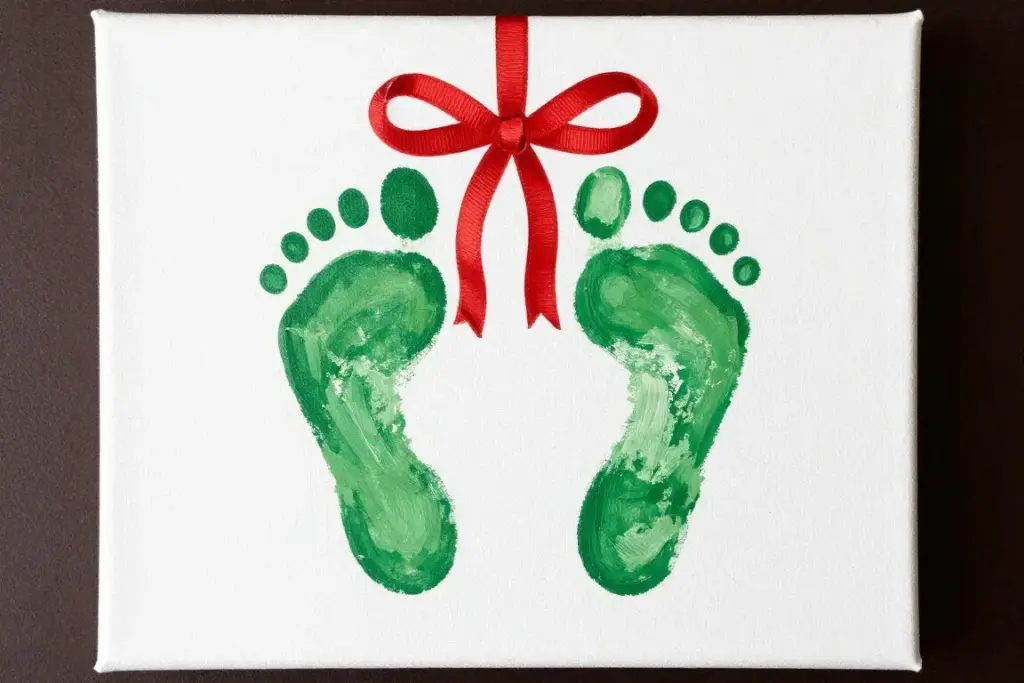
Inverted green footprint impressions naturally mirror the clustering leaves of fresh holiday mistletoe.
- Stretched craft canvas or heavy board
- Green washable body-safe paint
- Red satin ribbon bow
- Paint marker for lettering
- Brush the child’s sole with green washable paint and press onto the canvas with heels touching at top.
- Angle the toes outward to resemble spreading mistletoe boughs.
- Glue a tied red satin bow over the intersection of the heels and paint a cheerful holiday greeting.
Festive Pipe Cleaner and Beaded Creations
Chenille stems provide flexible internal wire structures that bend effortlessly into curved shapes without breaking. Combining pipe cleaners with plastic pony beads encourages threading practice and fine motor precision.
Fold pipe cleaner ends backward into small loops to cover sharp wire tips before handing them to small children.
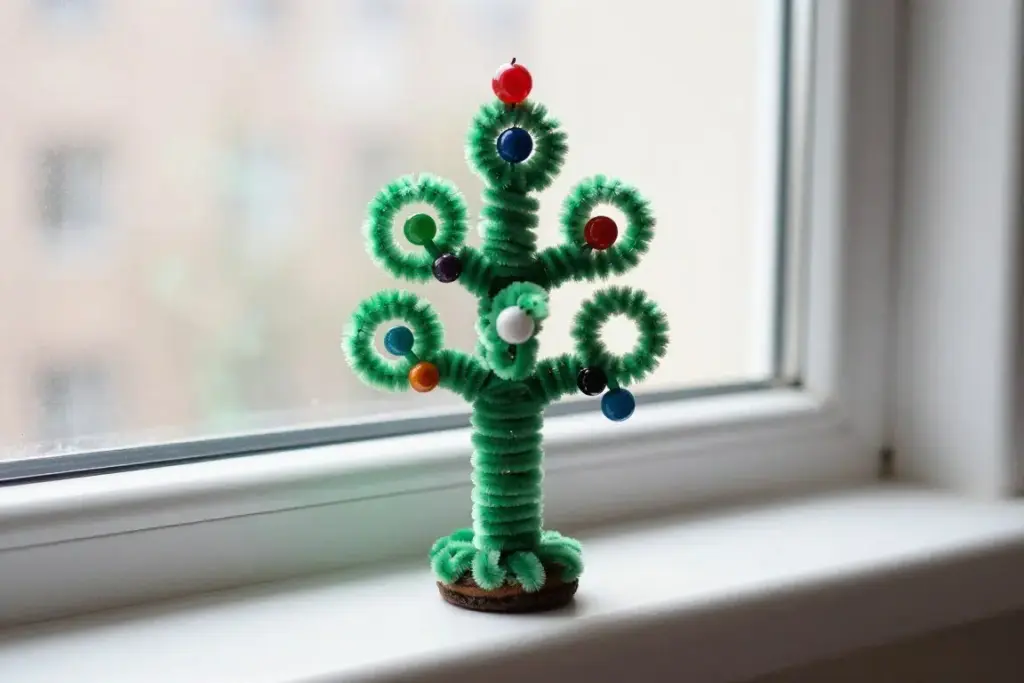
33. Pipe Cleaner Christmas Trees
Twisting fuzzy green craft stems around conical molds builds airy, modern tree silhouettes.
- Green chenille pipe cleaners
- Small paper cone or funnel mold
- Pony beads in metallic colors
- Thread several colorful pony beads along the length of a green pipe cleaner.
- Wrap the stem tightly around a paper cone mold in an upward spiral to form a cone tree.
- Slip the spiral tree off the mold and gently stretch the coils to stand upright independently.
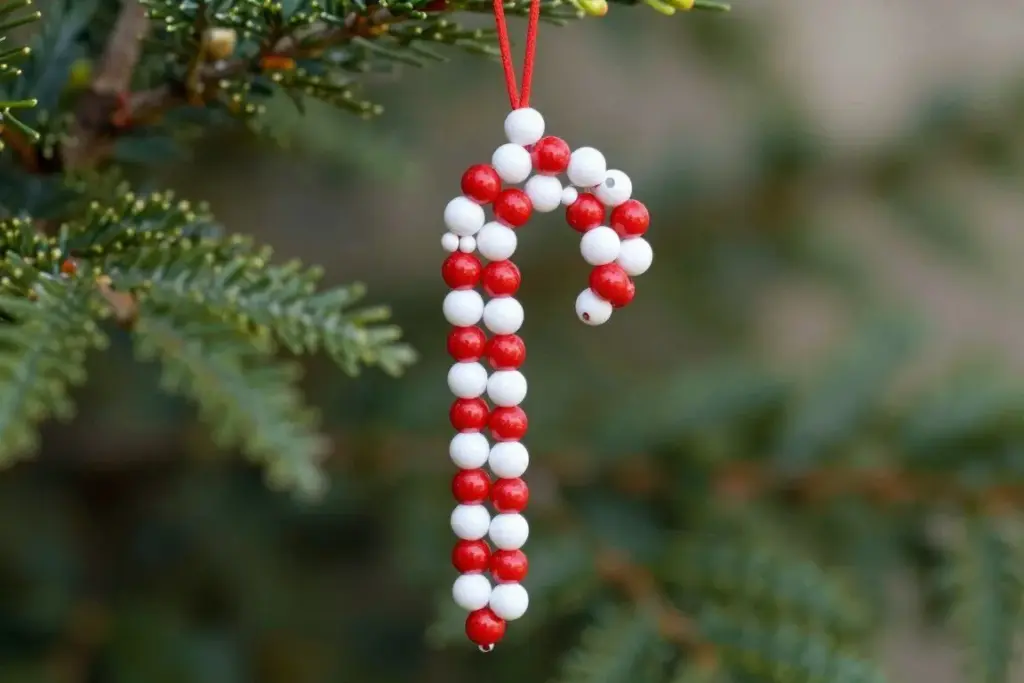
34. Beaded Pipe Cleaner Candy Canes
Alternating red and white beads along a wire core introduces simple two-color patterning concepts.
- White or red chenille pipe cleaners
- Red plastic pony beads
- White plastic pony beads
- Fold one tip of a pipe cleaner over to keep threaded beads from slipping off the end.
- Alternate threading red and white pony beads along the wire until fully covered.
- Fold the top tip over securely and bend the upper portion into a traditional cane hook.
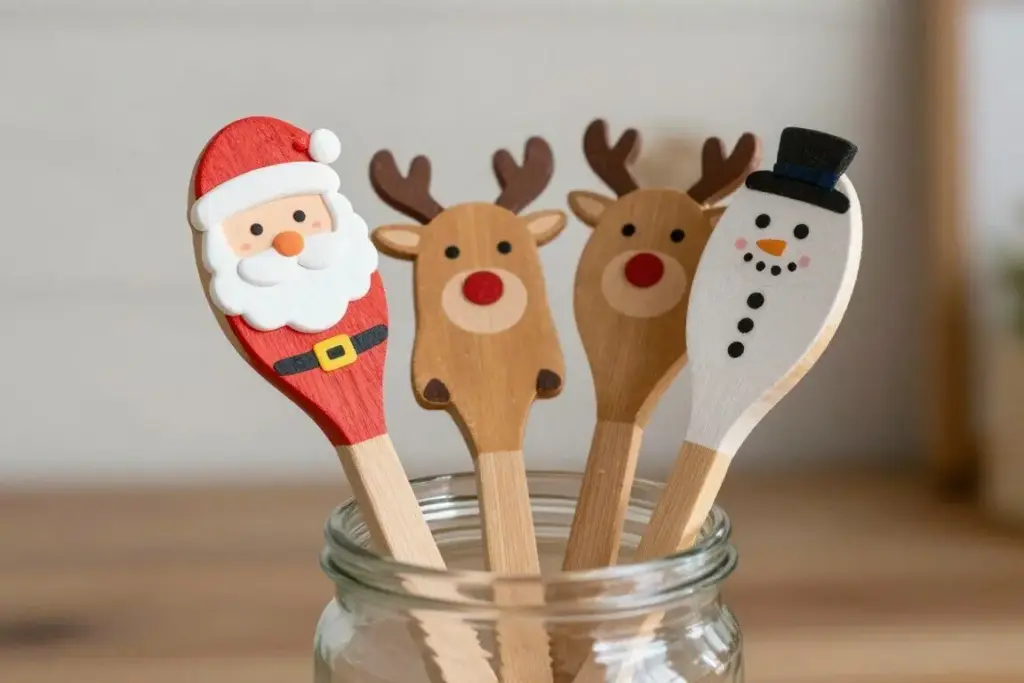
35. Wooden Spoon Festive Puppets
Simple wooden baking spoons turn into whimsical character puppets that support creative holiday storytelling.
- Inexpensive wooden kitchen spoons
- Acrylic craft paint and markers
- Felt scraps and yarn for hair
- Craft glue
- Paint the back of the spoon bowl with character faces such as reindeers, Santas, or snowmen.
- Glue yarn strands across the top edge for hair or felt shapes for hats and ears.
- Tie ribbon scraps around the spoon neck to create clothing collars or scarves.
36. Jingle Bell Door Hanger
Strung metal bells create musical decorations that ring pleasantly whenever doors open throughout the holidays.
- Large metallic jingle bells
- Wide festive fabric ribbon or webbing
- Metal keyring or wooden ring
- Craft glue or needle and thread
- Thread multiple jingle bells along the length of a wide holiday ribbon at spaced intervals.
- Secure each bell in place by tying simple knots in the ribbon or stitching tight loops.
- Attach the top end of the ribbon to a wooden ring that slips easily over interior door knobs.

Winter Collage and Textured Printmaking Art
Collage and printmaking allow children to explore mixed media by combining everyday items like cotton, pasta, and paper liners. These activities emphasize process art and sensory exploration over rigid perfection.
Thick cardboard scrapers or foam rollers apply paint evenly to textured printmaking stamps without pooling.
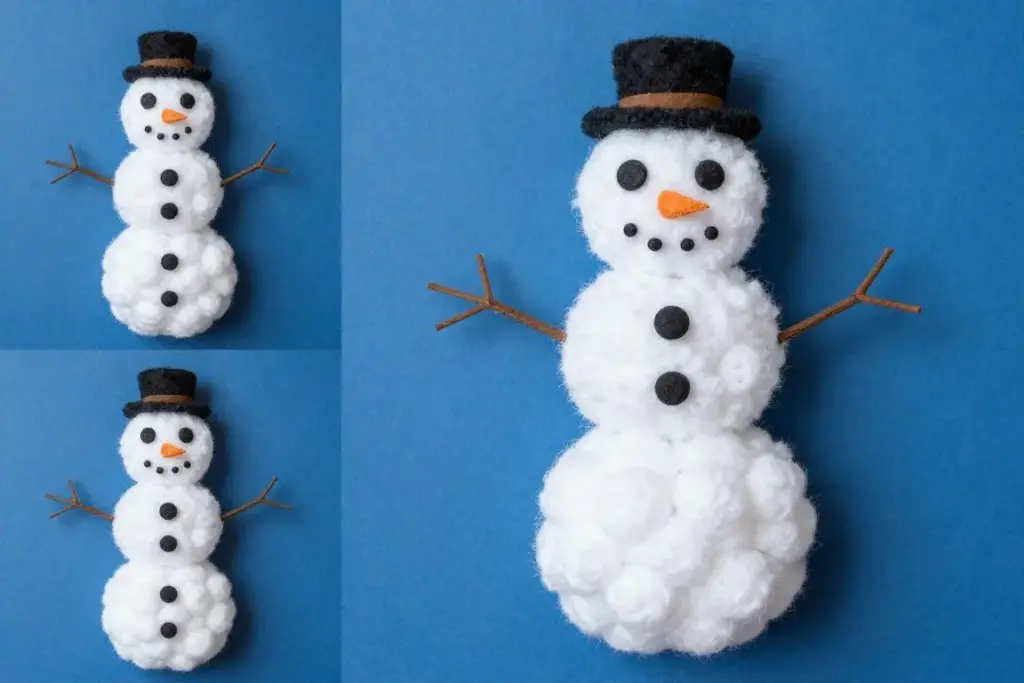
37. Cotton Ball Snowman Collage
Pasting soft cotton balls across paper outlines builds tactile snow scenes that toddlers enjoy touching.
- Blue cardstock background paper
- Standard white cotton balls
- School glue stick or craft glue
- Scrap paper for hats and arms
- Sketch three stacked circular outlines on the blue cardstock paper.
- Spread craft glue inside the circles and press fluffy cotton balls firmly into place.
- Paste brown paper twig arms, a black paper top hat, and button cutouts over the cotton.
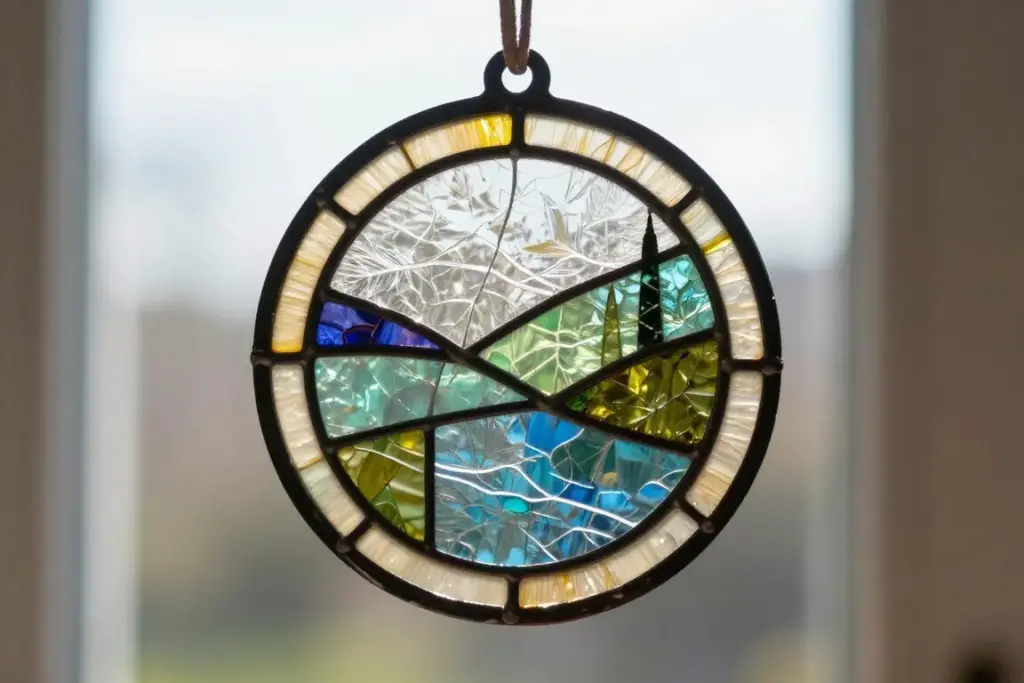
38. Tissue Paper Stained Glass Ornaments
Layering translucent tissue paper between clear adhesive film mimics glowing stained glass window panels.
- Black construction paper frames
- Clear contact paper
- Tissue paper cut into geometric squares
- Hanging ribbon
- Cut hollow holiday shapes, such as stars or ornaments, from black construction paper.
- Place the black frame onto the sticky side of a sheet of clear contact paper.
- Fill the open interior with overlapping colored tissue paper squares, seal with a second sheet, and trim.
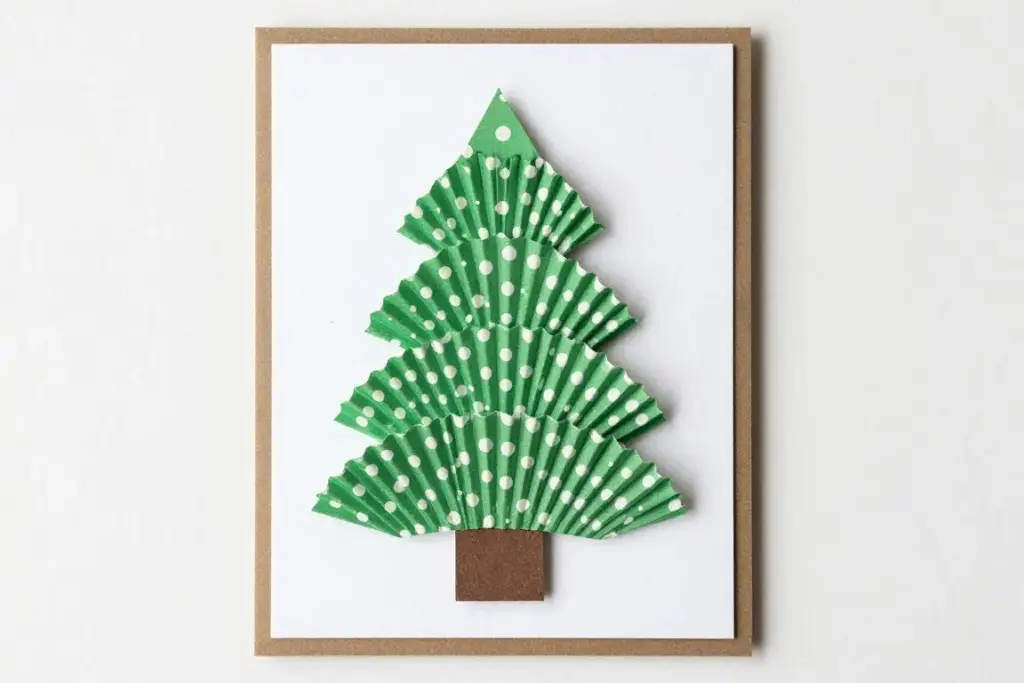
39. Cupcake Liner Christmas Trees
Pleated paper baking cups flatten into decorative ruffled tiers that simulate pine tree branches.
- Standard green or patterned paper cupcake liners
- Sturdy backing paper
- Glue stick
- Small star stickers
- Fold three cupcake liners into flat triangular wedge shapes.
- Layer the folded liners vertically onto backing paper, tucking each layer under the one below it.
- Glue the tiers down firmly and press a bright star sticker atop the finished paper tree.
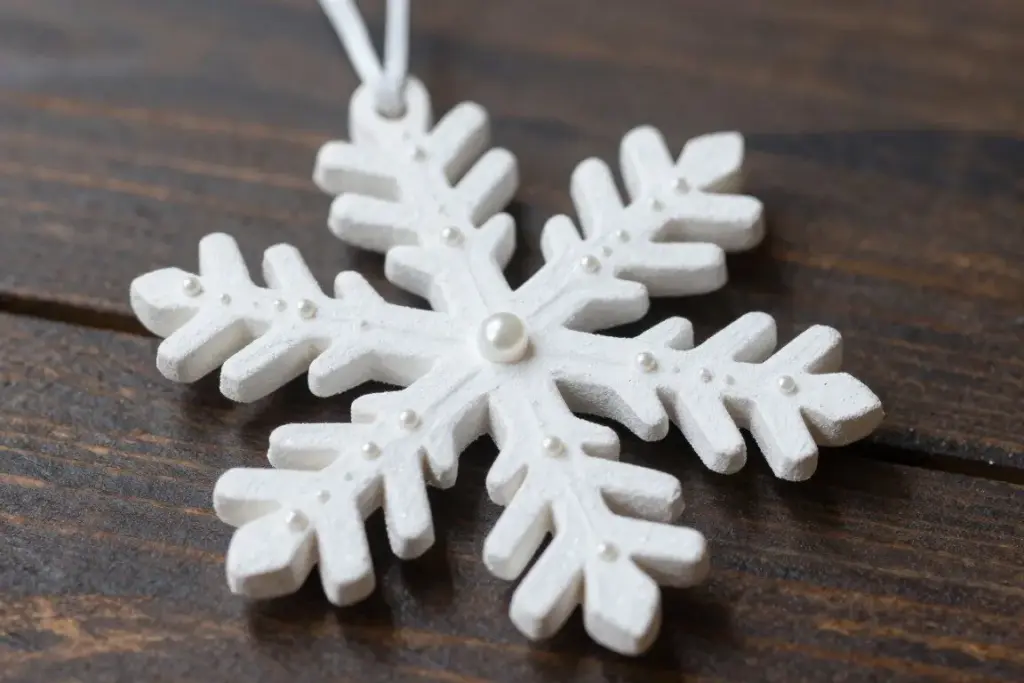
40. Pasta Noodle Snowflake Ornaments
Dry pantry pasta shapes like wagon wheels and bowties glue together into geometric crystalline ornaments.
- Assorted dry pasta shapes such as wagon wheels and rotini
- Strong liquid craft glue
- White or metallic gold spray paint
- Hanging string
- Arrange dry pasta pieces flat on wax paper in radiating circular snowflake formations.
- Apply generous dabs of liquid craft glue to connect touching pasta edges and let dry completely.
- Have an adult paint the assembled snowflake with white or gold paint, then tie a hanging cord.
Frequently Asked Questions About Holiday Kids Crafts
What glue works best for children’s holiday crafts?
Standard washable school glue sticks work best for lightweight paper and tissue projects. Thicker tacky craft glue or low-temperature glue guns operated with adult supervision provide stronger bonds for wood sticks, pine cones, and pasta.
How can adults manage craft mess during holiday activities?
Covering the work surface with butcher paper, silicone baking mats, or plastic trays keeps glitter and paint contained. Preparing portioned paint cups and damp washcloths nearby allows quick cleanup before pigments spread.
Which materials are safest for toddlers during Christmas crafting?
Non-toxic tempera paints, large paper plates, broad washable markers, and pre-cut felt shapes provide tactile engagement without choking hazards. Avoiding tiny beads, sharp pins, and small button embellishments keeps early crafting safe.
How should dried craft projects be preserved for future seasons?
Storing delicate paper and dough ornaments flat between sheets of tissue paper inside rigid plastic containers protects them from seasonal humidity and crushing. Writing the child’s name and calendar year on the back of each piece preserves the keepsake memory.
Holiday Crafting Wrap-Up
Making holiday decorations at home builds fine motor control, stimulates creative thinking, and creates lasting family traditions. Setting up simple stations with accessible supplies allows children to take pride in contributing handmade ornaments to the seasonal home decor.