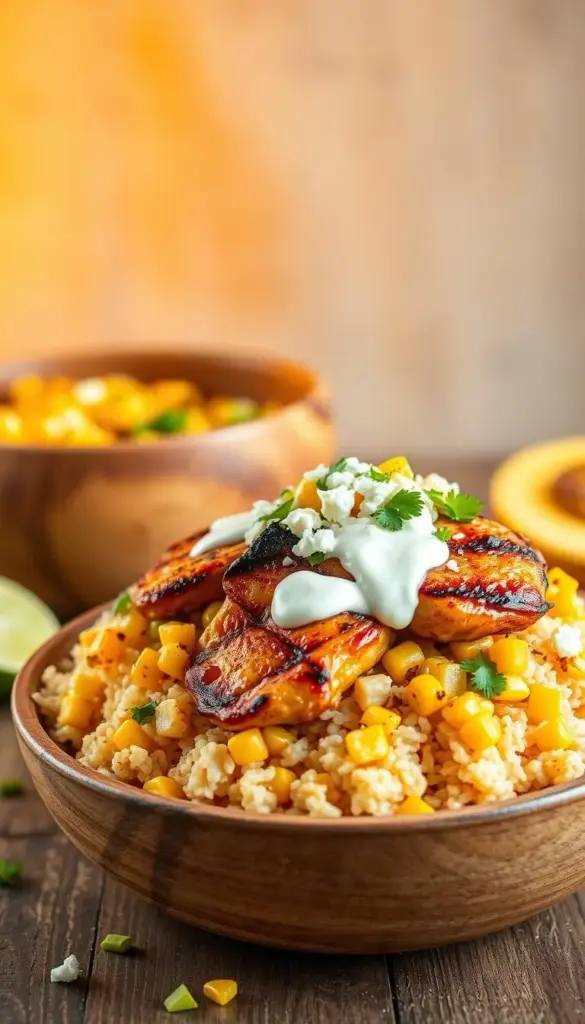
There’s something magical about combining bold flavors into one hearty dish. Today, I’m sharing a recipe that blends smoky grilled kernels with juicy seasoned meat and fluffy grains. It’s inspired by a popular street food but transformed into a filling meal you’ll crave again and again.
What makes this dish special is its balance of textures and tastes. Imagine tender, spice-rubbed protein paired with charred sweet kernels, all drizzled with a creamy lime sauce. Crumbled salty cheese adds the perfect finish, tying every bite together. Best of all, you can tweak the heat level or toppings to match your mood.
This recipe is my go-to for busy weeknights or casual gatherings. It’s quick to prepare yet delivers restaurant-quality flavor. Let’s dive into how to create this vibrant, satisfying dish that’s sure to become a favorite in your kitchen.
Key Takeaways
- Combines smoky grilled corn and seasoned chicken with fluffy rice for a complete meal
- Features a creamy lime sauce and crumbled cotija cheese for authentic flavor
- Easy to customize spice levels and additional toppings
- Inspired by traditional street food but upgraded for home cooking
- Perfect balance of textures from crispy charred kernels to tender meat
- Ready in under 40 minutes for quick weeknight dinners
Introduction: My Journey with Mexican Street Corn Chicken Rice Bowl
Creating dishes that burst with contrasting textures has always excited my culinary curiosity. My obsession began after devouring elote at a local festival – that irresistible combo of charred kernels, zesty lime, and salty cheese left me craving more. I wondered: Could these vibrant flavors become a standalone meal?
After three messy kitchen trials, I cracked the code. The secret? Balancing smoky grilled elements with bright citrus notes. I swapped the traditional cob for easy-to-mix kernels and added seasoned protein for staying power. Friends joked I’d invented “fork-friendly street food” after their first bites.
What makes this dish sing is its layered flavors. A chili-lime marinade tenderizes the meat while mirroring the corn’s seasoning. Crumbled cotija cheese adds creamy contrast without overwhelming other ingredients. It’s the kind of meal that satisfies deeply but won’t weigh you down.
Now when I host dinners, this bowl always steals the show. One guest perfectly captured its appeal: “It’s like summer fireworks – every bite explodes with something new.” From weeknight solution to party favorite, this creation proves simple ingredients can deliver extraordinary experiences.
Why You’ll Love This Recipe
Ever crave a meal that’s both comforting and adventurous? This recipe strikes that perfect balance. Charred kernels kissed by flame mingle with zesty lime and smoky spices, creating a party in every bite.
What hooks me every time is the creamy-tangy sauce. Fresh citrus cuts through rich cotija cheese, while chili powder adds just enough heat to keep things interesting. It’s like your favorite food truck experience—but cozier and cheaper.
Three reasons this dish rocks:
- Customizable foundations (swap grains or proteins)
- Ready in under 40 minutes
- Meal-prep friendly components
I’ve served this to picky eaters and foodies alike—it always disappears. The magic lies in how crispy, tender, and creamy textures dance together. Add avocado for buttery richness or black beans for extra fiber. Your kitchen, your rules!
Last week, my neighbor texted: “That bowl haunts my dreams—in the best way.” Whether you’re feeding a crowd or just yourself, this adaptable dish delivers joy without demanding hours. Trust me—your fork will keep circling back for more.
Mexican Street Corn Chicken Rice Bowl Recipe: Authentic and Flavorful
Transform simple ingredients into a fiesta of flavors with this crowd-pleasing dish. Perfect for weeknights or casual entertaining, it delivers bold tastes without complicated steps. Let’s break down what makes this version stand out.
This recipe feeds four hungry people in about 50 minutes. You’ll spend 30 minutes prepping marinades and chopping fresh toppings, then 20 minutes cooking. Each serving packs 500-600 calories – enough to satisfy without guilt-tripping your appetite.
The magic happens in three layers: juicy thighs rubbed with smoked paprika, fire-kissed kernels, and a tangy lime-crema drizzle. Cotija cheese adds salty crunch, while chili powder brings subtle heat. These elements mirror what you’d find at mercado food stalls.
What I love most is how everything comes together. Fluffy grains soak up zesty sauces, while fresh cilantro brightens each bite. It’s street food reinvented as a nourishing meal – no cob holders required!
Essential Equipment for a Perfect Bowl
Great meals start with the right tools. You don’t need fancy gadgets to nail this dish – just four kitchen essentials that make prep effortless. Let’s break down why each item matters.

My go-to skillet works double duty. It sears seasoned protein to golden perfection and chars kernels for that smoky depth. Choose cast iron for even heat distribution – it’s a game-changer for texture.
- Wooden cutting board: Gentle on knife edges and stable for slicing cooked meat
- Chef’s knife: Handles everything from dicing veggies to slicing citrus
- Mixing bowls: Separate containers keep marinades and toppings organized
I’ve found that sharp blades prevent ingredient squishing. A sturdy board stays put during chopping, while two bowls streamline assembly. Last week, my neighbor borrowed these tools and texted: “Finally nailed that creamy-crunchy balance!”
With this basic setup, you’ll spend less time prepping and more time enjoying vibrant flavors. Everything comes together faster when your tools work smarter – not harder.
Ingredients and Substitutions for Chicken and Corn
Great dishes begin with smart ingredient choices. Let’s explore the building blocks that make this meal shine – and how to adapt them based on what’s in your fridge. Flexibility is key when crafting flavorful combinations.
For the Chicken
Boneless thighs are my go-to for their rich flavor and moisture retention. If you prefer leaner cuts, breasts work beautifully. The marinade combines zesty lime juice with chili powder and cumin – swap paprika for milder heat if needed.
Avocado oil handles high-heat cooking like a champ, but olive oil works too. Don’t skip the garlic powder; it adds depth to every bite. A pinch of salt and pepper balances the spices perfectly.
For the Street Corn Topping
Fresh grilled kernels deliver that smoky crunch we all love. No grill? Sauté thawed frozen corn in a hot pan. The creamy sauce mixes tangy sour cream with mayo – Greek yogurt lightens it up nicely.
Cotija cheese crumbles add salty goodness. Feta makes a tasty substitute if you’re in a bind. Finish with lime wedges for that bright, citrusy kick that ties everything together.
Preparing Your Ingredients
Organized prep work transforms chaotic cooking into smooth execution. I always begin by prepping the star protein – patting thighs dry ensures marinade clings better. Mix spices and lime juice first so flavors meld while you handle other components.
Fresh kernels need attention next. Shuck ears completely, removing every silk strand for grill-friendly surfaces. If using frozen, thaw overnight for even charring later. Keep toppings like cheese and herbs ready in small bowls – it’s like setting dinner’s building blocks.
Here’s my time-saving trick: Start marinating first. Those 15 minutes while spices work their magic? Perfect for prepping veggies and heating pans. Everything syncs up beautifully when components finish cooking simultaneously.
Last week, a friend asked why her dish lacked depth. Turned out she rushed the prep phase. Taking those extra minutes to measure and organize isn’t fussy – it’s your secret weapon against bland, disjointed flavors. Trust me, your future self will thank you during assembly!
Marinating the Chicken to Perfection
The secret to juicy, flavorful chicken starts before the pan even heats up. I use a bright citrus marinade that works double duty – tenderizing the meat while building layers of taste. Combine fresh lime juice with chili powder, cumin, and garlic for a zesty base that clings to every crevice.
Tips for Effective Marination
Always pat your protein dry first. Moisture blocks the marinade from sticking properly. I prefer shallow dishes over deep bowls – they let the liquid coat surfaces evenly without drowning the meat. Massage the mixture thoroughly, especially into thicker sections.
Time matters here. Even 15 minutes makes a difference, but 30 minutes hits the sweet spot. For deeper flavor penetration, let it sit refrigerated for up to an hour. Never reuse marinade that’s touched raw poultry – food safety first!
Quick Marinade Variations
Mix things up with these easy twists:
- Swap half the lime juice with orange for subtle sweetness
- Add smoked paprika for campfire-like depth
- Whisk in honey (1 tsp) to encourage caramelization
A friend once joked, “This chicken tastes like it marinated all day!” when it only sat for 20 minutes. The right balance of acid and spices creates magic, even on tight schedules. Your taste buds won’t believe the time saved.
Cooking the Chicken: Searing and Slicing

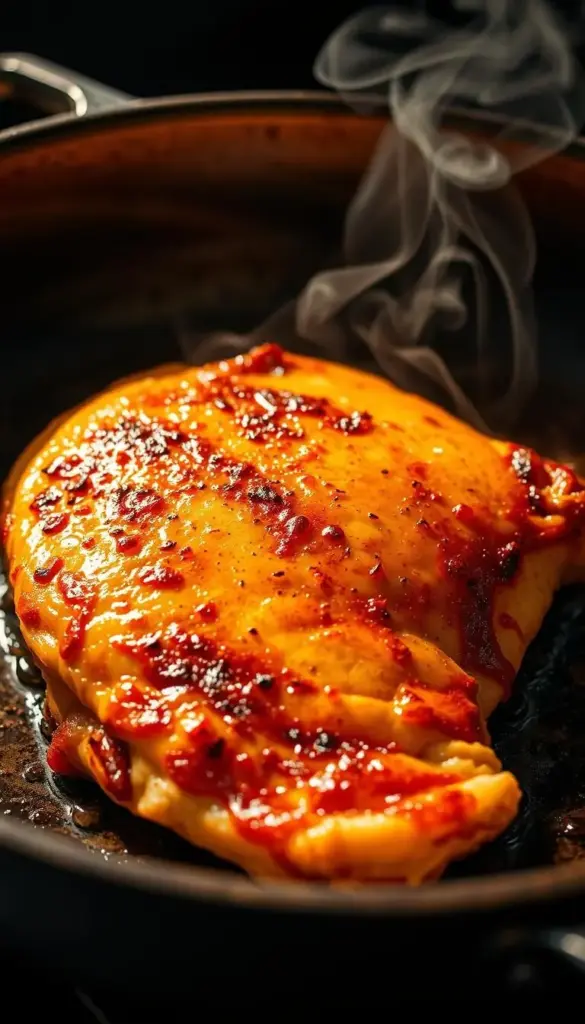
Mastering the sear transforms good chicken into something extraordinary. I start by heating my skillet until it whispers smoke – that’s when I know it’s ready. The sizzle as seasoned meat hits hot metal never gets old.
Here’s my golden rule: don’t peek! Let each side develop that crisp crust for 8-10 minutes. A friend once joked,
“You’ve got the patience of a saint watching that skillet.”
But trust me, resisting the flip pays off in juicy rewards.
| Stage | Temperature | Time |
|---|---|---|
| Preheat Skillet | Medium-High | 3-5 minutes |
| First Side Cook | Medium-High | 8-10 minutes |
| Second Side Cook | Medium | 6-8 minutes |
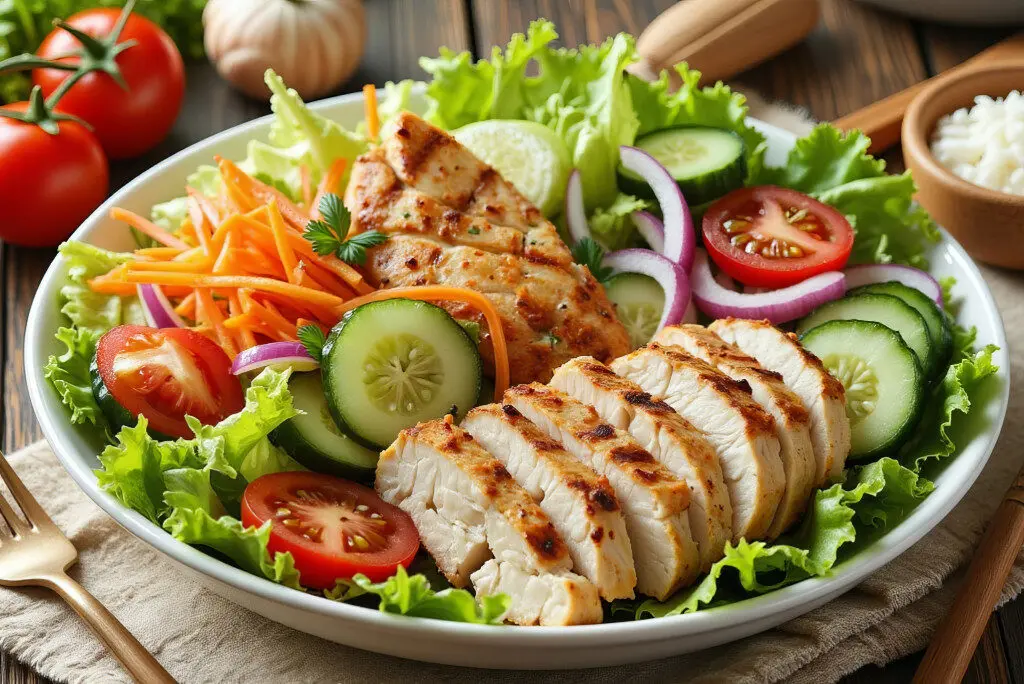
I always use a digital thermometer – 160°F signals rest time. Those five quiet minutes let juices settle into every fiber. Slice against the grain, and watch tender strips fall like edible confetti.
Last week’s experiment proved this method works. Even my neighbor’s teen, who “hates dry meat,” cleaned his plate. Whether you’re feeding picky eaters or foodies, proper technique makes all the difference.
Grilling the Corn for That Authentic Flavor
Perfectly grilled corn transforms any dish with its smoky sweetness. I always use whole ears instead of loose kernels – they char evenly while protecting tender interiors. A quick brush of oil and sprinkle of salt creates the ideal surface for caramelization.
Fire up your grill to 450°F for optimal results. Rotate ears every 2-3 minutes using tongs – those dark golden spots equal flavor goldmines. No outdoor setup? A screaming-hot cast-iron skillet works wonders. Just listen for that satisfying sizzle when kernels hit the pan.
Three signs your corn’s ready:
- Char marks resemble leopard spots
- Sweet aroma fills the air
- Kernels glisten with natural sugars
I learned this technique from a roadside vendor in Arizona. “The heat’s your friend,” she told me while flipping ears effortlessly. “Let it work slowly – rushing burns the story right off.” That wisdom changed my approach completely.
Once cooled, slice kernels vertically for maximum texture. Those slightly blackened edges add crunch while absorbing creamy sauces beautifully. It’s the difference between “good” and “can’t-stop-eating” in every bite.
Creating the Creamy Street Corn Topping
The crowning glory of this dish lies in its vibrant topping. I approach this layer like a flavor conductor – every ingredient must harmonize while shining individually. Let’s build textures that crackle, cream, and zing in perfect sync.
Mixing the Corn Salad
Start with charred kernels still warm from the pan. Their natural sweetness deepens when tossed with bright lime juice and chili powder. I fold in crumbled cotija gently – it should speckle the mix like edible confetti.
Fresh cilantro adds herbal freshness without overpowering. A dollop of mayo creates silky cohesion, while raw red onion lends sharp contrast. Pro tip: Let it sit 10 minutes before serving. The flavors meld into something greater than their parts.
Essential Flavor Boosters
Don’t underestimate the power of finishing touches. A second sprinkle of cotija right before eating adds salty bursts. Chili flakes or hot sauce let guests customize heat levels effortlessly.
For extra crunch, I sometimes add toasted pumpkin seeds. Their nuttiness complements the sweet kernels beautifully. Remember – great street corn toppings balance richness with acidity, heat with coolness, crunch with creaminess. Nail that equilibrium, and every bite becomes unforgettable.


